12 Volt Battery for Hot Wheels: Essential Power for Endless Fun! Get the right 12V battery to keep your electronic Hot Wheels moving and your kids smiling. This guide makes choosing, connecting, and maintaining the perfect power source simple and safe.
Do your kids love their ride-on toys, especially those fast and exciting Hot Wheels cars? Sometimes, these awesome toys need a bit of a boost to keep the fun going. That’s where a good 12-volt battery comes in! Over time, the battery in these toys can wear out, or maybe you’re looking to upgrade for longer playtimes.
It can feel a little tricky to know which battery is right or how to swap one out. But don’t worry! I’m here to help you understand everything you need to know about 12-volt batteries for your Hot Wheels toys. We’ll go through it step-by-step, making sure it’s easy to understand and safe to do.
By the end of this guide, you’ll be a pro at picking the perfect power source for your little one’s ride. Let’s get these Hot Wheels back in action!
Why a 12 Volt Battery is Key for Hot Wheels Ride-Ons
Many of those super fun, realistic-looking Hot Wheels ride-on cars for kids use a 12-volt (V) battery. Think of the battery as the engine of the toy. A 12V battery gives these cars enough power to move at a good, safe speed, handle slight inclines, and run all the cool lights and sounds that make them so engaging for children.
Lower voltage batteries, like 6V ones, are usually found in smaller or slower ride-on toys. A 12V battery offers more oomph, which is why it’s a popular choice for the more substantial Hot Wheels vehicles. It provides a better balance of speed, power, and runtime, ensuring that playtime is exciting but still manageable for a child.
Understanding 12 Volt Batteries: The Basics
When we talk about a “12V battery,” we’re referring to its electrical potential, or the “push” it gives electricity. This is a standard voltage for many ride-on toys, gadgets, and even some smaller automotive applications. For Hot Wheels cars, this voltage allows the electric motor(s) to spin the wheels effectively.
Key Battery Terms You’ll See
You’ll hear a few terms when looking for batteries. Knowing what they mean makes shopping much easier:
- Voltage (V): This is the electrical “pressure” the battery provides. For Hot Wheels, you almost always need a 12V.
- Ampere-hours (Ah): This tells you how much capacity the battery has – essentially, how long it can supply power. A higher Ah means longer runtimes.
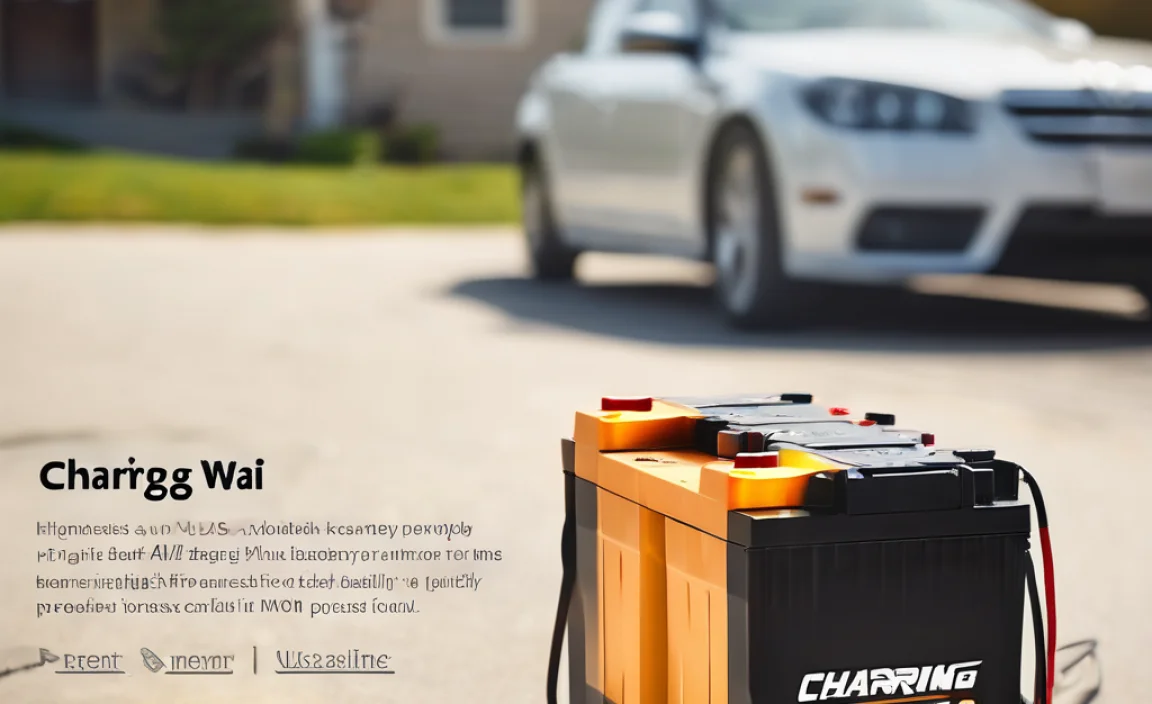
- Sealed Lead-Acid (SLA): This is the most common type of battery for ride-on toys. They are designed to be maintenance-free and spill-proof.
- Rechargeable: All batteries for these toys are rechargeable. You’ll need a compatible charger.
Why Battery Choice Matters
Choosing the right 12V battery is crucial for a few reasons:
- Safety: Using a battery with the correct voltage ensures the toy’s motor and electronics operate as designed, preventing overheating or damage.
- Performance: A battery with sufficient Ah will power the toy for longer periods, giving your child more playtime before needing a recharge.
- Longevity: The correct battery type and proper charging habits help extend the battery’s lifespan.
Identifying the Right 12 Volt Battery for Your Hot Wheels
So, how do you figure out exactly which 12V battery your specific Hot Wheels toy needs? It’s usually quite straightforward. Let’s break it down.
Step 1: Find the Original Battery
The best place to start is by looking at the battery already in the Hot Wheels toy. You’ll typically find it under the seat or a removable panel.
What to look for on the old battery:
- Voltage (V): This is the most important. It will be clearly marked, usually as “12V.”
- Model Number/Part Number: There will likely be a specific series of numbers and letters. Write this down! This is your golden ticket for finding an exact replacement.
- Brand: Note the manufacturer if visible.
- Dimensions: If you can’t find a model number, carefully measure the battery’s length, width, and height.
Step 2: Check the Toy’s Manual or Manufacturer Website
If you still have the instruction manual that came with the Hot Wheels toy, it’s a treasure trove of information. It will specify the exact battery type and specifications required.
If the manual is long gone, don’t despair! Most major toy manufacturers, including those that make licensed Hot Wheels ride-ons, have support sections on their websites. You can often search for your specific toy model and find specifications, including the correct battery information.
Step 3: Look for Replacement Batteries Online
Once you have the model number or dimensions, you can search online. Many retailers specialize in replacement batteries for ride-on toys.
When searching, use terms like:
- “12V SLA battery for [Toy Brand/Model Number]”
- “Replacement battery for [Your Hot Wheels Toy Name]”
- “[Original Battery Part Number] replacement”
Step 4: Consider Ampere-Hours (Ah)
You’ll notice that replacement batteries might have different Ah ratings. For example, you might find a 7Ah and a 9Ah option.
What does this mean for your Hot Wheels?
- Higher Ah = Longer Playtime: A battery with a higher Ah rating can provide power for a longer duration on a single charge.
- Compatibility: As long as the voltage (12V) and the physical dimensions are the same, a higher Ah battery should work and will likely give you more fun per charge.
A common size for 12V ride-on toys is 12V 7Ah or 12V 9Ah. If you can fit a physically larger battery (higher Ah) into the battery compartment, and it’s the correct voltage, it’s usually a good upgrade for extended playtime.
Step 5: Battery Connectors
Pay attention to the terminals, the metal posts where the wires connect. Most 12V ride-on toy batteries use spade connectors. There are usually two types:
- F1 terminals: These are narrower.
- F2 terminals: These are wider.
Try to match the terminal type of the replacement battery to your old one, or ensure that the connectors on your toy’s wires will fit the new battery’s terminals. Sometimes, adapters are available if needed, but matching is best.
Types of 12 Volt Batteries for Hot Wheels
For virtually all electronic Hot Wheels ride-on toys, the battery you’ll be dealing with is a Sealed Lead-Acid (SLA) battery. These are incredibly common in the world of ride-on toys for good reason.
Sealed Lead-Acid (SLA) Batteries
SLA batteries are the workhorses for most battery-powered toys. They are:
- Safe: They are “sealed,” meaning they don’t contain liquid electrolyte that can spill easily. This makes them safer for use in toys where they might get bumped or tipped.
- Maintenance-Free: You don’t need to add water or perform other upkeep like you would with older car batteries.
- Affordable: Compared to some other battery technologies, SLA batteries are relatively inexpensive, making them a cost-effective choice for toys.
- Reliable: They offer a good balance of power delivery and lifespan for typical use.
Where to Find Replacement Batteries
You can find these 12V SLA batteries in several places:
- Online Retailers: Amazon, eBay, dedicated battery stores online (like Batteries Plus Bulbs, West Marine for larger options, or specialized ride-on toy battery sites).
- Electronics Stores: Sometimes larger electronics stores might carry them.
- Specialty Toy Stores: Some stores that sell ride-on toys might also sell replacement parts.
Always buy from a reputable source to ensure you’re getting a quality battery that will perform as expected.
Battery Specifications Table
To help you visualize and compare, here’s a look at common specs for 12V SLA batteries used in ride-on toys. Note that dimensions can vary slightly by manufacturer for the same Ah rating.
| Battery Type | Voltage (V) | Common Ampere-Hour (Ah) Ratings | Terminal Type | Typical Applications |
|---|---|---|---|---|
| Sealed Lead-Acid (SLA) | 12V | 7Ah | F1 or F2 | Standard Hot Wheels ride-ons, scooters, emergency lighting |
| 9Ah | F1 or F2 | Slightly longer runtimes for Hot Wheels, larger children’s vehicles | ||
| 12Ah | F2 | Even longer runtimes, can sometimes fit if dimensions allow |
When selecting a battery, always prioritize matching the voltage (12V) and ensuring the physical size fits your toy’s battery compartment. The Ah rating is where you can often find an upgrade for longer play.
Safety First! Important Precautions
Working with batteries, even small ones for toys, requires a bit of care. Following these safety tips will ensure a smooth and accident-free battery replacement and charging process.
Battery Handling and Installation
- Turn off the Toy: Always ensure the toy is completely switched off and unplugged from any charger before attempting to access or replace the battery.
- Use Insulated Tools: When disconnecting or connecting wires, use tools with insulated handles (like pliers or screwdrivers) to avoid accidental short circuits. A short circuit can cause sparks and damage both the battery and the toy’s electronics.
- Keep it Dry: Batteries should be kept dry. Water and electrical components don’t mix well.
- Proper Ventilation: While SLA batteries are sealed, it’s always good practice to charge them in a well-ventilated area.
- Battery Orientation: Make sure you install the new battery in the same orientation as the old one.
- Secure Connections: Ensure all wire connections are snug and secure on the battery terminals. Loose connections can cause intermittent power or overheating.
Charger Safety
The charger is just as important as the battery itself. Using the wrong charger can damage the battery or even pose a fire risk.
- Use the Original or Recommended Charger: Only use the charger that came with the toy, or a specifically recommended replacement charger. These are designed to safely charge the specific type and capacity of battery used in the toy.
- Never Force a Charger: If the charger plug doesn’t easily fit into the toy’s charging port, don’t force it. Double-check that you have the correct charger and port.
- Don’t Overcharge: Most modern chargers have an automatic shut-off, but it’s good practice not to leave a toy plugged in indefinitely after it’s fully charged.
- Inspect Charger and Cords: Regularly check the charger and its cords for any signs of damage (fraying, cracks). If damaged, discontinue use immediately.
Battery Disposal
When your old battery is no longer holding a charge effectively, it needs to be disposed of properly. Lead-acid batteries contain materials that can be harmful to the environment if not handled correctly.
- Don’t Throw in Regular Trash: Lead-acid batteries should not go into your household garbage.
- Recycling Centers: Many local recycling centers, electronics stores, or auto parts stores accept used lead-acid batteries for recycling. These facilities are equipped to handle them safely and recover valuable materials.
- Check Local Regulations: Disposal guidelines can vary by location, so it’s always a good idea to check with your local waste management authority.
For more information on battery recycling, you can consult resources like the U.S. Environmental Protection Agency (EPA) guidance on lead-acid battery recycling.
How to Replace the 12 Volt Battery: A Step-by-Step Guide
Ready to swap out that old battery? Here’s how to do it safely and effectively. Remember, patience is key!
Tools You’ll Likely Need:
- Screwdriver set (Phillips head is common)
- Pliers (needle-nose or standard)
- Your new 12V battery
- (Optional) Wire brush or terminal cleaner
Step-by-Step Replacement Process:
Before you start: Ensure the toy is powered off and unplugged from any charger.
-
Locate and Access the Battery Compartment:
This is usually under the seat, a floor panel, or a rear compartment cover common in many ride-on toys. You might need to remove a few screws to open it.
-
Identify Wires and Terminals:
Once the compartment is open, you’ll see the battery connected to wires. Note which wire connects to which terminal (usually red for positive ‘+’, and black for negative ‘-‘). Sometimes there are small symbols on the battery and connectors to help guide you.
-
Disconnect the Old Battery:
Using pliers, carefully grip the connector on the battery terminal. Gently wiggle and pull the connector straight up and off the terminal. Most often, you’ll disconnect the red (positive) wire first, then the black (negative) wire. This order helps prevent accidental shorts.
-
Remove the Old Battery:
The battery might be held in place by a strap or bracket. If so, loosen or remove it. Then, carefully lift the old battery out of the compartment. Be mindful of its weight!
-
Clean the Terminals (Optional but Recommended):
If the battery terminals on the toy’s wiring harness or the new battery terminals look corroded or dirty, use a wire brush or terminal cleaner to ensure a good, clean connection. This helps with conductivity.
-
Install the New Battery:
Place the new 12V battery into the compartment, making sure it sits snugly and is oriented correctly, just like the old one.
-
Connect the New Battery:
Connect the wires to the correct terminals on the new battery. It’s generally recommended to connect the black (negative) wire first, then the red (positive) wire. Push the connectors firmly onto the terminals until they feel secure. Make sure they don’t wiggle loose.
-
Secure the Battery:
If there was a strap or bracket, re-secure the battery so it doesn’t move around during use.
-
Reassemble the Toy:
Replace any panels or covers you removed, and screw them back into place.
-
Charge the New Battery:
Before the first big play session, it’s often best to fully charge the new battery. Connect the toy’s designated charger and follow the charging instructions. This helps condition the battery for optimal performance and lifespan.
That’s it! You’ve successfully replaced the battery. Time for some serious fun!
Maintaining Your 12 Volt Battery for Longevity
Once you have a new battery installed, taking a little care of it can make it last much longer, saving you money and hassle in the long run. Think of it like taking care of a real car battery!
Charging Best Practices
The way you charge the battery has a big impact on its health.
- Full Charges: Always try to charge the battery fully. Don’t just give it a quick 15-30 minute top-up unless it’s an emergency. Complete charge cycles are better for the battery’s overall health.