Battery powered motorcycles for kids offer incredible fun and a safe way for young riders to experience the thrill of two-wheel adventure. Choosing the right one involves considering age, safety features, battery life, and terrain, ensuring hours of exciting, worry-free playtime.
Watching your child’s eyes light up as they zoom around on their very own motorcycle is a special kind of joy. But with so many options out there, picking the perfect battery-powered motorcycle for kids can feel a little overwhelming. You want something that’s safe, fun, and built to last, right? Don’t worry, we’re here to break it all down for you. We’ll guide you through exactly what to look for, how to set it up, and how to keep the good times rolling.
Getting your little one started with a battery-powered bike is a fantastic way to introduce them to the world of riding. It’s often the first step before graduating to bigger bikes or even real-deal motorcycles as they grow. We’ll cover everything you need to know, from picking the right model to ensuring safe playtime. Let’s get your junior rider revved up for adventure!
Why a Battery Powered Motorcycle for Kids?
These awesome electric bikes are more than just toys; they’re a gateway to imaginative play and developing coordination. They offer a taste of independence and excitement in a controlled environment, which is perfect for young adventure-seekers. Unlike their full-sized counterparts, they’re designed with safety and ease of use as top priorities.
- Introduction to Riding: They learn balance and steering skills in a simple, low-speed setting.
- Safe Fun: Typically made with durable plastic and lower speeds, they offer a secure ride.
- Easy to Use: Simple controls like a twist throttle and hand brakes make them intuitive for kids.
- Encourages Outdoor Play: Gets kids away from screens and exploring the world outside.
- Variety of Styles: From sporty dirt bikes to classic cruisers, there’s a style for every child’s imagination.
Choosing the Right Battery Powered Motorcycle for Your Child
Finding the ideal electric motorcycle involves a few key considerations to ensure it’s a perfect fit for your child’s age, size, and skill level. It’s all about matching the bike’s capabilities to your little rider’s needs.
Age and Size Appropriateness
This is the most crucial factor. Most battery-powered motorcycles are designed for specific age ranges, which usually correspond to the bike’s size, speed, and power. Always check the manufacturer’s recommended age and weight limits.
- Toddlers (Ages 1-3): Look for very low-speed, three-wheeled models that are more like ride-on toys. They often have simple button controls instead of throttles.
- Young Children (Ages 3-5): These bikes are typically two-wheeled but with very low speeds (around 1-3 mph). They should have wide, stable wheels and easy-to-reach controls.
- Older Children (Ages 6-10): These models can handle slightly higher speeds (5-8 mph) and might offer more realistic motorcycle features. Ensure they have functional brakes and stable tires.
- Pre-Teens (Ages 10+): Some powerful models exist for older kids, capable of higher speeds and longer rides. These require more supervision and often have more advanced controls.
Safety Features to Look For
Safety is paramount. While battery-powered bikes are inherently safer than gas-powered ones, checking for specific features can give you extra peace of mind.
- Speed Limiters: Many bikes come with adjustable speed settings or a maximum speed that’s appropriate for the age group.
- Sturdy Construction: Look for durable plastic or metal frames that can withstand bumps and tumbles.
- Wide, Grippy Tires: These provide better traction and stability, reducing skids.
- Hand Brakes: Functional hand brakes are essential for teaching kids how to stop safely.
- Footrests: Comfortable and secure footrests help maintain balance.
- Chain Guard (if applicable): On models with visible chains, ensure it’s properly guarded to prevent little fingers from getting caught.
- Safety Stickers and Certifications: Look for certifications like ASTM F963 (Consumer Safety Standard for Toy Safety) or similar, indicating the product has met safety requirements.
Battery Life and Charging Time
The heart of any electric ride is its battery. Think about how long you want your child to be able to play and how much time you’re willing to wait for the bike to recharge.
Battery Voltage and Runtime: Voltages like 6V, 12V, and 24V indicate power. Higher voltage often means more speed and power. Runtime is usually measured in minutes of continuous use per charge. A 6V battery might offer 30-60 minutes, while a 12V or 24V could provide 60-90 minutes or more.
Charging Time: This can vary from 4-8 hours for a full charge. Many come with simple plug-in chargers. Some higher-end models might offer quicker charging options.
Interchangeable Batteries: For longer play sessions, consider models where batteries can be swapped out, though this is less common in very basic models.
A good resource for understanding battery safety and care, which applies to many types of batteries including those in toys, can be found on the Occupational Safety and Health Administration (OSHA) website, which details various battery standards and safety practices.
Terrain Considerations
Where will your child be riding most often? This will affect the type of tires and suspension needed.
- Paved Surfaces (Sidewalks, Driveways): Most standard models with plastic or rubber tires will work well.
- Grass and Mild Dirt Paths: Look for bikes with more robust, knobby tires for better grip. Some models feature basic suspension for a smoother ride over uneven ground.
- Rougher Terrain: For backyard trails or more adventurous play, you’ll want a bike with more powerful motors, better suspension, and very durable, off-road style tires. These are usually for older kids with more experience.
Motor Power and Speed
This ties back to age and terrain. For very young children, a slow and steady pace is ideal. Older children might enjoy the excitement of a bike that can go a bit faster. Always prioritize safety over speed.
- Low Speed (1-3 mph): Perfect for toddlers and very young children, providing a gentle introduction.
- Moderate Speed (5-8 mph): Suitable for elementary-aged children, offering more of a “real bike” feel.
- Higher Speed (10+ mph): For older, experienced riders, but requires significant parental supervision and a safe riding environment.
Essential Features Table
Here’s a quick look at key features and what they mean for different age groups:
| Feature | For Toddlers (1-3 yrs) | For Young Kids (3-5 yrs) | For Older Kids (6-10 yrs) |
|---|---|---|---|
| Max Speed | 1-2 mph | 1-3 mph | 3-7 mph |
| Battery Voltage | 6V | 6V – 12V | 12V – 24V |
| Tire Type | Plastic with grip enhancement / Wide | Plastic or basic rubber / Stable | Rubber or knobby for traction |
| Brakes | Minimal braking (stop by release); some have simple button brakes. | Hand brake is ideal; throttle release for stopping. | Reliable hand brakes are essential. |
| Construction | Lightweight, durable plastic; 3-wheel for stability. | Durable plastic, sturdy frame, 2 wheels with training wheels or wide rear. | Stronger plastic/metal frame, good balance. |
| Throttle Control | Button press to go. | Simple twist grip or button. | Twist grip throttle. |
Setting Up and First Ride Tips
Once you’ve got the perfect battery-powered motorcycle, getting it ready for its maiden voyage is straightforward. Here’s how to make sure everything is set up for a safe and fun first ride.
Unboxing and Assembly
Most electric motorcycles for kids come partially assembled. You’ll typically need to attach:
- Handlebars: Usually a simple bolt-on or clip system.
- Wheels: Some may just clip on, others might require a washer and nut.
- Footrests: These often slide into place or are screwed on.
- Seat: This is usually already attached but check it’s secure.
- Mirrors or decorative elements: These are often snap-on.
Tool Tip: Keep the small toolkit that often comes with the bike handy. You might need a screwdriver, wrench, or Allen key. Make sure all bolts and screws are tightened securely but don’t overtighten, which could strip the threads.
Charging the Battery
This is a critical first step. Almost all electric ride-on toys need a full charge before their first use. Follow these steps:
- Locate the charging port: This is usually found near the battery compartment, under the seat, or on the side of the bike.
- Connect the charger: Plug the charger into the port on the motorcycle and then into a standard wall outlet.
- Monitor the charging light: The charger typically has an indicator light. It might be red when charging and turn green when fully charged. Some lights might just stay on. Consult your manual !
- Charging duration: Allow the full recommended charging time, which is often 8-12 hours for the first charge. Do not overcharge beyond this initial period, as it can damage the battery.
- Disconnect: Once fully charged, unplug the charger from the wall and then from the motorcycle.
Battery Care Note: Always use the charger that came with the specific motorcycle. Using the wrong charger can damage the battery or pose a safety risk.
Pre-Ride Safety Check
Before your child hops on, do a quick check:
- Tires: Ensure they are properly inflated (if applicable) and have good tread.
- Brakes: Test the hand brakes to make sure they engage and stop the bike effectively (even if it’s already slow, this teaches them the habit).
- Throttle: Ensure the throttle mechanism works smoothly and returns to neutral when released.
- Bolts & Nuts: Double-check that everything is tight and secure.
- Battery Charge Indicator: If your bike has one, ensure it shows a full charge.
The First Ride Experience
For the very first ride, choose a safe, open, and flat area away from traffic, driveways, and any hazards.
- Supervision is Key: Stay close to your child at all times.
- Start Slow: Let your child get a feel for the throttle and brakes at a very low speed.
- Demonstrate: Show them how to accelerate gently and how to apply the brakes.
- Encourage Balance: Remind them to look where they want to go, as this naturally helps with balance.
- Positive Reinforcement: Offer lots of praise and encouragement!
Battery Maintenance for Longevity
Properly caring for the battery is the best way to ensure the motorcycle provides fun for years to come. Think of it like taking care of a car battery – a little attention goes a long way.
Regular Charging Habits
- Charge After Each Use: The best practice is to charge the battery fully after your child has finished playing. This ensures it’s ready for the next adventure and helps maintain battery health.
- Avoid Full Drains: Try not to let the battery completely die regularly. Running it down to empty can put extra strain on the battery cells.
- Charge Completely: Always let the battery charge for the full recommended time.
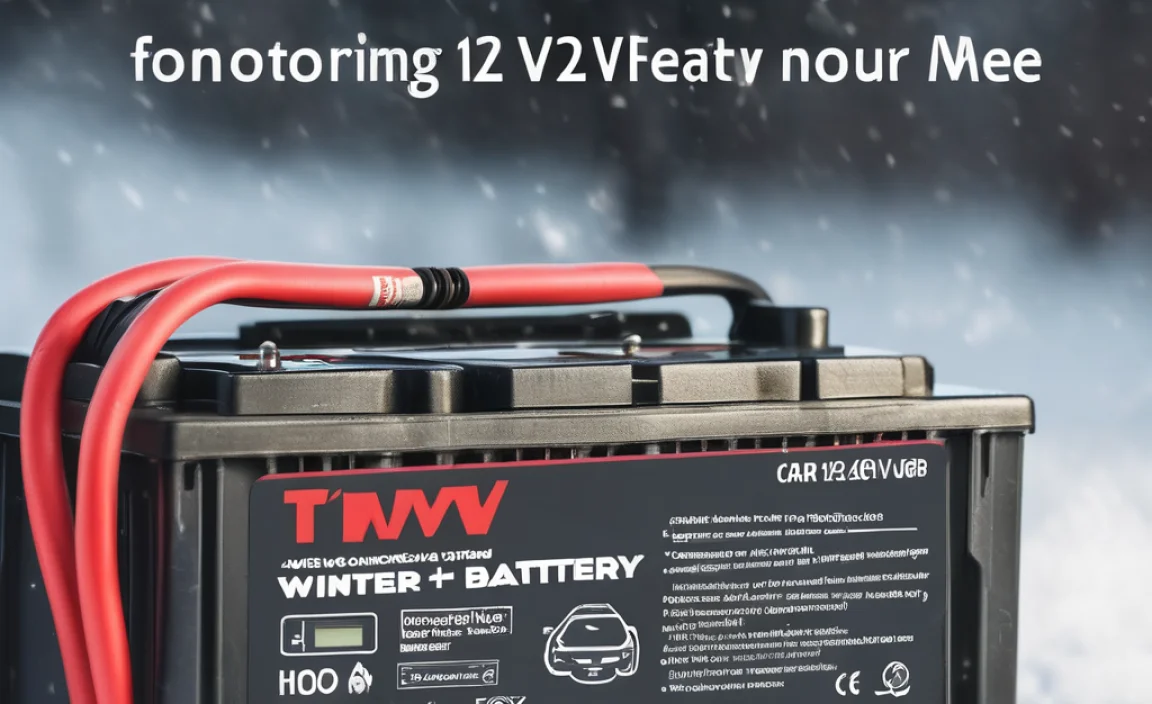
Dealing with Seasonal Storage
If the motorcycle will be stored for an extended period (e.g., during winter months):
- Charge the Battery: Before storing, fully charge the battery.
- Store in a Moderate Temperature: Storing the bike and battery in a cool, dry place is best. Avoid extreme heat or cold, as this can degrade battery performance.
- Recharge Periodically: Even when stored, batteries can lose charge over time. It’s a good idea to take the battery out (if possible) and charge it fully once every 2-3 months. This process is sometimes called “trickle charging” or maintaining the charge.
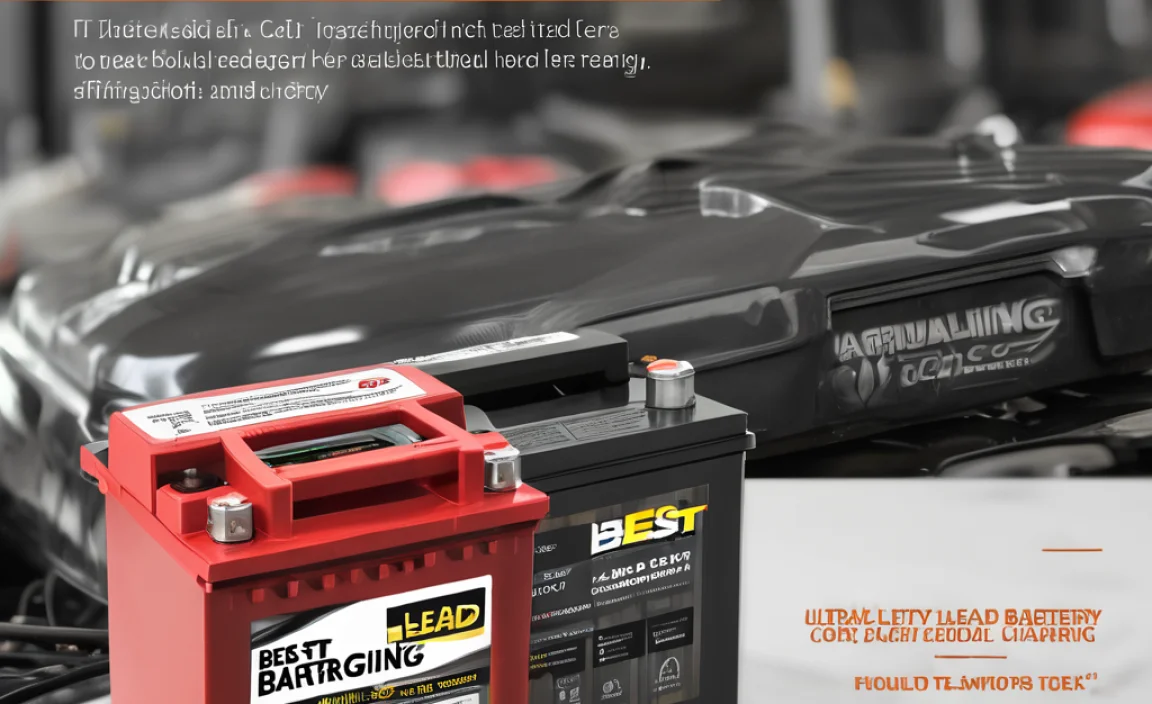
Battery Replacement
Batteries are consumable items and will eventually need replacement. Signs include:
- Significantly shorter run times than before.
- The battery no longer holds a full charge.
- The bike runs very slowly even when fully charged.
Finding a Replacement: You’ll need to find a battery with the same voltage (V) and amp-hour (Ah) rating as the original. Check the label on the old battery or consult your motorcycle’s manual. You can often find replacements online or from specialty battery stores. Always ensure you are buying a compatible battery to avoid damage or safety issues.
For more general guidance on battery safety, understanding different battery types, and proper disposal, the U.S. Environmental Protection Agency (EPA) provides excellent resources on battery recycling and care.
Safety Gear: The Non-Negotiables
Even though these bikes are designed for safety, a responsible rider always wears protective gear. It’s about building good habits from the start!
- Helmet: This is the absolute most important piece of safety gear. Ensure it fits snuggly and is certified for impact protection (e.g., CPSC certification for bicycle helmets).
- Closed-Toe Shoes: Protect little feet from scrapes and impacts.
- Long Pants and Sleeves: Offer protection against scrapes and bumps.
- Gloves (Optional but Recommended): Padded gloves can protect hands and improve grip.
- Elbow and Knee Pads (Recommended for younger riders or faster bikes): These offer an extra layer of protection for common impact areas on growing bodies.
Think of safety gear not as restrictive, but as enabling more fun by reducing the risk of minor injuries!
Popular Battery Powered Motorcycle Types for Kids
The world of electric kids’ motorcycles is diverse, offering styles to match almost any child’s dream ride.
- Mini Dirt Bikes: These are designed to mimic real dirt bikes, often with knobby tires and a more rugged look. They are great for backyard adventures and light off-roading.
- Cruiser Style Bikes: With a lower seat and a more relaxed riding position, these bikes often resemble classic motorcycles. They’re perfect for smooth rides around the neighborhood.
- Sport Bikes: Sleeker designs and sometimes fairings give these bikes a sporty appeal. They are usually best suited for paved surfaces.
- Ride-On “Motorcycles”: For the very youngest riders, these might have three wheels and a steering wheel or handlebar, offering a stable introduction to powered ride-on toys.
Troubleshooting Common Issues
Even the best toys can sometimes have hiccups. Here’s how to handle common problems with battery-powered kids’ motorcycles.
Motorcycle Not Moving
- Check Battery Charge: Is the battery fully charged? Reconnect the charger and let it charge for the full cycle.
- Check Connections: Ensure the battery is securely connected. Sometimes the connector might have come loose.
- Safety Lock/Switch: Some models have a safety key or a power switch that needs to be in the “on” position.
- Throttle Mechanism: Make sure the throttle isn’t stuck.
Short Run Time
- Battery Age: Batteries degrade over time. An older