CD player adapter for laptop: Essential Guide
Got an old CD collection you love but a new laptop with no CD drive? Don’t worry! A CD player adapter for your laptop is your key to unlocking all those favorite albums again. This guide will show you exactly what to look for and how to connect it, making your music accessible once more.
Remember those days of swapping CDs in your car or stereo? Music was a physical thing! Now, with most laptops ditching built-in CD drives, enjoying that same music can feel like a challenge, especially if your laptop is your main music hub. You might have a treasure trove of CDs that you haven’t listened to in years, just gathering dust. The good news is, you don’t have to let them stay that way! With a simple and affordable CD player adapter for your laptop, you can easily bring your entire music library back to life.
This guide is designed to make connecting your CD player to your laptop a breeze, whether you’re a tech whiz or just starting out. We’ll cover everything you need to know, from understanding the different types of adapters to making the actual connection. Get ready to rediscover your favorite tunes without any confusion.
Why You Need a CD Player Adapter for Your Laptop
Laptops have gotten slimmer and lighter, which is great for portability. But one of the casualties of this sleek design is the built-in CD/DVD drive. Most modern laptops, especially ultrabooks and MacBooks, simply don’t have space for them anymore. This leaves many of us with a common problem: how do we play our extensive CD collection on our new, drive-less machines?
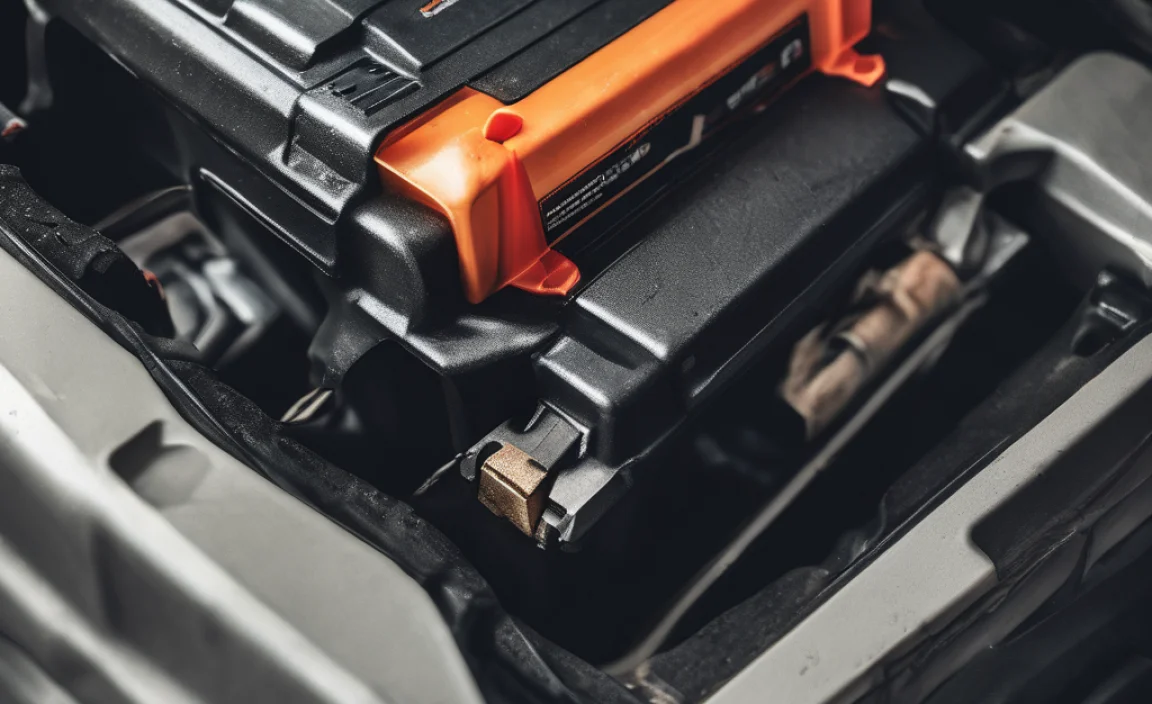
This is where a CD player adapter, often called an external CD/DVD drive, comes in handy. It’s like a bridge that connects your old physical media to your new digital device. Think of it as a special accessory that lets your laptop “read” your CDs just like it reads files from a USB stick.
Here are a few compelling reasons why you might want one:
- Access Your Music Library: The most obvious reason! If you have a large collection of music CDs, an adapter lets you listen to them through your laptop, often with the ability to rip them to your computer for digital listening.
- Preserve Older Media: Some important audio files or even old family recordings might be on CDs. An adapter allows you to access and back these up before the discs degrade over time.
- Cost-Effective Solution: Buying an external drive is far cheaper than replacing your entire CD collection with digital downloads or streaming subscriptions.
- No Internet Required: Unlike streaming, playing a CD doesn’t need an internet connection. Perfect for times when Wi-Fi is spotty or unavailable.
- Learning or Work Needs: Some educational software, older games, or work-related files might still be distributed on CD-ROMs.
Understanding the Types of CD Player Adapters
When we talk about a “CD player adapter for laptop,” we’re usually referring to an external CD/DVD drive. These devices connect to your laptop externally, allowing you to use CDs and DVDs. They aren’t tiny adapters that magically make your laptop read discs without an external unit; they are complete portable drives.
There are a few main types to consider, based on how they connect and what they do:
External CD/DVD Drives
This is the most common and straightforward solution. An external CD/DVD drive is a self-contained unit that houses a disc drive. It connects to your laptop via a cable, usually USB, and draws power from the laptop or a separate power adapter.
- CD-ROM Drives: These can only read CDs (audio CDs and data CDs/CD-ROMs). They cannot write (burn) CDs.
- CD-RW Drives: These can read and write (burn) CDs. RW stands for ReWritable, meaning you can erase and rewrite data multiple times.
- DVD Drives: These can read and write CDs, and also read DVDs.
- DVD-RW Drives: These are the most versatile type. They can read and write CDs and DVDs, including rewritable discs.
- Blu-ray Drives: For higher definition discs, these can read and write CDs, DVDs, and Blu-ray discs.
For simply playing your music CDs, a basic external CD-ROM or CD-RW drive is usually sufficient. If you plan on archiving music or data to discs, you’ll need a drive with writing capabilities (CD-RW or DVD-RW).
Connecting Your Old CD Player via Audio Cables (Less Common for Laptops)
In a very specific scenario, if you have a traditional standalone CD player stereo system with an audio output (like RCA or headphone jacks), you could theoretically connect its audio output to your laptop’s audio input. However, this is not what most people mean by “CD player adapter for laptop” and it has significant limitations:
- Your laptop needs an audio input port (many modern ones do not).
- You would need to get the correct adapter cables (e.g., RCA to 3.5mm jack).
- This method only plays audio. You cannot read data CDs or burn discs this way.
- The sound quality might not be as good as a dedicated digital connection.
Therefore, when searching for a “CD player adapter for laptop,” you will almost always be looking for an external USB CD/DVD drive. We will focus on this type for the rest of this guide.
How to Choose the Right External CD Drive for Your Laptop
Selecting the right external CD drive is key to a smooth experience. Roy, your trusty power solutions guy, is here to help you navigate the options without getting overwhelmed.
Here’s what to look for:
1. Connection Type: USB is King
Almost all external CD drives connect via USB. The vast majority use USB-A ports, the rectangular ones you see on most laptops. Newer drives might also offer USB-C, which is the smaller, oval-shaped port found on many modern laptops and MacBooks. If your laptop only has USB-C ports, make sure to get a drive with a USB-C connector, or a drive with a USB-A connector and a reliable USB-C to USB-A adapter.
Tip: USB 2.0 is slower but compatible with older laptops. USB 3.0, 3.1, or 3.2 are much faster and recommended for smoother performance, especially if you plan on ripping music or copying data.
2. Power Source: USB Bus Powered vs. External Power Adapter
Most portable external CD drives are “USB bus powered.” This means they draw all the power they need directly from the USB port on your laptop. This is super convenient as you don’t need an extra power outlet or a bulky adapter. For most CD playback, this is perfectly adequate.
However, some larger or older drives, or those that also handle DVDs and Blu-rays, might require an external power adapter. This means you’ll have an extra cable and plug to manage. If your laptop’s USB ports are a bit weak or you plan on heavy usage (like constant burning), a drive with an external power option can provide more stable performance.
3. Read/Write Capabilities: What Do You Need to Do?
As mentioned earlier:
- CD Read Only: If you only want to play CDs and rip music, a simple CD-ROM drive works.
- CD Read & Write: If you want to burn your own music mixes or back up small files onto CDs, look for a CD-RW drive (ReWritable).
- DVD Read & Write: If you have any DVDs you want to watch or data DVDs to read, a DVD-RW drive is a good all-rounder.
- Blu-ray: These are for high-definition movies and data. They typically cost more and are overkill if you only care about audio CDs.
For playing your CD music collection back on your laptop, a CD-RW or DVD-RW drive is a good balance of functionality and cost. They ensure you can read your audio CDs and also potentially burn them to a blank CD if you want to create a backup or mixtapes.
4. Brand and Reliability
Stick with reputable brands. Companies like LG, ASUS, Samsung, and internal drive manufacturers like Lite-On or Plextor often make reliable external drives. Check reviews to see what other users say about build quality and performance.
5. Compatibility with Your Operating System
Virtually all external CD drives sold today are plug-and-play with Windows and macOS. When you plug them in, your operating system should recognize them automatically. However, it’s always good practice to check the product description for compatibility with your specific version of Windows (e.g., Windows 10, Windows 11) or macOS.
6. Slim vs. Standard or Tray vs. Slot Loading
- Slim Portable Drives: These are lightweight and often bus-powered via USB. They typically have a tray that slides out to load the disc.
- Standard External Drives: These might be slightly larger and sometimes come with an external power adapter.
- Tray Loading: The most common mechanism. A tray ejects for you to place the disc on, then slides back in.
- Slot Loading: Less common for optical drives but seen on some Apple products. You insert the disc partway, and it’s pulled in.
For most users, a slim, portable, USB-powered, tray-loading CD/DVD-RW drive is the perfect “CD player adapter for laptop.”
Connecting Your External CD Drive: Step-by-Step
Setting up your external CD drive is usually as simple as plug-and-play. Here’s how it works, broken down into easy steps. Roy believes in making things clear and simple!
What You’ll Need:
- Your laptop
- Your new external CD/DVD drive
- The included USB cable
- (If applicable) The external power adapter for the drive
- (If applicable) A USB-C to USB-A adapter or a USB-C cable if your drive has a USB-C port and your laptop does too.
The Connection Process:
- Unpack Your Drive:
Carefully take your new external CD drive out of its packaging. Make sure you have the drive itself and its USB cable. If it requires external power, locate that adapter as well.
- Locate USB Port(s) on Your Laptop:
Find an available USB port on your laptop. This is usually a rectangle-shaped port (USB-A) or an oval-shaped one (USB-C). If you’re using a USB-C drive on a laptop with only USB-A ports, you’ll need an adapter (or vice-versa if your drive has a USB-A cable but your laptop has only USB-C).
- Connect the Drive to Your Laptop:
Plug one end of the USB cable into the external CD drive and the other end into your laptop’s USB port. If your drive has a separate power adapter, plug that into the drive and then into a wall outlet. Most portable drives don’t need external power.
- Wait for Your Laptop to Recognize the Drive:
Your laptop’s operating system (like Windows or macOS) should automatically detect the new hardware. You might see a notification saying “New hardware found” or “Installing device driver.” This usually takes just a few seconds.
Windows Users: You might see it appear in “This PC” or “Computer” as a new drive letter (like D: or E:).
macOS Users: It will typically appear as an icon on your Desktop or in the Finder sidebar.
- Insert a CD:
Once the drive is recognized, gently press the eject button on the drive (if it has one) to open the disc tray. Place your audio CD onto the tray, label side up, and gently push the tray back into the drive. It should click shut.
- Play Your Music:
Your laptop should now detect the CD. Depending on your settings, a music player application might launch automatically (like Windows Media Player, Groove Music, VLC Media Player, or Apple Music/iTunes).
If no application launches, you can manually open your preferred music player and navigate to the CD drive listed in its library or source options. You can then select tracks to play.
Troubleshooting Common Issues:
- Drive Not Recognized: Try a different USB port on your laptop. Sometimes, a less-used port might provide more power. If using a USB hub, try connecting the drive directly to the laptop.
- No Power: If your drive needs external power, ensure the adapter is securely plugged into both the drive and the wall outlet. Check if there’s a power switch on the drive.
- Disc Won’t Play: Ensure the CD is inserted correctly (label side up). Try another CD to see if the issue is with the disc. Physical damage to the disc can prevent playback.
- Slow Performance: If connected via USB 2.0 and you’re trying to rip music, it might be slow. Ensure you’re using a USB 3.0 or higher port if your drive and laptop support it. Avoid doing too many demanding tasks on your laptop simultaneously.
Playing Music and Ripping CDs
Once your external CD drive is connected, playing your music is usually straightforward. Beyond just playback, many people want to “rip” their CDs. Ripping means copying the audio tracks from your CD into digital audio files (like MP3, AAC, or FLAC) that you can store on your laptop, transfer to a phone, or play without needing the CD.
Here’s a quick rundown on how this typically works:
Playing CDs:
As mentioned, when you insert a CD, your operating system and music player software should recognize it. You can then select tracks to play directly. This is great for enjoying your music on the fly!
Ripping CDs (Creating Digital Copies):
To create digital copies, you’ll use software on your laptop. Here are some popular options:
- Windows:
Windows Media Player: Built into Windows, it’s very easy to use. Insert your CD, open Windows Media Player, select your CD drive, and look for an option like “Rip CD” or “Import CD.” You can choose the audio format (MP3, WMA, etc.) and where to save the files.
Third-Party Software: Programs like VLC Media Player (which can also play CDs) or dedicated ripping software offer more format options and control.
- macOS:
Apple Music (formerly iTunes): This is the go-to for Mac users. Open Apple Music, insert your CD. It will likely ask if you want to import the CD. You can choose your preferred import settings (AAC, MP3, etc.) in the app’s Preferences under “Files” or “Playback” (look for “Import Settings”). Then, select “Import CD.”
VLC Media Player: Like on Windows, VLC on Mac can also convert CDs to various digital formats.
Important Considerations for Ripping:
- Audio Format: MP3 is widely compatible but offers good compression. AAC is used by Apple and often provides better quality at similar file sizes. FLAC is a lossless format, meaning it preserves the original audio quality perfectly, but results in larger file sizes.
- Bitrate: For MP3 or AAC, a bitrate of 192 kbps or 256 kbps is generally considered good quality for most listeners. Higher bitrates mean better quality and larger files.
- Metadata (Tags): When ripping, the software tries to identify the CD and download track names, artist, album, and album art from online databases. Ensure this information is correct before saving.
- Copyright: Remember that ripping copyrighted music for personal backup is generally permissible in many regions, but sharing those ripped files is usually illegal. Always respect copyright laws.
A Quick Comparison of External CD Drive Types
To help you make a decision, here’s a table summarizing the common types of external CD drives and their typical uses. This should make it easier to pick the right “CD player adapter for laptop” for your needs.
| Drive Type | Primary Function | Read CDs | Write CDs |
|---|