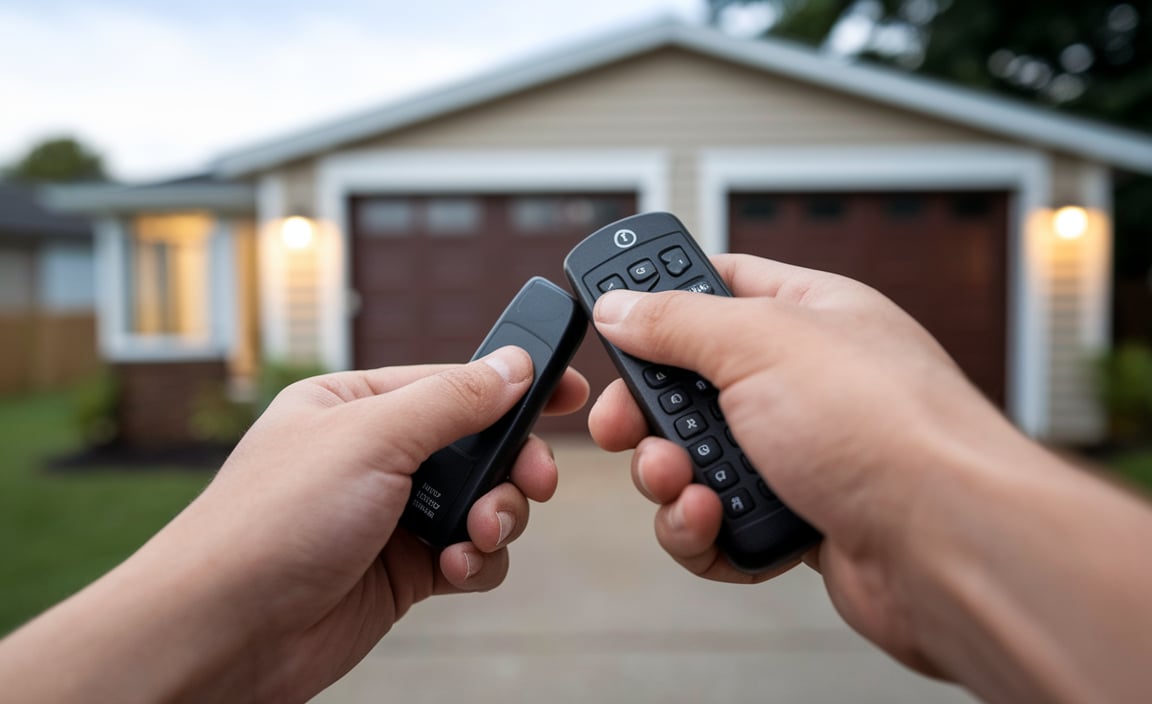
Have you ever pressed the button on your LiftMaster remote, but nothing happened? It’s frustrating, right? You might just need to change the battery!
Many people overlook this simple task. A dead battery can turn your reliable remote into a useless gadget. But changing the battery is easy and quick. In just a few steps, you can have your remote working like new.
Imagine standing outside your garage, ready to park your car. You press the remote, but silence greets you. This common scenario happens to many. The good news is that learning how to change the battery for your LiftMaster remote can save you from this hassle.
In this article, we’ll guide you through the steps needed. You’ll find useful tips and tricks that make the process clear and simple. Whether you’re a tech expert or a beginner, you’ll be able to tackle this task.
So, are you ready to learn something new? Let’s dive into the quick and painless way to change that battery!

How To Change Battery For Liftmaster Remote: A Step-By-Step Guide
Changing the battery in your LiftMaster remote is simple and quick. Start by finding the battery compartment, usually on the back of the remote. Using a small screwdriver, gently open the cover. Remove the old battery, noting the orientation. Insert the new battery in the same direction, then close the compartment. Did you know most remotes need a new battery every few years? Keeping your remote powered can save you from frustrating moments at the garage door!
Understanding Your LiftMaster Remote
Explanation of different LiftMaster remote models. Identifying the battery type used in common models.
LiftMaster remotes come in different models, each with its features. Common types include the 888LM, 371LM, and 893MAX. They help you open your garage door with ease! Most remotes use CR2032 or CR123A batteries. Knowing your remote’s model and battery type makes changing batteries easier. Are you ready to learn how to keep your remote working smoothly?
What battery do I need for my remote?
The battery type depends on your LiftMaster model. For most, these are key:
- 888LM: CR2032
- 371LM: CR2032
- 893MAX: CR123A
When to Change the Battery
Signs that indicate the battery needs replacement. How often batteries should typically be replaced.
It’s important to know when to change the battery in your LiftMaster remote. Watch for signs like a weak signal or the remote not working at all. You might also notice it takes more clicks to open the garage door. Typically, batteries last 1-3 years. Regular checks can help you avoid surprises!
What are signs that it’s time to replace the battery?
- The remote feels slow to respond.
- No signal when pressing buttons.
- You have to press multiple times for it to work.
How often should you change the batteries?
You should check the battery every year. Replace it every 1-3 years, depending on usage. Keeping an eye on it prevents problems later.
Gathering Necessary Tools and Materials
List of tools needed for battery replacement. Types of batteries compatible with LiftMaster remotes.
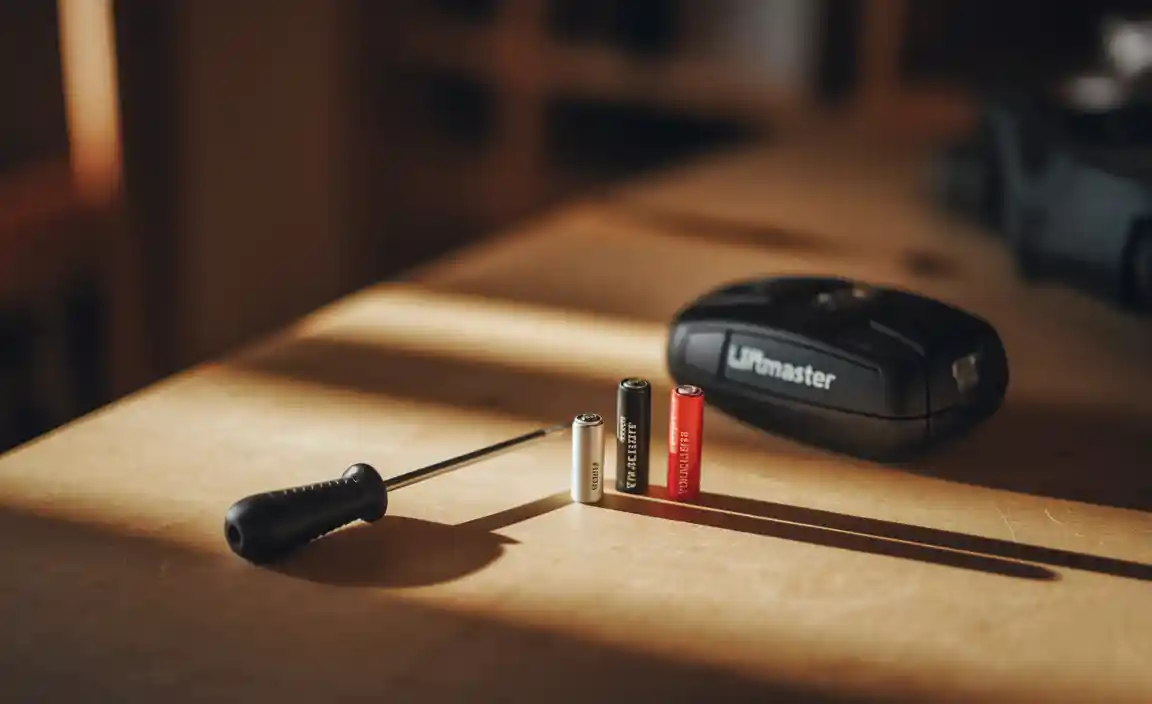
To change the battery in your LiftMaster remote, you need a few simple tools. First, grab a small flathead screwdriver. It helps open the remote case easily. You also need fresh batteries. The common types for LiftMaster remotes are:
- AA batteries
- 9V batteries
Having these tools ready makes the process quick and easy!
What tools are needed to change the battery?
You will need a small flathead screwdriver and the correct type of battery to replace the battery in a LiftMaster remote.
Step-by-Step Guide to Changing the Battery
Detailed steps for opening the remote. Instructions for removing the old battery.
Changing the battery in your remote is simple. First, find the small slot or tab on the back of the remote. This is usually near the bottom. Gently slide or press this tab to open the remote.
Next, take out the old battery. You might need to use your fingers or a small tool to help. Pull it out carefully, so you don’t break anything. Remember how the battery is placed because you will put the new one in the same way!
How do I remove the old battery?
To remove the old battery, follow these steps:
- Open the back of the remote.
- Carefully lift out the old battery.
- Note the battery direction for the new one.
Installing the New Battery
How to properly insert the new battery. Tips for ensuring a secure fit.
To put in the new battery, hold it with the + side facing up. Slide it into the battery slot gently. Make sure it fits snugly. It should not be loose. If it moves or wiggles, it may not connect properly.
For a secure fit, follow these tips:
- Check the battery orientation before closing.
- Press it down firmly once inside.
- Close the remote cover carefully.
If you hear a click, it’s secure. This means your remote is ready to work.
How do I know if the battery is installed correctly?
If the remote works after you put in the battery, it is installed correctly. If not, double-check the battery fit or try a new battery.
Testing the Remote After Replacement

How to test if the new battery is functioning. Troubleshooting common issues if the remote doesn’t work.
After changing the battery, it’s time to make sure everything works. Start by pressing the buttons on your remote. If the garage door opens, great! If not, there may be an issue.
Check these common problems:
- Ensure the battery is installed correctly.
- Look for any dirt or damage on the remote.
- Make sure you are within range of the door.
If the remote still doesn’t work, try resetting it. Remove the battery, wait for a minute, and put it back in. This may solve the problem.
What should I do if my liftmaster remote is not working after changing the battery?
Check the battery placement, clean the remote, and ensure you are close to the garage door.
Maintenance Tips for Your LiftMaster Remote
Best practices to prolong battery life. Cleaning and caring for your remote control.
Taking care of your LiftMaster remote is key to keeping it working great. First, always keep it clean. Wipe it with a soft cloth to remove dirt and crumbs. It’s like giving your remote a spa day! Also, store it away from extreme temperatures—no one likes a hot remote or a chilly one. To boost battery life, avoid pressing buttons too much. Fun fact: batteries love short naps, too! Regular maintenance can make your remote last longer, saving you from surprise battery changes.
| Tip | Description |
|---|---|
| Keep it Clean | Wipe with a soft cloth to prevent dirt buildup. |
| Avoid Extreme Temperatures | Store in a cool, dry place for best performance. |
| Limit Button Presses | Use buttons only when necessary to save battery. |
Frequently Asked Questions (FAQs)
Common questions about LiftMaster remote battery replacement. Answers to concerns regarding battery types and compatibility.
Many people have questions about changing the battery for their LiftMaster remote. Here are some answers to common concerns:
What battery do I need for my LiftMaster remote?
You typically need a CR2032 lithium battery. This is a standard size, easy to find in stores.
Can I use a different battery type?
It’s best to stick with the recommended size. Using different batteries can cause damage.
How do I know if my remote needs a battery change?
When your remote stops working, it might need a new battery. You might also notice the lights flashing less.
Conclusion
In summary, changing the battery in your LiftMaster remote is easy! First, gather the right tools. Then, open the remote, replace the battery, and close it securely. Test the remote to ensure it’s working. If you need more help, check online guides or videos. Now you’re all set—give it a try and keep your garage door working smoothly!
FAQs
Certainly! Here Are Five Related Questions On The Topic Of Changing The Battery For A Liftmaster Remote:
To change the battery in your LiftMaster remote, first, find the small slot on the back. Use a coin to twist open that slot. Take out the old battery and put in a new one, matching the plus and minus signs. Close the slot by twisting it back. Now your remote should work again!
Sure! Please provide the question you’d like me to answer.
What Type Of Battery Do I Need To Replace In My Liftmaster Remote?
You need a 3-volt battery to replace in your LiftMaster remote. It’s usually a CR2032 battery. You can find this battery at stores or online. Just open your remote, take out the old battery, and put in the new one. Then, your remote should work again!
How Do I Open The Liftmaster Remote To Access The Battery Compartment?
To open the LiftMaster remote, first, look for a small slot or opening on the back. Use a small coin or a flat tool to gently twist it. This will pop open the back cover. Once it’s open, you can see the battery inside and change it if needed. Close the cover tightly when you’re done.
Are There Any Special Tools Required To Change The Battery In A Liftmaster Remote?
You don’t need any special tools to change the battery in a LiftMaster remote. You just need a new battery, which is usually a small round one. First, use your fingers to open the remote. Then, take out the old battery and put in the new one. Close it up, and you’re done!
How Can I Ensure My Liftmaster Remote Is Working Properly After Changing The Battery?
After you change the battery in your LiftMaster remote, you should test it. Stand near the garage door. Press the button to see if the door opens or closes. If it works, great! If not, check the battery again to make sure it’s in the right way.
What Are Some Common Signs That The Battery In My Liftmaster Remote Needs To Be Replaced?
You might notice that your LiftMaster remote doesn’t work as well anymore. If you have to press the button harder or more times, it’s a sign. The light on the remote may also blink slowly or not at all. If it stops working completely, it’s time to change the battery.
Resource:
-
How lithium coin batteries work: https://www.duracell.com/en-us/technology/battery-care/coin-battery-safety
-
Garage remote troubleshooting tips: https://www.familyhandyman.com/project/garage-door-opener-repair-and-troubleshooting/
-
How to maintain electronic devices: https://www.consumerreports.org/electronics-computers/electronics-maintenance-tips-a5575323025/
-
Difference between CR2032 and CR123A batteries: https://www.batteryequivalents.com/cr123a-vs-cr2032.html