Quick Summary: Selecting the right charger for your sealed lead-acid (SLA) battery is crucial for its longevity and reliable performance. Look for smart chargers with multi-stage charging (bulk, absorption, float) and automatic shut-off to prevent overcharging. Always match the charger’s voltage and amperage to your battery’s specifications.
Charger for Sealed Lead Acid Battery: Your Essential Guide
Dealing with a dead or struggling sealed lead-acid (SLA) battery can feel like a puzzle, especially when you’re not sure which charger is the right fit. It’s frustrating when your tools, emergency lights, or even your car’s backup power won’t kick in. But don’t worry! Getting your SLA battery back in action is simpler than you might think. This guide will walk you through everything you need to know about choosing and using the correct charger, ensuring your battery lasts longer and works when you need it most. Let’s clear up the confusion and get you powered up.
Why the Right Charger Matters for Your SLA Battery
Think of your sealed lead-acid (SLA) battery like a sensitive piece of equipment – it needs the right kind of care to perform at its best. Using the wrong charger can be like giving it too much or too little food; it can cause damage, shorten its lifespan, and even be a safety risk.
SLA batteries, often used in applications like uninterruptible power supplies (UPS), alarm systems, wheelchairs, and motorcycles, have specific charging needs. Unlike older battery types, they can be damaged by overcharging (too much voltage or current) or undercharging (not enough charge). Overcharging can boil the electrolyte inside the battery, leading to gas buildup and potential explosion or reduced capacity. Undercharging can cause sulfation, a hard layer that forms on the battery plates, making it difficult to recharge later.
The “sealed” part means they generally don’t need you to add water, but it also means any damage from improper charging is harder to fix. That’s why picking a charger designed for SLA batteries is so important. It protects your investment and ensures your equipment stays powered.
Understanding Sealed Lead-Acid (SLA) Batteries
Before we dive into chargers, let’s quickly touch on what makes SLA batteries special. They are a type of lead-acid battery that the manufacturer seals, usually with a valve that lets out excessive pressure if needed. This makes them maintenance-free and less prone to leaks, which is great for indoor or portable use.
There are two main types of SLA batteries:
- VRLA (Valve Regulated Lead-Acid): These are the most common SLA batteries. They use a gel or absorbed glass mat (AGM) to hold the electrolyte in place.
- Gel Batteries: The electrolyte in gel batteries is mixed with silica to create a gel. They are good for deep discharge cycles and are less sensitive to position.
- AGM Batteries: The electrolyte in AGM batteries is absorbed into fine fiberglass mats. They are known for their fast charging capabilities and resistance to vibration.
These batteries are also classified by their voltage (commonly 6V or 12V) and capacity, measured in Amp-hours (Ah). Knowing these specs is your first clue to finding the right charger.
Key Features of a Good SLA Battery Charger
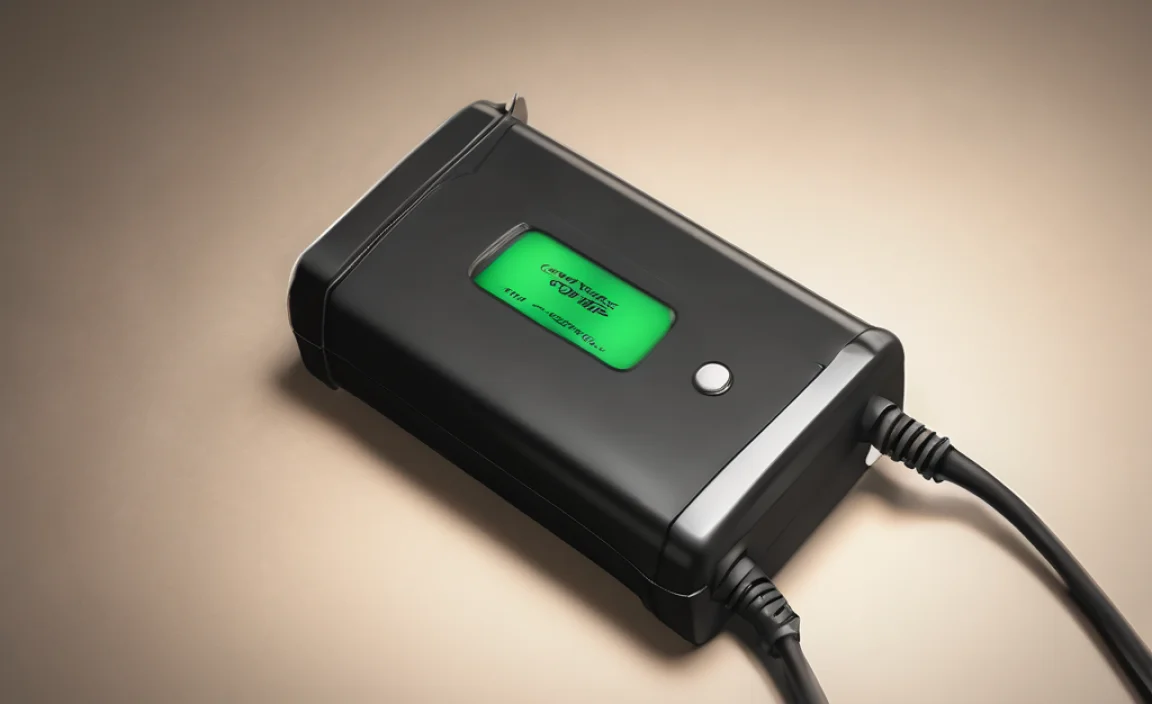
Not all chargers are created equal, especially when it comes to SLA batteries. A good charger is “smart” and designed to handle the specific way these batteries accept a charge. Here are the features to look for:
Multi-Stage Charging (The Gold Standard)
The best chargers use a process called multi-stage charging. This means they don’t just blast power into the battery; they use different stages to charge it safely and efficiently. The most common stages are:
- Bulk Stage: This is the fastest charging stage. The charger delivers a constant current at maximum voltage until the battery reaches about 80% charge.
- Absorption Stage: Once the battery reaches about 80%, the charger reduces the current but keeps the voltage constant. This slowly and safely fills the remaining 20% without overcharging.
- Float Stage: After the battery is fully charged, the charger switches to a much lower voltage and current. This “trickle” keeps the battery topped up and ready to go without overcharging or causing damage. It’s perfect for batteries that will be connected to the charger for long periods, like those in backup systems.
Some advanced chargers might have additional stages, like equalization or desulfation, but for most everyday users, bulk, absorption, and float are the key ones to understand.
Automatic Shut-Off
This is a critical safety feature. A good charger will automatically detect when the battery is fully charged and safely switch to a maintenance mode (float charge) or shut off completely. This prevents the battery from being damaged by overcharging, which can lead to overheating, gas venting, and a shortened lifespan.
Voltage and Amperage Matching
This is non-negotiable. The charger’s output voltage MUST match your battery’s voltage. A 12V battery needs a 12V charger. Using a charger with the wrong voltage can seriously damage the battery.
The amperage (current) of the charger also matters. A general rule of thumb is to use a charger with an amperage rating that is roughly 1/10th of the battery’s Ah capacity for a safe and efficient charge. For example, a 100Ah battery would do well with a 10A charger. A charger that is too high in amperage can overheat the battery, and one that is too low will take an extremely long time to charge.
Here’s a quick look at recommended charging currents:
| Battery Capacity (Ah) | Recommended Charger Amperage (A) | Charging Time (Approximate) |
|---|---|---|
| 10-20 Ah | 1-2 A | 8-12 hours |
| 20-50 Ah | 3-5 A | 6-10 hours |
| 50-100 Ah | 5-10 A | 6-10 hours |
| 100+ Ah | 10+ A (consider a higher amperage charger for faster charging) | Variable (depends on charger and battery) |
Always check the battery manufacturer’s recommendations, as they know their specific product best.
Battery Type Setting
Some advanced chargers allow you to select the type of battery you are charging (e.g., AGM, Gel, Flooded). This helps the charger optimize the charging profile for the specific chemistry and construction of your SLA battery.
Safety Features
Look for chargers with built-in safety protections:
- Reverse Polarity Protection: Prevents damage if you accidentally connect the positive and negative leads incorrectly.
- Short Circuit Protection: Shuts down the charger if the output leads are accidentally shorted.
- Overheat Protection: Shuts down the charger if it gets too hot during operation.
Choosing the Right Charger: A Step-by-Step Approach
Now, let’s put it all together. Here’s how to pick the perfect charger for your SLA battery:
Step 1: Identify Your Battery’s Specifications
This is the most crucial step. You need to know:
- Voltage: Is it a 6V, 12V, or another voltage battery? Usually printed on the battery label.
- Capacity (Ah): This tells you how much power the battery can store. Look for a number followed by “Ah” (e.g., 7Ah, 12Ah, 50Ah, 100Ah).
- Battery Type: Is it a general SLA, AGM, or Gel battery? While many chargers work for all types, some are optimized for specific ones.
You can usually find this information printed directly on the battery case. If not, consult your device’s manual or the battery manufacturer’s website.
Step 2: Determine Your Usage Needs
Consider how you’ll use the charger. This will help you decide which features are most important:
- Occasional Use / Maintenance: If you only need to top up a battery now and then or keep a backup battery charged, a simple, multi-stage charger with float mode is ideal. These are often smaller and more affordable.
- Frequent Charging / Powering Equipment: If you’ll be charging batteries regularly or using a charger to power a device (like a pump or fan) directly from AC power, you might need a more robust charger with a higher amperage.
- Emergency Power (UPS, Alarm Systems): For critical systems, a reliable charger with continuous float charging is essential.
Step 3: Select Charger Type and Features
Based on your battery specs and usage, choose a charger:
- Voltage Compatibility: Ensure the charger is selectable or designed for your battery’s voltage (6V or 12V are most common).
- Amperage Rating: Match the charger’s amperage to your battery’s Ah capacity. A charger that’s about 1/10th of the Ah rating is a good starting point. For example, a 12V, 50Ah battery would pair well with a 5A charger. You can often find chargers specifically labeled for “trickle charging” or “battery maintenance” which tend to have lower amperage.
- Multi-Stage Charging: Prioritize chargers with at least bulk, absorption, and float stages. This is the best way to care for your SLA battery.
- Automatic Shut-Off: This is a must-have safety feature for preventing overcharging.
- Battery Type Selector: If you have a specific type like AGM or Gel, a charger with a selector can provide optimal charging.
- Safety Protections: Look for reverse polarity and short circuit protection.
Step 4: Check for Certifications and Reviews
Reputable chargers often have safety certifications like UL or CE. Reading reviews from other users can also give you real-world insights into a charger’s performance and reliability.
Types of SLA Battery Chargers
There are several types of chargers you might encounter. Understanding their differences can help you make the best choice:
Smart Chargers / Automatic Chargers
These are generally the best option for SLA batteries. They use microprocessors to monitor the battery’s condition and adjust the charging process accordingly. They typically offer multi-stage charging and automatic shut-off.
- Pros: Safest for battery health, prevents overcharging, often have multiple modes, user-friendly.
- Cons: Can be more expensive than basic chargers.
- Best for: All SLA battery applications, especially for long-term maintenance or when battery longevity is a priority.
Trickle Chargers (Maintainers)
These chargers provide a very low, constant current to keep a fully charged battery topped up. They are designed for long-term maintenance and preventing self-discharge. They are essentially a very simple form of float charger.
- Pros: Very simple, inexpensive, great for long-term storage.
- Cons: Very slow, not suitable for charging a deeply discharged battery, some older models can eventually overcharge if not truly “automatic.”
- Best for: Vehicles or equipment that sit for long periods (e.g., classic cars, seasonal vehicles), keeping backup batteries ready.
Battery Maintainers
These are sophisticated trickle chargers that often use multi-stage charging to bring a battery up to full charge and then maintain it at the optimal voltage without overcharging. They are often confused with basic trickle chargers but are much more advanced and safer.
- Pros: Extends battery life, keeps batteries ready, safe for long-term connection.
- Cons: Can be more expensive than basic trickle chargers.
- Best for: Similar to trickle chargers but with better battery management.
Manual / Ferroresonant Chargers
These are older, simpler chargers that deliver a constant voltage or current. They don’t have sophisticated monitoring and can easily overcharge a battery if left connected for too long. They are often found in older automotive repair shops.
- Pros: Simple, robust, can sometimes be used to “jump start” a very dead battery in a pinch (with extreme caution).
- Cons: High risk of overcharging and damaging the battery, require constant monitoring, not recommended for modern SLA batteries.
- Best for: Generally not recommended for SLA batteries.
Solar Chargers
These use solar panels to charge batteries. They are great for off-grid applications but often have lower amperage and may require charge controllers to prevent overcharging. Many small solar units are simply maintainers.
- Pros: Renewable energy, great for remote locations.
- Cons: Charging speed depends on sunlight, may need a separate charge controller for larger batteries, can be slow.
- Best for: RVs, boats, remote power needs, maintaining batteries when away from AC power.
For most users, a “smart charger” or a good “battery maintainer” is the way to go for SLA batteries.
How to Connect and Use Your SLA Battery Charger Safely
Safety is paramount when working with batteries and electricity. SLA batteries can produce flammable hydrogen gas when charging, and lead-acid batteries contain corrosive acid. Always follow these guidelines:
Before You Start: Safety First!
Wear safety glasses and gloves. Ensure you are in a well-ventilated area, away from open flames or sparks.
Connection Steps
- Turn Off the Charger: Make sure the charger is unplugged from the AC power source and switched off.
- Identify Battery Terminals: Locate the positive (+) and negative (-) terminals on your SLA battery. Usually, the positive terminal is marked with a ‘+’ sign and is often red or larger, and the negative terminal is marked with a ‘-‘ sign and is often black.
- Connect the Positive Lead: Attach the red (positive) clamp from the charger to the positive terminal of the battery. Ensure a firm, secure connection.
- Connect the Negative Lead: Attach the black (negative) clamp from the charger to the negative terminal of the battery.
- Check for Sparks: A small spark when connecting the last clamp is normal due to the charger’s circuitry. However, if you get a large spark, disconnect immediately and re-check your connections and charger.
- Plug In and Turn On the Charger: Once both clamps are securely attached, plug the charger into a working AC outlet and turn it on (if it has a power switch).
- Select Settings (If applicable): If your charger has selectable voltage (6V/12V) or battery type settings (AGM/Gel), set them according to your battery’s specifications.
During Charging
- Monitor the Charger: Keep an eye on the charger’s indicator lights. They will typically show charging status (e.g., charging, fully charged, fault).
- Check Battery Temperature: Most smart chargers have overheat protection. If the battery feels unusually hot to the touch, or if the charger indicates an overheat condition, disconnect the charger immediately. A slightly warm battery during the bulk charging phase is normal.
- Ventilation: Ensure the area remains well-ventilated throughout the charging process.
After Charging
- Turn Off and Unplug the Charger: Before disconnecting, turn off the charger and unplug it from the AC power source.
- Disconnect Negative Lead First: Remove the black (negative) clamp from the battery terminal.
- Disconnect Positive Lead: Remove the red (positive) clamp from the battery terminal.
- Secure Battery Terminals: Ensure all battery terminals are clean and protected, especially if the battery will be stored for a while or reinstalled in a device.
External Resource: For detailed safety guidelines on lead-acid batteries, consult resources from organizations like the U.S. Environmental Protection Agency (EPA), which provides information on lead safety. Always refer to your specific battery and charger manuals for detailed instructions.
Troubleshooting Common SLA Battery Charging Issues
Even with the right charger, you might run into problems. Here are some common issues and how to address them:
| Problem | Possible Cause(s) | Solution(s) |
| :——————————————— | :———————————————————————— | :——————————————————————————————————————————————————————————————————————————————————————————————————————————————————————————————————————————–