Quick Summary
The ideal charging voltage for an AGM battery is typically between 14.4V and 14.8V for a 12V battery during the absorption charge phase, and around 13.5V to 13.8V for float charging. Using the correct voltage prevents damage and ensures optimal performance and lifespan. Always check your battery manufacturer’s specifications.
Charging Voltage for AGM Battery: Your Essential Guide
Ever get that sinking feeling when your car won’t start, or your outdoor gear suddenly loses power? For many of us, batteries are the unsung heroes that keep our lives running, and AGM (Absorbent Glass Mat) batteries are becoming super popular. But, what happens when it’s time to give them a boost? Charging them wrong feels like a big mystery, and you don’t want to accidentally zap your expensive battery. Don’t worry! This guide is here to make charging your AGM battery simple and safe, no technical mumbo-jumbo required. We’ll walk you through exactly what voltage you need, why it matters, and how to get it right every time. Ready to become an AGM charging pro? Let’s dive in!
Why Getting the Charging Voltage Right is Crucial
Think of your AGM battery like a delicate, high-performance athlete. It needs the right conditions to perform its best and stay healthy for a long time. Just like an athlete needs the right food and training, your AGM battery needs the precise charging voltage. Too high, and you risk cooking it alive, damaging its internal components and drastically shortening its life. Too low, and it might not get a full charge, leaving you stranded or with unreliable power when you need it most. Getting the voltage just right is the secret sauce to keeping your AGM battery happy, healthy, and ready to deliver power when you need it.
AGM batteries are special because their electrolyte is absorbed into mats of fiberglass. This design makes them more resistant to vibration and less prone to leaking than traditional flooded lead-acid batteries. However, this special construction also means they are more sensitive to overcharging. This is why understanding the correct charging voltage isn’t just a good idea – it’s essential for their longevity and performance.
Understanding AGM Battery Charging Phases
Charging an AGM battery isn’t a simple on-and-off switch. Modern smart chargers use a multi-stage charging process to take the best care of your battery. Understanding these stages helps you appreciate why specific voltages are important.
Stage 1: Bulk Charge
This is the initial stage where the charger delivers the maximum current the battery can accept at a relatively constant voltage. The goal here is to quickly replace most of the discharged battery’s energy. The voltage might start a bit lower and gradually increase as the battery accepts more charge, typically reaching the higher end of the absorption voltage range towards the end of this phase.
Stage 2: Absorption Charge
Once the battery reaches about 80-90% charged, the charger switches to this stage. The voltage is held constant at a specific level (this is where our key topic comes in!), and the current gradually decreases as the battery’s internal resistance increases. This stage ensures the battery is fully topped up without overcharging, converting any remaining chemical potential into stored energy.
Stage 3: Float Charge
After the absorption stage, the charger enters the float stage. Here, the voltage is significantly reduced to a much lower, stable level. The charger provides just enough current to counteract the battery’s natural self-discharge, keeping it at a full state of charge indefinitely without overcharging. This is perfect for batteries that are connected to the charger long-term, like those in storage or trickle-charged systems.
The Magic Numbers: What Voltage To Use?
So, what are these “magic numbers” for voltage? It depends slightly on the battery’s type and temperature, but here are the general guidelines for a standard 12-volt AGM battery:
Absorption Voltage
This is the most critical voltage to get right for a proper, full charge that won’t damage the battery. For most 12-volt AGM batteries, the ideal absorption voltage is between 14.4V and 14.8V. Some manufacturers might specify a slightly tighter range, so always check their manual!
- Why this range? This voltage is high enough to push the last bits of charge into the battery but low enough to prevent the electrolyte from boiling or the plates from being damaged.
- Temperature matters: AGM batteries can be sensitive to temperature. For every ~5°C (~9°F) above 25°C (77°F), you might need to slightly decrease the voltage (e.g., by 0.1V). Conversely, for temperatures below 25°C, you might need to slightly increase it. Many modern smart chargers have built-in temperature compensation for this.
Float Voltage
Once the battery is fully charged, it enters the float stage. The voltage is reduced to maintain the charge. For a 12-volt AGM battery, this is typically between 13.5V and 13.8V.
- Purpose: This level prevents the battery from discharging over time without overcharging or causing gassing. It’s like keeping the battery topped up and ready to go.
Equalization Voltage (Generally NOT Recommended for AGMs)
Some lead-acid batteries benefit from an occasional “equalization” charge, which is a slightly higher voltage designed to balance the charge among cells. However, for AGM batteries, equalization is generally NOT recommended and can cause irreversible damage. The delicate internal structure of an AGM battery can be destroyed by the higher voltages and potential gassing associated with equalization. Always consult your battery manufacturer’s guidelines; some rare deep-cycle AGMs might have specific equalization procedures, but it’s uncommon.
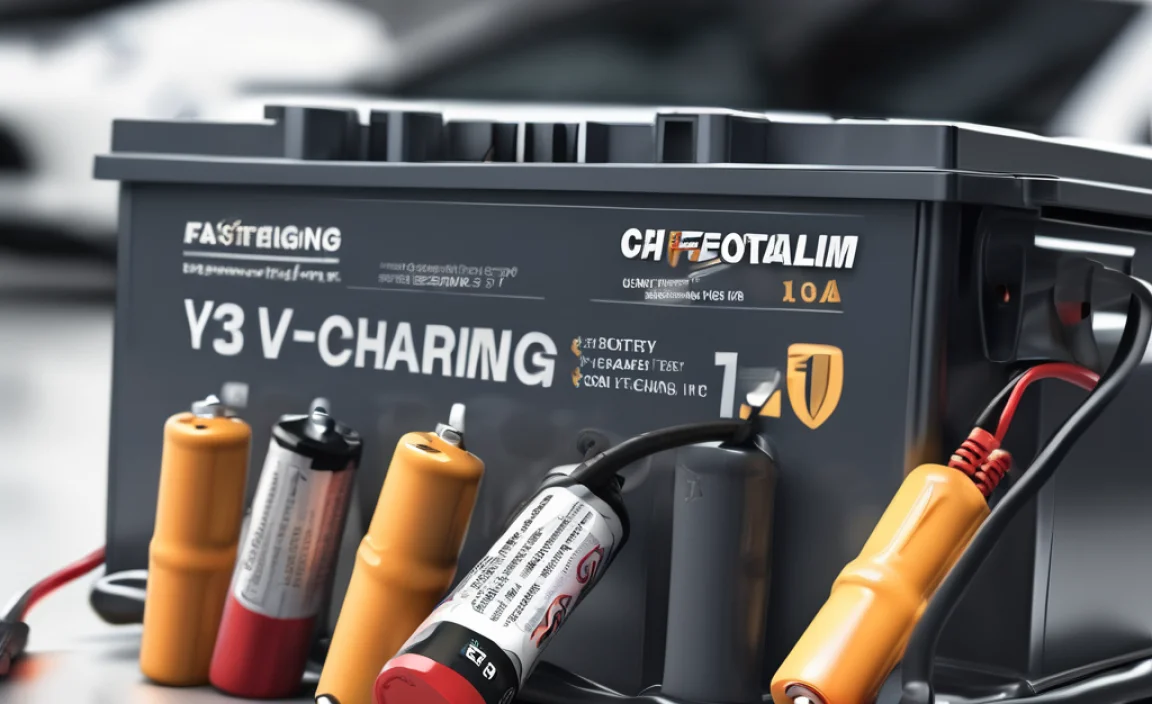
Charger Settings Matter: What to Look For
Not all chargers are created equal, and the one you use for your AGM battery is super important. A good charger will do most of the thinking for you.
Smart Chargers and Multi-Stage Charging
These chargers are designed to automatically detect the battery type and then manage the charging current and voltage through the different stages (bulk, absorption, float). This is the best option for AGM batteries and takes the guesswork out of the process. Look for chargers that specifically mention support for “AGM” batteries.
Adjustable Chargers
If you have an older or more basic charger that allows you to manually set the voltage and amperage, you’ll need to be more careful. Ensure you select the correct voltage setting (e.g., 14.4V or 14.8V for absorption) and monitor the charging process closely. It’s easy to set it too high or too low if you’re not experienced.
Voltage and Amperage Settings
Voltage: As discussed, this is key. Aim for 14.4V-14.8V for absorption.
Amperage: The charging current (measured in amps, A) should typically be around 10-25% of the battery’s Ah (Amp-hour) rating for a healthy charge. So, for a 100Ah battery, a charger with a 10A to 25A output would be suitable. A charger that is too high in amperage can charge too quickly and generate excessive heat, potentially damaging the battery. A charger that’s too low will take a very long time to charge, especially for deeply discharged batteries.
How to Measure Your Battery’s Charging Voltage
Want to double-check that your charger is doing its job correctly? You’ll need a multimeter. This is a simple tool that measures electrical properties like voltage.
What You’ll Need:
- A digital multimeter
- A clean, well-lit workspace
- Your AGM battery and its charger
- Safety glasses
Steps for Measuring Voltage:
- Safety First: Ensure the battery is not actively charging or discharging if possible, or if measuring during charging, be extra careful not to short the terminals. Wear safety glasses.
- Set Your Multimeter: Turn your multimeter dial to the DC Voltage setting (usually indicated by a ‘V’ with a straight line and/or dashed line above it). Select a range that is higher than the expected voltage (e.g., 20V if you expect around 12-15V).
- Connect the Probes: Identify the positive (+) and negative (-) terminals on your battery. The multimeter has two probes, usually red for positive and black for negative.
- Measure Battery Terminal Voltage (Unloaded): Connect the red probe to the positive (+) terminal and the black probe to the negative (-) terminal. Read the voltage displayed on the multimeter. A fully charged, resting 12V AGM battery will typically read around 12.8V to 13.0V.
- Measure Charging Voltage: Connect your charger to the battery and turn the charger on. With the charger active, carefully connect the multimeter probes to the battery terminals again (red to +, black to -). The multimeter should now show the voltage the charger is delivering to the battery. This is where you’ll check if it’s within the 14.4V-14.8V absorption range or the 13.5V-13.8V float range.
- Interpret the Readings: If the reading is within the recommended voltage range for the current charging stage, your charger is likely working as it should. If it’s significantly outside these ranges, you might need to adjust your charger settings or consider a different charger.
Common Pitfalls and How to Avoid Them
Even with the best intentions, it’s easy to make mistakes when charging batteries. Here are some common traps and how to steer clear:
Using the Wrong Charger Type
Problem: Using a charger designed for flooded lead-acid batteries on an AGM battery without proper settings. Some older “trickle chargers” simply deliver a constant low voltage which isn’t ideal for fully charging an AGM and can lead to sulfation over time.
Solution: Always use a smart charger specifically designed for or compatible with AGM batteries. These chargers have the correct voltage profiles and multi-stage charging capabilities. International organizations like the IEEE (Institute of Electrical and Electronics Engineers) offer standards and guidelines that manufacturers often follow when designing reliable charging systems.
Overcharging
Problem: Leaving a battery on a charger that doesn’t have an automatic shut-off or float mode for too long, especially at too high a voltage. This can literally cook the battery, causing the electrolyte to dehydrate and the plates to warp or shed active material.
Solution: Use a smart charger with automatic float mode. If using an adjustable charger, set a timer or monitor the charge cycle closely. Never leave a battery connected to a manual charger unattended for extended periods.
Undercharging
Problem: Not giving the battery enough time or voltage to reach a full charge. This can lead to sulfation, where lead sulfate crystals harden on the battery plates, reducing its capacity and lifespan. It also means you won’t get the full performance out of your battery.
Solution: Ensure your charger’s voltage is appropriate for the absorption phase. Allow the charger to complete its full cycle, especially the absorption phase, until the current significantly drops. For deeply discharged batteries, this can take many hours.
Incorrect Voltage Settings (Manual Chargers)
Problem: Manually setting the wrong voltage on an adjustable charger. For instance, setting a 2V battery charger (for a single cell) to a 12V AGM, or vice-versa, or just picking a random voltage. A 16V charger on a 12V AGM is a recipe for disaster.
Solution: Double-check and triple-check the voltage settings on your charger against the battery manufacturer’s recommendations. If you’re unsure, stick to a fully automatic smart charger. The Battery Council International offers guidance on battery standards and best practices.
Ignoring Temperature
Problem: Charging a battery in extremely hot or cold conditions without adjusting voltage can lead to undercharging (cold) or overcharging (hot), both of which are detrimental.
Solution: Charge batteries in a stable, moderate temperature environment (around 20-25°C or 68-77°F) whenever possible. If your charger has temperature compensation, ensure it’s enabled and ideally has a temperature probe attached to the battery.
Charging a Frozen Battery
Problem: A discharged battery can freeze. Attempting to charge a frozen battery can cause it to explode because the ice will expand and crack the casing.
Solution: Never attempt to charge a battery that is visibly frozen. Allow it to thaw completely in a safe place before connecting a charger.
AGM Charging Voltage Explained in a Table
Here’s a quick reference table summarizing the key voltages for a typical 12V AGM battery when using a smart charger.
| Charging Stage | Typical Voltage Range (12V AGM) | Purpose | Caution |
|---|---|---|---|
| Bulk Charge | Gradually increases, may reach absorption voltage | Rapidly replace discharged energy | Current is high; ensure charger can handle it. |
| Absorption Charge | 14.4V – 14.8V | Fully charge the battery without over-stressing it | Crucial stage; incorrect voltage leads to damage. |
| Float Charge | 13.5V – 13.8V | Maintain full charge, counteract self-discharge | Prevents overcharging during long-term storage. |
| Equalization Charge | Generally NOT Recommended (often 15.5V+) | Balance cell charge in some battery types | CAN DAMAGE AGMs. Avoid unless specified by manufacturer. |
Note: These values are for a 12V battery at approximately 25°C (77°F). Adjustments may be needed for different battery voltages (e.g., 6V or 24V) and temperatures.
When to Use a Specific AGM Charger
You might wonder if you really need a special “AGM charger.” The answer is often yes, especially if you want to guarantee the longest life and best performance from your battery.
Why Dedicated AGM Chargers are Better:
- Precise Voltage Control: They are programmed with the exact voltage profiles AGM batteries need at each stage.
- Temperature Compensation: Many come with probes to adjust charging voltage based on the battery’s actual temperature, preventing damage in hot or cold garages.
- Sulfation Prevention: Their intelligent algorithms help prevent sulfation, a major cause of battery failure.
- Battery Reconditioning: Some advanced chargers can even attempt to recover batteries that are showing signs of sulfation.
- Safety Features: They include features like spark-proof connections, reverse polarity protection, and automatic shut-off.
Using a Smart Charger for Other Powers on the Go:
While we’re talking about AGM batteries, it’s worth noting that the principles of smart charging apply to other portable power solutions too. For instance, a good quality battery technology research initiative often highlights the importance of efficient charging for everything from your phone battery to larger power banks. A charger designed to provide the correct voltage and current for lithium-ion phone batteries or the specific chemistries in power banks will protect them and ensure they charge quickly and safely.
AGM Batteries in Different Applications
AGM batteries are versatile and found in many places:
- Cars and Trucks: Especially modern vehicles with start-stop technology or high electrical demands.
- RV and Marine: For powering lights, appliances, and electronics when off the grid.
- Backup Power (UPS): Providing critical power during outages for computers and servers.
- Solar Power Systems: Storing energy generated by solar panels.
- Motorcycles and Powersports: Offering vibration resistance and reliable starting power.
In each of these applications, the correct charging voltage is paramount. A car battery charger needs to provide the right voltage for its starting battery, while a deep-cycle battery in an RV might need a slightly different charging profile (though still within the AGM voltage guidelines) to handle frequent deep discharges. The U.S. Environmental Protection Agency (EPA) often promotes energy-efficient technologies, and proper battery charging is a key part of that ecosystem.
Consider the voltage requirements if you’re setting up a 24V or 48V system for larger applications. These systems use multiple 12V batteries wired in series. You