Quick Summary
A dual battery setup for car audio, also known as a secondary battery system, provides dedicated power for high-demand audio electronics. This prevents draining your car’s main battery, especially during extended listening sessions or when the engine is off. It ensures your car starts reliably while powering your impressive sound system.
Dual Battery Setup for Car Audio: Essential Power for Your Sound System
Ever cranked up your car’s stereo and worried about whether you’ll be able to start your engine again? It’s a common concern, especially for car audio enthusiasts. Adding powerful amplifiers and subwoofers can put a huge strain on your car’s original battery. If you’re looking to enjoy your music without the risk of a dead battery, a dual battery setup for car audio is the perfect solution. It’s like giving your sound system its own personal powerhouse, keeping it separate from your car’s essential starting power. We’ll walk you through what it is, why you might need one, and how to get it set up, making sure you can enjoy your tunes safely and reliably.
Why You Need a Dual Battery Setup for Car Audio
Your car’s original battery is designed for one main job: starting your engine and running basic electrical systems like lights, wipers, and the radio. While it’s powerful enough for these tasks, modern car audio systems can draw significantly more power, especially when you’re not driving. Things like powerful amplifiers, large subwoofers, and multiple speakers demand a steady, high-current supply. When these demands exceed what the single factory battery can comfortably provide, you’ll start to notice problems.
These problems can include:
- Dimming headlights when the bass hits.
- The car struggling to start after playing music with the engine off.
- Damage to amplifiers or other audio components due to insufficient voltage.
- Even unexpected electrical system issues as your car tries to compensate.
A dual battery setup essentially adds a second battery specifically for your car audio gear. This second battery acts as a dedicated reservoir of power, meaning your stereo can draw heavily from it without impacting the primary battery’s ability to start your car. This is especially crucial for systems that are used frequently with the engine off, or for very high-power setups.
Understanding the Core Components
Before diving into the setup, it’s good to know the main players involved:
- Primary (Starter) Battery: This is your car’s original battery. It’s built for big bursts of power to crank the engine.
- Secondary (Deep Cycle) Battery: This is the new battery for your audio system. These batteries are designed to provide steady power over long periods and can be discharged more deeply than starter batteries without damage. Think of it like the power bank for your phone, but much bigger!
- Battery Isolator or Combiner: This is the brain of the operation. It works like a smart valve. When the alternator is running and charging, it allows the alternator to charge both batteries. But when the engine is off, or if the starter battery’s voltage drops too low, it disconnects the secondary battery, protecting your starter battery from being drained.
- Wiring and Fuses: Proper, heavy-gauge wiring is needed to handle the high current draw of audio equipment. Fuses are critical safety devices that protect your system from short circuits and power surges.
Is a Dual Battery Setup Right for You?
Not every car audio system screams for a dual battery setup. Here are some signs that you might benefit:
- You have a high-power amplifier: If your amplifier is rated at well over 500 watts RMS (Root Mean Square), it’s a significant power draw.
- You listen to music with the engine off: If you enjoy extended listening sessions without the engine running, your single battery will eventually deplete.
- You experience dimming lights or voltage drops: This is a clear indicator that your current battery is struggling to keep up.
- You’re planning a major audio upgrade: If you’re adding more amps, speakers, or subwoofers, plan ahead for the power demands.
- You want peace of mind: Even if you don’t experience issues yet, a dual battery system provides a robust power foundation for your audio, ensuring reliability.
Conversely, if you have a modest system with a stereo and a single small amplifier, a dual battery setup might be overkill. Always assess your current and future audio needs.
Types of Batteries for Your Secondary System
When choosing a secondary battery, you’ll generally look at two main types:
1. Deep Cycle Batteries
These are the most common choice for dual battery systems. They are designed to be discharged and recharged many times, providing a consistent amount of power over a longer period. This makes them ideal for powering audio equipment that draws power steadily.
- AGM (Absorbent Glass Mat): These are a popular type of deep cycle battery. They are sealed, spill-proof, and vibration-resistant, making them safe for in-car installation. They also offer good performance and lifespan.
- Gel Batteries: Similar to AGM, gel batteries are also sealed and spill-proof. They contain a gelled electrolyte. They can perform well in extreme temperatures but can be more sensitive to overcharging than AGMs.
2. Lithium-Ion Batteries
While more expensive upfront, lithium-ion batteries offer significant advantages for high-performance audio systems:
- Lighter Weight: They are considerably lighter than lead-acid batteries, which can be a plus in vehicle applications.
- Faster Charging: They can accept charge much faster.
- Deeper Discharge Cycles: They can be discharged much more deeply without significant degradation, often offering more usable capacity.
- Longer Lifespan: Typically, they last much longer than lead-acid batteries.
However, they require specific charging systems and often come with a Battery Management System (BMS) for safety and cell balancing. For beginners, AGM deep cycle batteries are often the most straightforward and cost-effective choice.
Choosing the Right Battery Isolator/Combiner
The battery isolator or combiner is crucial. It automatically manages the flow of power between your batteries. There are two main types:
1. Voltage-Sensitive Relay (VSR) Isolators (Smart Relays)
These are electronic devices that monitor the voltage of the starter battery. When the alternator is running and the starter battery voltage rises above a certain threshold (e.g., 13.2V – 13.7V), indicating it’s being charged, the VSR connects the two batteries together. When the voltage drops below a certain level (e.g., 12.7V – 13.2V), indicating the engine has been turned off or the starter battery is low, it disconnects the secondary battery. They are generally an inexpensive and simple solution.
2. DC-to-DC Chargers
These are more advanced and offer greater control. A DC-to-DC charger takes the input voltage from your alternator and converts it to the precise voltage and current needed to optimally charge your secondary battery. This is particularly beneficial for charging different battery chemistries (like lithium) or when you have an “smart” alternator on modern vehicles that doesn’t always provide a consistent charging voltage.
- Benefit: They provide a more controlled and efficient charge, extending battery life.
- Benefit: Some models also have built-in solar inputs for off-grid charging.
- Drawback: They are typically more expensive than a simple VSR.
For most beginner setups using AGM batteries, a good quality VSR isolator is sufficient. For those with advanced systems or specific battery chemistries, a DC-to-DC charger is a worthwhile investment.
Planning Your Dual Battery Installation
Before you grab your tools, a little planning goes a long way. Consider these points:
1. Battery Location
Where will the second battery go? Common locations include:
- In the spare tire well.
- In the trunk.
- In a custom-built battery box under the hood, if space allows.
Ensure the location is:
- Secure: The battery must be firmly mounted so it doesn’t move.
- Ventilated: Especially for flooded lead-acid batteries (though AGMs are sealed, good airflow is always wise).
- Dry: Protect it from moisture.
- Accessible: For maintenance and eventual replacement.
Consulting your vehicle’s service manual or online forums for your specific car model can reveal suitable spots. Resources like AutoSafety.org offer general vehicle safety guidelines that are good to keep in mind.
2. Battery Size and Capacity (Amp-Hours)
Your secondary battery needs to be large enough to power your audio system without being completely drained. For a modest system, a 50-75 Ah battery might suffice. For more demanding setups, you might need 100 Ah or more. Consider the total current draw of your amplifiers and how long you plan to play music at high volume.
3. Wiring Gauge and Fuse Sizing
This is critical for safety and performance. Use a wire gauge calculator (many are available online from reputable audio shops or electrical component suppliers) to determine the correct gauge of wire based on the current (amps) and the distance the wire will travel.
A good rule of thumb from the National Fire Protection Association (NFPA) emphasizes the importance of proper electrical wiring to prevent fires. Incorrectly sized wires can overheat and become a fire hazard.
Fuses should be placed as close to the battery as possible on both positive battery terminals. The fuse rating should be slightly higher than the continuous current draw of your audio equipment but low enough to protect the wiring and components.
DIY Dual Battery Installation: Step-by-Step Guide
Here’s a general guide for installing a dual battery setup. Remember to always disconnect your primary battery first and work safely!
Tools and Materials You’ll Need:
- Secondary deep cycle battery
- Battery isolator or DC-to-DC charger
- Battery tray or mounting hardware
- High-quality, appropriately gauged wire (red for positive, black for negative)
- Inline fuse holders and fuses
- Ring terminals, butt connectors, and heat shrink tubing
- Wire strippers and crimpers
- Socket set and wrenches
- Drill with various bits
- Zip ties and loom tubing for wire management
- Voltmeter/multimeter
- Safety glasses and gloves
Step-by-Step Installation:
- Safety First: Disconnect the Primary Battery. Using a wrench, disconnect the negative (-) terminal of your car’s original battery first, then the positive (+). Tuck the cables away to prevent accidental contact.
- Prepare the Secondary Battery Location. Clean the chosen area. If using a battery tray, secure it firmly to the vehicle’s chassis. If drilling is required, ensure you know what’s behind the mounting points to avoid damage.
- Mount the Secondary Battery. Place the new deep cycle battery into its tray or secure location. Ensure it’s held down tightly.
- Install the Battery Isolator/Combiner. Mount your Battery Isolator or VSR relay according to its manufacturer’s instructions. This is often done near the primary battery or in a central location.
- Wire the Isolator to the Primary Battery.
- Connect a heavy-gauge positive cable from the positive (+) terminal of the primary battery to the designated “Battery 1” or “Source” terminal on the isolator. Install an inline fuse holder with the correct fuse rating on this cable as close to the primary battery as possible.
- Connect a heavy-gauge negative cable from the negative (-) terminal of the primary battery to a suitable ground point on the vehicle’s chassis.
- Wire the Isolator to the Secondary Battery.
- Connect a heavy-gauge positive cable from the “Battery 2” or “Auxiliary” terminal on the isolator to the positive (+) terminal of the secondary battery. Install another inline fuse holder with the correct fuse rating on this cable as close to the secondary battery as possible.
- Connect a heavy-gauge negative cable from the “Ground” or “Battery 2 Ground” terminal on the isolator to the negative (-) terminal of the secondary battery (or a dedicated ground stud if part of your isolator’s setup).
- Wire Your Car Audio System.
- Connect the main power wire from your amplifier(s) to the positive (+) terminal of the secondary battery. IMPORTANT: Use a large fuse or circuit breaker rated for your amplifier’s total current draw, installed close to the secondary battery.
- Connect the ground wire(s) from your amplifier(s) to a solid, clean metal ground point on the vehicle’s chassis. Ensure this ground connection is robust – a poor ground can cause many audio problems.
- Secure and Tidy Wiring. Use zip ties and loom tubing to neatly secure all wiring. Keep wires away from hot engine components, moving parts (like steering columns or exhaust systems), and sharp edges.
- Test the System.
- Reconnect the negative terminal of the primary battery, followed by the positive terminal.
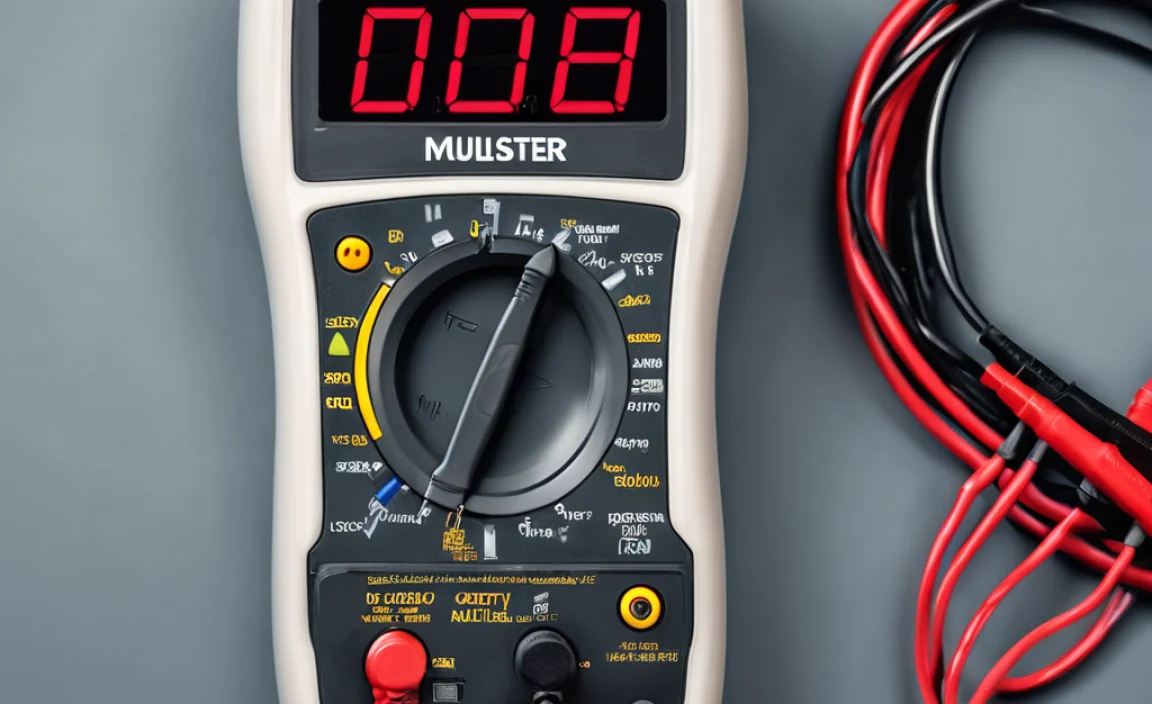
- Start the engine. Use your multimeter to check the voltage at both battery terminals. The voltage should be above 13.5V while the engine is running, indicating the alternator is charging.
- Check the indicator light on your isolator (if it has one) to confirm it’s engaged, showing both batteries are now connected and charging.
- Turn off the engine. The isolator should now disconnect the batteries. Check the voltage at the secondary battery – it should remain stable, as it’s no longer connected to the primary battery.
- Turn on your car stereo and test its performance.
Important Note: The exact wiring and installation process can vary significantly based on the specific battery isolator/combiner you choose and your vehicle’s electrical system. Always refer to the manufacturer’s installation manual for your isolator and consult your vehicle’s repair manual if you’re unsure about any steps.
Table: Pros and Cons of Different Battery Types
Here’s a quick comparison to help you decide:
| Battery Type | Pros | Cons | Best For |
|---|---|---|---|
| AGM (Absorbent Glass Mat) | Sealed, spill-proof, vibration resistant, good lifespan, relatively affordable | Can be sensitive to overcharging, heavier than lithium | Most car audio setups, beginners, good all-around performance |
| Gel | Sealed, spill-proof, good in extreme temps. | More sensitive to overcharging, can be more expensive than AGM, less common for car audio | Specific applications where temperature extremes are a factor. |
| Lithium-Ion (LiFePO4) | Very lightweight, deep discharge cycles, long lifespan, fast charging, high power output | High upfront cost, requires specific BMS and charging/isolator, can be over-engineered for simple setups | High-end, competition-level car audio, systems where weight is critical, or extreme deep-cycling is needed. |
Maintaining Your Dual Battery System
Just like any part of your car, your batteries and isolator need a little care to perform their best:
- Regularly check connections: Ensure all wire terminals are tight and free of corrosion.
- Inspect for damage: Look for any signs of leaks, cracks, or swelling on the battery cases.
- Keep terminals clean: A wire brush and a terminal cleaner can help keep corrosion at bay. A thin coating of dielectric grease can offer protection.
- Monitor battery health: Periodically check the voltage of both batteries when the engine is off and running. If you notice a consistent significant drop in voltage or a battery that doesn’t hold a charge well, it might be time for a replacement.
- Understand your isolator’s status: Pay attention to any indicator lights on your isolator. They can signal if it’s charging, disconnected, or if there’s a fault.
Safety Tips for Working with Batteries
Batteries contain corrosive acid and can produce flammable hydrogen gas. Always exercise caution:
- Wear safety glasses and gloves: Protect your eyes and skin from battery acid.
- Work in a well-ventilated area: Especially if using flooded lead-acid batteries.
- Avoid sparks: Never smoke near