A dual battery tray for boats lets you run more accessories and offers a reliable backup power source, ensuring you never get stranded out on the water. This essential upgrade is easily installed and provides peace of mind for any boater.
Boating is all about freedom and fun, but nothing kills a good time faster than a dead battery. Whether you’re enjoying a day of fishing with the sonar running, powering up the music for a cruise, or just need to start your engine, your boat’s battery is the heart of it all. Sometimes, one battery just isn’t enough. That’s where a dual battery setup comes in, made possible by a sturdy dual battery tray. This simple-yet-crucial upgrade gives you the power you need and a vital backup, so you can focus on enjoying the waves, not worrying about getting home. Let’s dive into why a dual battery tray is such a smart move for any vessel.
Why Your Boat Might Need Two Batteries
Think of your boat’s electrical system like your car’s, but often with more demands out on the water. You’ve got your essential engine starting battery, which needs to deliver a strong burst of power to get you going. Then there are all the “house” loads: running lights, fish finders, GPS, radios, bilge pumps, livewells, and even refrigerators or stereos on larger boats. These accessories draw power continuously, and running them all off your starting battery can drain it surprisingly quickly.
This is where a second battery becomes your best friend. It acts as a dedicated power source for your accessories, leaving your starting battery fully charged and ready to fire up the engine when you need it. Plus, if one battery fails, you have a backup to get you back to shore safely.
What Exactly is a Dual Battery Tray?
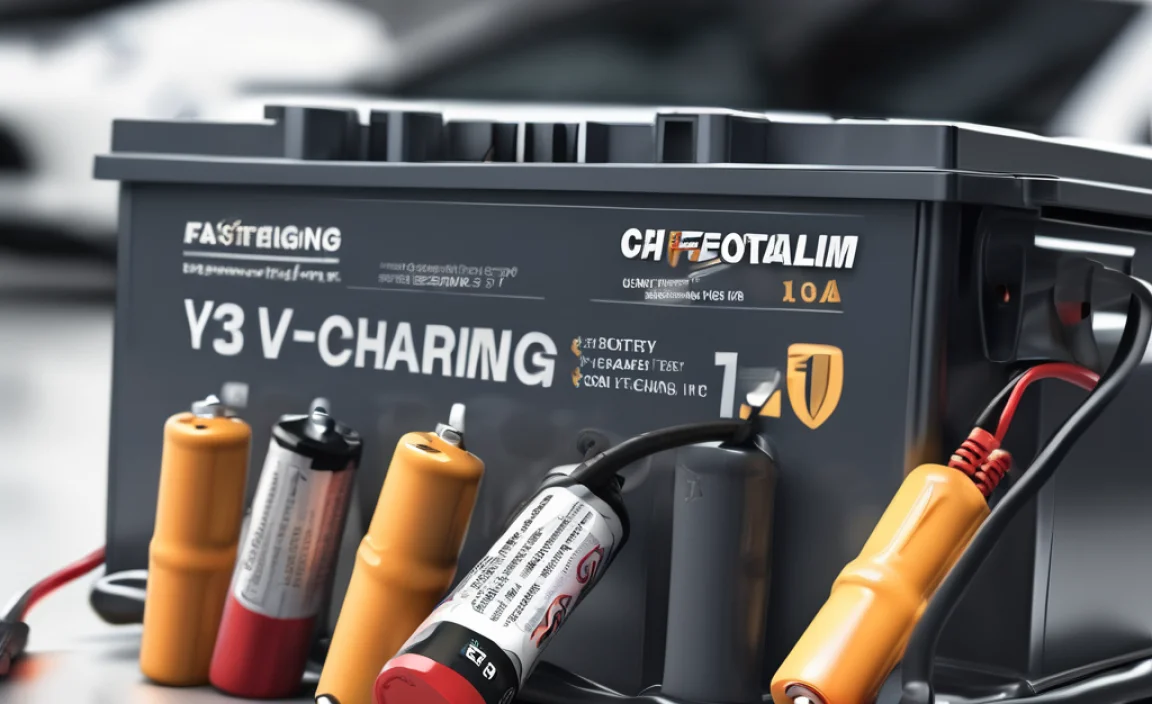
A dual battery tray is essentially a secure mounting system designed to hold two marine batteries on your boat. Marine batteries are built tough to handle vibrations, saltwater environments, and the unique demands of boat life. A good dual battery tray keeps these heavy batteries firmly in place, preventing them from shifting due to waves or movement. This is crucial for safety and also protects the batteries and your boat’s wiring from damage.
These trays are typically made from strong, corrosion-resistant materials like marine-grade aluminum or heavy-duty plastic to withstand the harsh marine environment. They come in various sizes and configurations to accommodate different battery types and boat layouts.
The Benefits of a Dual Battery System
Upgrading to a dual battery system with a dedicated tray offers some fantastic advantages:
Extended Cruising and Fishing Time: Run your electronics, lights, and accessories for longer without worrying about draining your starting battery.
Reliable Engine Starting: Your starting battery remains dedicated to the engine, ensuring you can start up every time, even after a long day of accessory use.
Backup Power: If one battery fails, the other can still power essential systems, including getting you back to the dock.
Powering More Accessories: Enjoy more of the creature comforts and essential equipment that make boating enjoyable, from entertainment systems to advanced navigation.
Improved Battery Longevity: By isolating accessory loads from starting loads, you reduce deep cycling on your starting battery, potentially extending its lifespan.
Choosing the Right Dual Battery Tray
Not all battery trays are created equal. When selecting one for your boat, keep these factors in mind:
Material Matters
Marine-Grade Aluminum}{Marine-grade aluminum is lightweight, strong, and highly resistant to corrosion in saltwater. Look for anodized or powder-coated finishes for extra protection.
Heavy-Duty Plastic}{High-quality, UV-stabilized marine plastic trays are also a great option. They are lightweight, naturally corrosion-proof, and often more affordable. Ensure it’s specifically designed for marine use.
Size and Fitment
Battery Dimensions: Measure your existing batteries (or the batteries you plan to purchase) to ensure the tray can accommodate them. Consider both length, width, and height. Double-check if you’re using standard group size batteries or something less common.
Available Space: Inspect the area where you plan to mount the tray. Ensure there’s enough room not just for the tray and batteries, but also for access to terminals and connections.
Mounting Options
Fixed Trays: These are designed to be bolted directly to a flat surface. They offer excellent stability.
Adjustable Trays: Some trays have adjustable dividers or arms, making them versatile for different battery sizes and box configurations.
Hardware Included
Corrosion-Resistant Hardware: A good tray will come with stainless steel bolts, nuts, and washers to prevent rust and ensure a secure, long-lasting installation.
Ventilation
Ensure the tray design allows for adequate airflow around the batteries. This helps prevent overheating, especially in warmer climates or during heavy use.
Safety Standards
Some trays are designed to meet specific marine safety standards, which can be a good indicator of quality and durability.
Types of Marine Batteries for a Dual System
For a dual battery setup on a boat, you’ll typically want to use two deep-cycle marine batteries or a combination of a starting battery and a deep-cycle battery.
Starting Batteries: These are designed to deliver a large amount of power for a short time to crank your engine. They are not built for repeated deep discharges.
Deep-Cycle Batteries: These are built to provide a steady supply of power over a longer period. They can be discharged more deeply and recharged many times. This makes them ideal for powering all your boat’s accessories.
Often, boaters will use a dedicated starting battery and a deep-cycle battery managed by a dual-battery switch or a smart battery isolator. This ensures your starting battery is always ready while your deep-cycle battery handles the house loads.
Recommended Battery Types:
AGM (Absorbent Glass Mat) Batteries: These are a popular choice for marine applications. They are sealed, spill-proof, vibration-resistant, and handle deep discharges well. They can also be mounted in various orientations.
Lead-Acid (Flooded) Batteries: Classic and reliable, these are often more affordable. However, they require regular maintenance (checking water levels) and must be installed upright to prevent leaks.
Lithium Batteries: While more expensive upfront, lithium batteries offer significant advantages like lighter weight, faster charging, longer lifespan, and the ability to use almost their entire capacity without damage.
Installing Your Dual Battery Tray: A Step-by-Step Guide
Installing a dual battery tray is a project many DIY boaters can tackle. Safety is paramount when working with batteries, so always follow these precautions.
Safety First!
Disconnect Power: Always disconnect both ends of the battery cables (positive and negative) before starting any work. Start with the negative terminal.
Wear Safety Gear: Use safety glasses to protect your eyes from sparks or acid. Consider wearing gloves.
Work in a Ventilated Area: Batteries can emit explosive hydrogen gas. Ensure good ventilation.
Avoid Sparks: Never smoke or have open flames near batteries. Keep metal tools away from battery terminals to prevent accidental short circuits.
Understand Your Battery: Familiarize yourself with the type of batteries you are using.
Tools You’ll Need:
New Dual Battery Tray
Two marine batteries (ensure they are the correct type and size for your needs)
Wrench set (for battery terminals and tray mounting bolts)
Socket set and ratchet
Drill and drill bits (if mounting to a new location)
Screwdriver set
Wire brush (for cleaning terminals)
Battery terminal cleaner and protector spray
Cable cutters/strippers (if you need to resize or modify cables)
New battery cables (optional, but recommended if your existing ones are short or damaged)
Fuses or circuit breakers (essential for battery isolation/switching)
Dual battery switch or battery isolator (if not already installed)
Zip ties or cable clamps for securing wiring
Installation Steps:
1. Choose the Location:
Find a secure, dry, and well-ventilated spot on your boat. Common locations include battery compartments, under seats, or in a dedicated locker.
Ensure the chosen spot can support the weight of two batteries and the tray.
Consider proximity to the engine (for starting battery cables) and your boat’s electrical panel (for house loads).
2. Prepare the Mounting Surface:
Clean the area where the tray will be mounted.
If you’re drilling new holes, mark their positions carefully through the tray’s mounting holes.
Drill pilot holes and then appropriate-sized holes for your mounting hardware. If drilling into fiberglass, consider using sealant to prevent water intrusion.
3. Mount the Dual Battery Tray:
Position the tray over the drilled holes.
Secure the tray using the provided mounting hardware (screws, bolts, nuts, washers). Make sure it’s firmly attached and doesn’t wobble. Stainless steel hardware is highly recommended for marine use.
4. Install the Batteries:
Carefully place the batteries into the tray. Ensure they fit snugly and are oriented correctly according to their design (e.g., upright for flooded lead-acid).
Secure the batteries within the tray using any straps or hold-down mechanisms included with the tray or supplied separately. Most trays have integrated straps or tie-down points.
5. Wire the System (Crucial Step – Seek Professional Help if Unsure!):
This is the most complex part and depends heavily on whether you’re using a simple isolator, a manual switch, or an automatic switch.
_If using a Dual Battery Switch (Manual):_
Connect the positive terminal of Battery 1 to the “1” terminal on the switch.
Connect the positive terminal of Battery 2 to the “2” terminal on the switch.
Connect the main positive lead (usually going to the engine starter or distribution panel) to the “BOTH” or “COMMON” terminal on the switch.
Connect the negative terminals of both batteries together with a strong cable. Then, connect this common negative point to the boat’s main ground.
Important: Always ensure the switch is set to “OFF” or “1” or “2” (not “BOTH” when starting the engine, unless specifically designed for that) to avoid wiring issues or battery damage. Consult your switch’s manual.
_If using a Battery Isolator (Automatic):_
An isolator typically has one input from the alternator and two outputs, one for each battery.
Connect the alternator output to the isolator’s input terminal (often marked with a symbol for the alternator).
Connect the isolator’s output for the starting battery to the positive terminal of your starting battery.
Connect the isolator’s output for the house battery to the positive terminal of your deep-cycle battery.
Connect the negative terminals of both batteries together as a common ground, and then connect this common point to the boat’s ground.
_If using a Smart Battery Combiner/Manager:_
These devices automatically manage charging for both batteries and can connect/disconnect them based on voltage levels. Installation varies by brand, so follow the manufacturer’s specific instructions closely. Typically involves connecting to the alternator and each battery.
_General Wiring Tips:_
Use appropriately sized, marine-grade battery cables. Thicker cables are needed for higher current applications (like starting). Loose or undersized cables are a fire hazard.
Clean all battery terminals and cable ends thoroughly with a wire brush before connecting.
Apply a battery terminal protector spray after making connections to prevent corrosion.
Ensure all connections are tight and secure.
Install appropriate fuses or circuit breakers on the positive lines, as close to the battery as possible, to protect your wiring and equipment. The size of the fuse/breaker should match the requirements of the circuit it’s protecting. You can find comprehensive guides on marine wiring at resources like the BoatUS Foundation for Boating Safety which often has excellent diagrams and advice.
6. Test the System:
Double-check all your connections.
Turn on your battery switch (if applicable) to the desired setting.
Start the engine.
Test your accessories.
Monitor battery voltage with a multimeter (or your boat’s voltmeter) to ensure batteries are charging correctly.
Considerations for Different Boat Types:
Small Fishing Boats: Often, a single deep-cycle battery for electronics and a starting battery is sufficient. A basic isolator is a great, simple solution.
Sailboats: Often require larger deep-cycle banks for running navigation equipment, lights, and cabin amenities for extended periods overnight. A robust dual battery system with a smart combiner or a multi-position switch is common.
Powerboats/Cruisers: May have multiple high-demand accessories like refrigerators, air conditioning, or powerful sound systems, necessitating larger batteries and a well-managed dual (or even triple) battery system.
Maintaining Your Dual Battery System
Once installed, proper maintenance ensures your dual battery system lasts and performs reliably.
Regular Inspections: Periodically check the battery terminals for corrosion. Clean them with a wire brush and apply a protector. Ensure the battery hold-downs are still tight.
Check Water Levels (Flooded Batteries): If you’re using flooded lead-acid batteries, check the electrolyte levels monthly and top up with distilled water as needed. Never overfill.
Monitor Battery Health: Use a multimeter or a dedicated battery monitor to check voltage levels. Understand what healthy voltage looks like for your batteries (typically around 12.6-12.8V when fully charged and at rest).
Keep Batteries Charged: When the boat is not in use for extended periods, use a marine battery charger designed for your battery type (AGM, flooded, lithium) to keep them topped up. Deep discharge can significantly shorten a battery’s life.
Cleanliness: Keep the battery tray and surrounding area clean and free of debris.
Understand Your Switch/Isolator: Know how your dual battery switch or isolator operates. Regularly test the functionality of your chosen system.
Troubleshooting Common Issues
Even with the best setup, you might encounter hiccups. Here are a few common ones and how to address them:
| Issue | Possible Cause | Solution |
| :————————– | :——————————————– | :———————————————————————————————————————————- |
| Engine Won’t Start | Battery 1 dead, switch on “2” | Turn switch to “1” or “BOTH” (if engine is connected to “BOTH” and Battery 1 is not dead). |
| | Both batteries dead | Use shore power charger, or attempt jump start (carefully, see safety guidelines). |
| | Loose or corroded connection | Check and clean all battery terminals and cable connections. |
| Accessories Not Working | Battery 2 dead, switch on “1” | Turn switch to “2” or “BOTH”. |
| | Undersized or faulty cables | Check cable integrity and size; replace if necessary. |
| | Blown fuse or tripped circuit breaker | Locate and replace the blown fuse or reset the breaker for the accessory circuit. |
| | Bad connection at accessory | Inspect wiring and connections for the specific accessory. |
| Batteries Not Charging | Alternator issue | Check alternator output voltage (should be around 13.5-14.5V when engine is running). If low, alternator may need service. |
| | Faulty battery isolator or switch | Test the isolator/switch functionality. Consult the manufacturer’s troubleshooting guide or consider replacement. |
| | Loose or corroded charging cable connection | Inspect and clean the connection between the alternator and the battery system. |
| | Dead batteries | Old or damaged batteries may no longer hold a charge. Test batteries individually. |
Frequently Asked Questions (FAQs)
Q1: Do I really need a dual battery tray? Can’t I just put two batteries side-by-side?
While you could place batteries next to each other, a dedicated dual battery tray is essential for safety and security. It prevents the heavy batteries from shifting or tumbling in rough seas, which can cause serious damage, short circuits, or even injuries. The tray also provides a stable, organized mounting point.
Q2: What’s the difference between a battery isolator and a battery switch?
A battery isolator (often automatic) uses diodes to allow your alternator to charge both batteries but prevents them from discharging into each other. A battery switch (manual) lets you select which battery to use, or combine them, giving you more control but requiring intervention from the user.
Q3: Can I use different types of batteries in a dual battery system?
It’s generally best to use two identical batteries (same brand, model, and age) to ensure they charge and discharge evenly, prolonging their life. If you must mix, use a starting battery for starting duties and a deep-cycle battery for accessories, managed by a switch or isolator that accounts for their different characteristics. Avoid mixing old batteries with new ones.
Q4: How much does a dual battery tray and installation typically cost?
The cost of a dual battery tray can range from $50 to $200 for the tray itself, depending on material and brand. Batteries themselves will add $100-$500+ each. Installation costs can vary widely if you’re paying a professional, from a couple of hundred dollars to $500+, depending on the complexity of the