
Your laptop’s monitor adapter is a crucial component that can significantly enhance your workspace by allowing you to connect to external displays. Choosing the right adapter ensures compatibility, provides the best visual experience, and is a straightforward upgrade anyone can manage.
Ever feel like your laptop screen is just too small for all your tasks? You’re not alone! Many of us wish we had more space to spread out our work, be it spreadsheets, design projects, or even just having multiple websites open at once. The good news is, you don’t necessarily need a whole new laptop. Often, a simple monitor adapter is all it takes to unlock a world of bigger, better viewing with an external monitor. It’s a game-changer for productivity and comfort, and getting it right is easier than you might think. Let’s explore how to pick and use the perfect monitor adapter for your laptop!
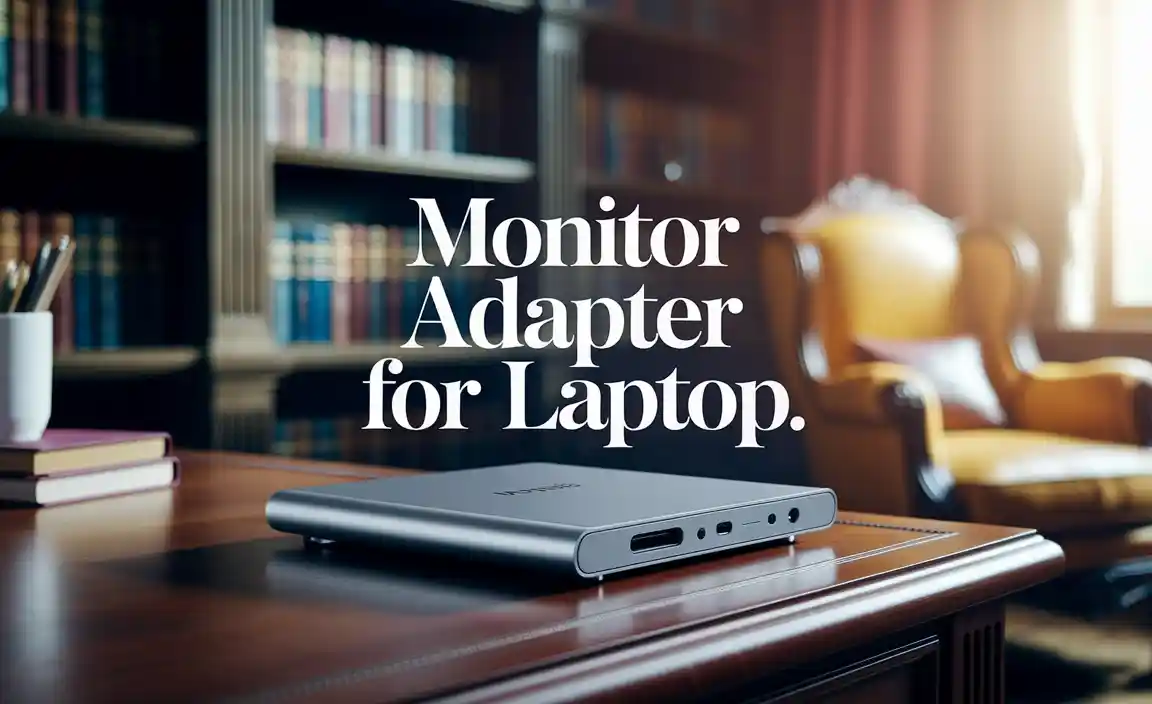
Why a Monitor Adapter for Your Laptop is a Smart Move
Think of your laptop’s graphics port as a gateway. A monitor adapter is like having the right key to unlock that gateway and connect it to a larger, often more comfortable external display. This isn’t just about making things bigger; it’s about making your digital life easier.
Boosting Productivity
Adding an external monitor can seriously boost how much you get done. Imagine having your main project on a big screen while having reference materials or your email on another. This “dual-monitor” setup means less clicking back and forth between windows. Studies, like those highlighted by TechRepublic, have shown that dual monitors can increase productivity by up to 40%. That’s a huge jump!
Better for Your Eyes
Staring at a small laptop screen for long periods can strain your eyes. A larger external monitor, especially one with a crisp resolution, can be much easier on your vision. You can often position an external screen at a more ergonomic height and distance, reducing neck and eye strain. This simple change can make a big difference in your daily comfort.
More Versatile Work Setup
A monitor adapter transforms your portable laptop into a more powerful workstation. You can connect to large office monitors, home TVs, or even projectors for presentations. This versatility means you can adapt your setup to wherever you are, whether it’s at your desk at home, in a conference room, or while traveling.
Cost-Effective Upgrade
Buying a new, high-spec laptop can be expensive. Often, the laptop you already have is quite capable, but it’s limited by its built-in screen. A monitor adapter, along with an external monitor, is usually a much more affordable way to achieve a significant upgrade in your computing experience.
Understanding Your Laptop’s Ports
Before you can connect to a new, exciting external display, you need to know what kind of connections your laptop supports. This is like checking the size of the bolt you need to fit a specific nut. Your laptop likely has one or more of these common video output ports:
HDMI (High-Definition Multimedia Interface)
HDMI is the most common video and audio connection on modern laptops and monitors. It’s known for its simplicity and ability to carry both high-definition video and sound over a single cable. If both your laptop and monitor have HDMI ports, this is usually the easiest and best option.
- Pros: Carries both video and audio, widely available, supports high resolutions and refresh rates.
- Cons: Cables can sometimes be a bit stiff, older versions have limited bandwidth for extremely high resolutions/refresh rates compared to newer standards.
DisplayPort
DisplayPort is another excellent digital interface, often found on business laptops and higher-end monitors. It’s known for supporting very high resolutions and refresh rates, making it ideal for gaming and professional visual work. DisplayPort can also be adapted to other formats like HDMI.
- Pros: Excellent for high resolutions and refresh rates, supports multiple monitors from a single port (with some configurations), can carry audio.
- Cons: Less common on consumer laptops than HDMI, does not inherently carry analogue signals.
USB-C (with DisplayPort Alternate Mode or Thunderbolt)
USB-C is a newer, versatile connector that can do many things, including sending video signals. When your laptop’s USB-C port supports “DisplayPort Alternate Mode” (often written as DP Alt Mode) or is a Thunderbolt 3 or 4 port, it can output video. This is becoming increasingly common on slim laptops that lack traditional video ports.
- Pros: Can carry video, data, and power, versatile, becoming standard on newer devices, offers high bandwidth with Thunderbolt.
- Cons: Not all USB-C ports support video output, requires careful checking of your laptop’s specifications.
VGA (Video Graphics Array)
VGA is an older, analogue video connection. You’ll mostly find it on older laptops and monitors. While it still works, the video quality isn’t as sharp or clear as digital connections like HDMI or DisplayPort, especially at higher resolutions.
- Pros: Very common on older equipment.
- Cons: Analogue signal degrades easily, lower quality video, does not carry audio, becoming obsolete.
DVI (Digital Visual Interface)
DVI is a digital connection that was popular before HDMI became standard. It generally offers better quality than VGA but typically only carries video, not audio. You might still encounter it on older monitors.
- Pros: Better digital quality than VGA without audio.
- Cons: Less common now, doesn’t carry audio, bulkier than HDMI.
What Type of Monitor Adapter Do You Need?
The type of monitor adapter you need depends entirely on the ports available on your laptop and the ports on the monitor you want to connect. Here’s how to figure it out:
Step 1: Identify Your Laptop’s Video Output Port(s)
Look at the sides of your laptop. You’ll see various connectors. Find the ones labeled or shaped like one of the ports we discussed (HDMI, DisplayPort, USB-C, VGA, DVI). If you’re unsure, check your laptop’s user manual or the manufacturer’s website. For USB-C, look for a lightning bolt symbol (Thunderbolt) or a “DP” symbol next to it, which indicates DisplayPort Alt Mode.
Step 2: Identify Your Monitor’s Input Port(s)
Now, look at the back or bottom of your external monitor. Find the available input ports. These will likely be HDMI, DisplayPort, DVI, or VGA.
Step 3: Match Them Up and Choose Your Adapter
Your goal is to connect your laptop’s output port to your monitor’s input port. The adapter you choose will convert one type of signal to another if they don’t match directly.
Here are some common adapter scenarios:
Scenario 1: Laptop has HDMI, Monitor has HDMI
No adapter needed! You can use a standard HDMI cable to connect them directly. This is the simplest scenario.
Scenario 2: Laptop has USB-C (with DP Alt Mode/Thunderbolt), Monitor has HDMI
You’ll need a USB-C to HDMI adapter or cable. This allows your laptop to send a video signal through its USB-C port, which the adapter converts into an HDMI signal for your monitor.
Scenario 3: Laptop has DisplayPort, Monitor has HDMI
You’ll need a DisplayPort to HDMI adapter or cable. Many adapters are “active,” meaning they actively convert the signal. For most setups, a standard DisplayPort to HDMI adapter will work fine.
Scenario 4: Laptop has HDMI, Monitor has DisplayPort
You’ll need an HDMI to DisplayPort adapter. Be mindful here, as some adapters are unidirectional (only work one way). Ensure you get one that converts HDMI to DisplayPort.
Scenario 5: Older Laptop (VGA) to Newer Monitor (HDMI)
You’ll need a VGA to HDMI converter. This is a more complex conversion as it involves changing an analogue signal to a digital one. These converters sometimes require external power.
Common Adapter Types and Their Uses
| Laptop Port | External Monitor Port | Adapter Needed | Notes |
|---|---|---|---|
| USB-C (DP Alt Mode/Thunderbolt) | HDMI | USB-C to HDMI Adapter/Cable | Most common with modern ultrabooks. |
| USB-C (DP Alt Mode/Thunderbolt) | DisplayPort | USB-C to DisplayPort Adapter/Cable | Good for high refresh rates. |
| DisplayPort | HDMI | DisplayPort to HDMI Adapter/Cable | Simple conversion for many users. |
| HDMI | DisplayPort | HDMI to DisplayPort Adapter/Cable | Check for correct directionality. |
| Mini DisplayPort | HDMI | Mini DisplayPort to HDMI Adapter/Cable | Found on some older Apple devices or Windows laptops. |
| VGA | HDMI | VGA to HDMI Converter | Analogue to Digital conversion, may need power. |
What to Look for When Buying a Monitor Adapter
Not all adapters are created equal. Here are a few things to keep in mind to make sure you get a good quality adapter that will serve you well:
Resolution and Refresh Rate Support
Check the adapter’s specifications. Does it support the resolution (e.g., 1080p, 4K) and refresh rate (e.g., 60Hz, 144Hz) that your monitor is capable of and that you want to use? A 4K 60Hz adapter will let you enjoy crisp images on a 4K monitor at a smooth rate. If the adapter can’t handle the resolution, your picture won’t look its best, or it might not work at all.
Build Quality and Durability
A cheap, flimsy adapter might work for a while, but it could fail unexpectedly. Look for adapters with sturdy connectors and a well-protected cable. Brands known for quality accessories often provide more reliable products.
Brand Reputation and Reviews
Do some research! Check online reviews for the specific adapter model you’re considering. See what other users have experienced. Reputable brands like Cable Matters, Anker, UGREEN, or StarTech often have good track records for accessories.
Compatibility (Especially for USB-C)
As mentioned, not all USB-C ports support video output. If you’re buying a USB-C adapter, double-check that your laptop’s USB-C port explicitly supports DisplayPort Alternate Mode or Thunderbolt. Most manufacturers will list this in their product specifications.
Audio Support
Most modern digital adapters (HDMI, DisplayPort, USB-C) carry both video and audio. However, if you’re using a DVI or VGA adapter, they typically do not carry audio. If you plan to use your external monitor’s speakers or connect audio through it, ensure your adapter and connection type support it.
Connecting Your Laptop to an External Monitor: The Easy How-To
Once you have the right adapter and cable, connecting your laptop is a breeze. Follow these simple steps:
What You’ll Need:
- Your Laptop
- Your External Monitor
- The Correct Monitor Adapter
- The Appropriate Video Cable (e.g., HDMI, DisplayPort)
- (Optional) Power cable for your monitor
The Steps:
- Power Off Devices (Recommended): While most modern connections are plug-and-play, it’s always a good safety practice to turn off both your laptop and your external monitor before plugging or unplugging cables, especially if you’re using older ports or converters.
1. Prepare Your Setup
Place your external monitor near your laptop. Ensure both devices are within reach of their power outlets.
- Connect the Adapter to Your Laptop:Plug the adapter into the correct video output port on your laptop (HDMI, USB-C, DisplayPort, etc.).
Example: If you have a USB-C to HDMI adapter, plug the USB-C end into your laptop’s USB-C port that supports video output.
- Connect the Video Cable to the Adapter:Plug one end of your video cable (e.g., HDMI cable) into the port on the adapter.
Example: Plug the HDMI end of your HDMI cable into the adapter you just connected to your laptop.
- Connect the Video Cable to Your Monitor:Plug the other end of the video cable into the corresponding input port on your external monitor.
Example: Plug the other HDMI end of your cable into the HDMI input port on your monitor.
- Connect Power:Make sure your external monitor is plugged into a power source and turn it on.
- Turn On Your Laptop:Now, power on your laptop.
- Configure Display Settings (If Necessary):Your laptop should automatically detect the external monitor. Often, it will mirror your laptop screen or extend your desktop. If it doesn’t look right, or you want to change how the screens work together, you can adjust the display settings.
- On Windows: Right-click on your desktop and select “Display settings.” Here you can choose to duplicate, extend, or show only on one display. You can also adjust resolution and orientation.
- On macOS: Go to System Preferences > Displays. You can arrange the displays, mirror them, or use them as separate screens.
Understanding Display Modes: Extend vs. Duplicate
When you connect an external monitor, your laptop usually offers a few ways to use the displays:
Extend
This is the most popular option for productivity. Your desktop is spread across both screens, giving you more space to work. You can drag windows from one screen to the other. It’s like having one giant desktop that’s wider.
Duplicate (Mirror)
This mode shows the exact same image on both your laptop screen and the external monitor. It’s useful for presentations when you want the audience to see exactly what’s on your screen, or if you’re connecting to a TV to watch a movie and want it to match your laptop perfectly.
Show Only on [Display Number]
This mode turns off your laptop’s built-in screen and only uses the external monitor. This can be useful if your laptop screen is damaged or if you just prefer to work on a larger, standalone display.
Troubleshooting Common Issues
Even with the right equipment, sometimes things don’t work perfectly the first time. Don’t worry, most issues are easy to fix!
- No Signal:
- Check all cable connections are secure at both ends.
- Make sure the monitor is on the correct input source (e.g., HDMI 1, DisplayPort). Use the monitor’s buttons to cycle through inputs.
- Try a different cable or adapter if possible.
- Restart your laptop.
- Wrong Resolution or Blurry Image:
- Go into your laptop’s display settings and select the recommended resolution for your external monitor.
- Ensure the adapter supports the resolution you’re trying to use.
- For VGA connections, try adjusting the monitor’s tracking and phase settings.
- No Sound (When Using HDMI/DisplayPort):
- In your laptop’s sound settings, make sure the external monitor or its connection (e.g., HDMI Output) is selected as the audio playback device.
- Laptop’s USB-C Port Doesn’t Output Video:
- Confirm through your laptop’s specifications that the specific USB-C port supports DisplayPort Alternate Mode or Thunderbolt 3/4. Not all USB-C ports are created equal!
If you’re still having trouble, consulting your laptop manufacturer’s support website or the adapter manufacturer’s troubleshooting guides can be very helpful. Resources from reputable tech sites like <a href=”https://www.digitaltrends.com/computing/how-to-