Your Oster wine opener’s battery dying? This guide shows you exactly which replacement battery to get and how to easily swap it out, getting your opener back to uncorking bottles in no time.
Ah, the Oster wine opener. It’s a kitchen favorite, turning a chore into a breeze. But what happens when that trusty gadget stops working? Often, it’s just a tired battery. Don’t toss your opener just yet! Finding the right replacement battery and swapping it out is simpler than you might think. This guide will walk you through everything you need to know, so you can get back to enjoying your wine with ease.
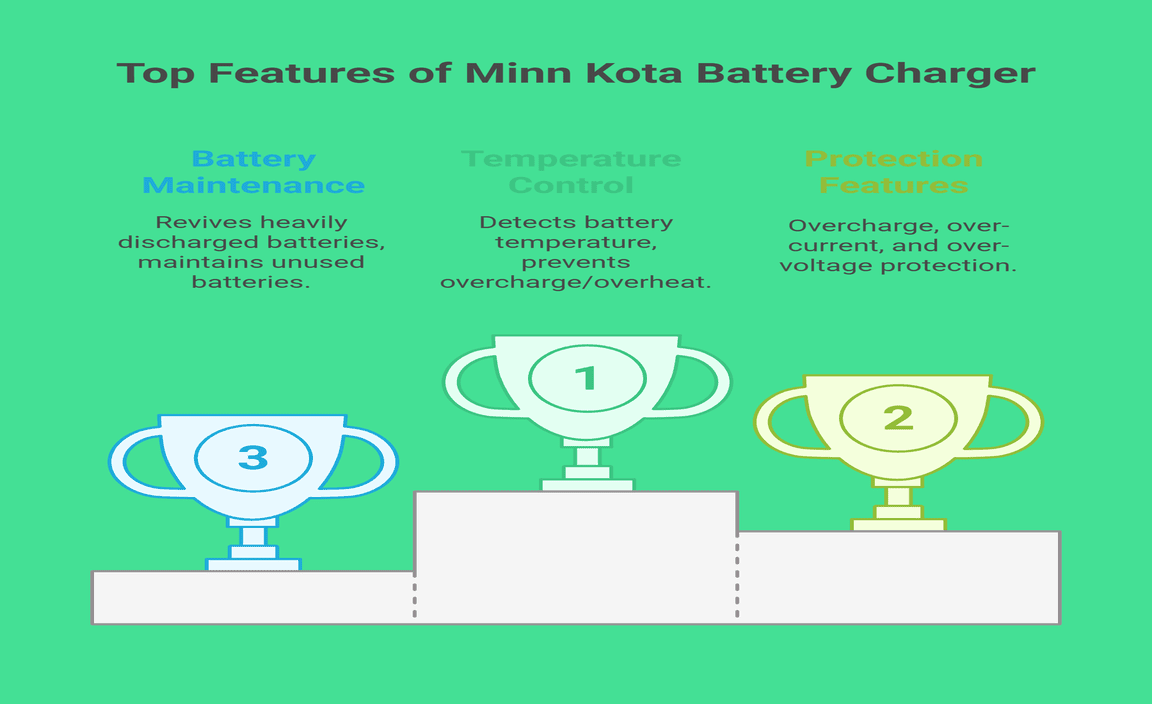
Understanding Your Oster Wine Opener Battery
Most Oster wine openers use a rechargeable battery system. Over time, like all rechargeable batteries, they lose their ability to hold a charge. This means your opener might start to slow down, fail to remove corks completely, or simply stop working altogether. Knowing the right type of battery and how to replace it is key to keeping your opener in top shape.
Common Battery Types in Oster Wine Openers
Oster has used a few different battery types in their wine openers over the years. The most common ones you’ll encounter are:
- Nickel-Cadmium (NiCd) Batteries: These were common in older models. They are larger but less efficient than newer battery types.
- Nickel-Metal Hydride (NiMH) Batteries: These are an upgrade from NiCd, offering better capacity and a more environmentally friendly profile.
- Lithium-Ion (Li-ion) Batteries: Newer, high-end models might use these. They are lighter, hold more charge, and last longer, but are typically not user-replaceable in the same way.
The most common scenario for a “replacement battery” is when the built-in rechargeable battery unit, often housed in a specific compartment, needs to be replaced. These are usually NiCd or NiMH packs. It’s rare to replace individual AA or AAA batteries in these openers; it’s almost always a specific rechargeable pack designed for the unit.
Why Batteries Fade
Batteries don’t last forever. Think of them like tiny energy storage tanks; they can only be filled and drained a certain number of times. This is called the battery’s “cycle life.” Each time you charge and discharge your wine opener’s battery, you use up one of those cycles. Eventually, the battery can’t hold as much power as it used to, and that’s when you need a replacement.
Identifying the Right Replacement Battery
This is the most crucial step. Putting the wrong battery in can damage your wine opener or simply not work at all.
Where to Find Battery Information
The best place to start is your user manual. If you’ve lost it, don’t worry:
- Check the Wine Opener Itself: Look for any labels on the bottom or side of the opener. Sometimes, the battery type or part number is printed directly on the unit.
- Manufacturer’s Website: Oster’s official website is a great resource. They often have product manuals available for download. Search for your specific Oster wine opener model number.
- Online Retailers: Websites that sell replacement batteries and accessories for kitchen gadgets are also helpful. Search for “Oster wine opener replacement battery” and check the product descriptions carefully against what you see on your opener.
Common Oster Wine Opener Battery Part Numbers
While models vary, here are some common battery types and specifications you might find. This is not exhaustive, and you must confirm for your specific model.
| Oster Model Type | Likely Battery Type | Typical Voltage | Common Part Number Format |
|---|---|---|---|
| Older Cordless Models (Fête, Rocket) | NiCd or NiMH Rechargeable Pack | 3.6V or 4.8V | May have specific numbers like “FC7004” or descriptions like “3.6V rechargeable battery pack |
| Many Standard Cordless Models | NiMH Rechargeable Pack | 3.6V | Often labeled with voltage and cell count (e.g., 3.6V 1500mAh) |
| High-End or Newer Models | May have integrated Li-ion batteries (not easily user-replaceable) | Varies | Usually requires contacting manufacturer for service. |
Important Note: Pay close attention to the voltage (V) and the capacity (mAh – milliampere-hours). The voltage must match. Higher mAh means the battery can hold more charge, so it might last longer, but it must still be the correct physical size and connector type.
Where to Buy Replacement Batteries
Once you’ve identified the correct battery, you’ll need to buy one. Here are some reliable places:
- Amazon: Offers a vast selection of replacement batteries with many options for Oster wine openers. Read reviews to check compatibility and quality.
- eBay: Another good source for specific battery packs, sometimes from smaller electronics component sellers.
- Specialty Battery Stores: Websites focusing on batteries for tools, electronics, and appliances are excellent resources. They often have detailed cross-reference guides.
- Oster Direct: Sometimes, ordering directly from the manufacturer ensures you get the exact part, though it might be more expensive.
Tips for Buying Online
- Match Everything: Voltage, capacity (mAh), physical size, and connector type must all match.
- Read Descriptions Carefully: Ensure the listing explicitly states compatibility with your Oster wine opener model.
- Check Seller Reviews: Look for sellers with positive feedback, especially regarding electronics.
- Look for Guarantees: A good seller will offer a return policy if the battery isn’t compatible.
How to Replace the Battery in Your Oster Wine Opener
This process is generally straightforward and doesn’t require specialized tools. Safety first, though!
Safety Precautions
Before you start, please keep these safety tips in mind:
- Unplug or Remove from Charger: Never work on electronics while they are connected to power. Ensure your wine opener is not in its charging base.
- Work on a Clean Surface: This prevents losing small parts and keeps your workspace tidy.
- Anti-Static Precautions (Optional but Recommended): While not as critical as with computer components, it’s good practice to touch a grounded metal object before handling the battery to discharge any static electricity from your body.
- Handle Batteries with Care: Do not puncture or crush the battery.
Tools You Might Need
Most Oster wine openers require minimal tools for battery replacement:
- Small Phillips Head Screwdriver: This is the most common tool needed to open the casing.
- Plastic Pry Tool or Old Credit Card: Useful for gently separating plastic housing parts without scratching them.
- Needle-Nose Pliers (Sometimes): May be needed to disconnect the battery wires if they are small spade connectors.
- Replacement Battery: Ensure you have purchased the correct one!
Step-by-Step Replacement Guide
The exact steps can vary slightly by model, but this general process applies to most Oster wine openers that have user-replaceable battery packs.
- Prepare Your Workspace: Find a clean, well-lit area. Gather your tools and the new battery. Make sure the wine opener is completely detached from its charging base.
- Locate the Battery Compartment: On most Oster wine openers, the battery is located in the base or a dedicated compartment that may require unscrewing part of the casing. Turn the opener upside down and look for screws.
- Remove Screws: Using the appropriate Phillips head screwdriver, carefully remove any screws holding the casing together. Keep these screws in a safe place, like a small dish, so you don’t lose them.
- Open the Casing: Gently pry the casing apart. You might need to use a plastic pry tool or an old credit card to slide between the seams and release any clips. Work slowly and carefully to avoid breaking plastic parts. If the battery is inside a removable pack, you may need to slide or lift it out.
-
Identify and Disconnect the Old Battery: You should now see the rechargeable battery pack. It will be connected to the opener’s circuitry with wires, usually terminating in a connector or small spade terminals.
- Connector Type: If it’s a plug-in connector, gently pull it straight out. Sometimes, there’s a small clip to press.
- Spade Terminals: If it has individual wires with small metal tips, use needle-nose pliers to gently pull each wire off its terminal. Note which wire goes to which terminal (usually positive (+) and negative (-), often marked).
- Remove the Old Battery: Once disconnected, the old battery pack can be lifted out.
-
Connect the New Battery:
- Connector Type: Align the new battery’s connector with the port on the opener and push it in firmly until it clicks into place.
- Spade Terminals: Carefully attach each wire to the corresponding terminal on the new battery. Ensure a snug fit. Refer to your notes or markings.
- Test the New Battery (Optional but Recommended): Before fully reassembling, you can place the opener on its charger or try operating it briefly (if it has enough charge). This confirms the new battery is working and properly connected.
- Reassemble the Casing: Carefully align the casing parts and snap or push them back into place, ensuring no wires are pinched.
- Replace Screws: Reinsert and tighten all the screws you removed earlier. Don’t overtighten, as this can strip the plastic.
- Charge the New Battery: Place your wine opener on its charging base and allow it to charge fully. The charging time can vary, so check your manual or the indicator light on the opener.
Disposing of Old Batteries Responsibly
Do not throw old rechargeable batteries in the regular trash. They contain materials that can be harmful to the environment. Most electronics stores, large retailers, or local recycling centers have specific drop-off points for rechargeable batteries. A great resource for finding battery recycling locations is Call2Recycle.
Troubleshooting Common Issues
What if your opener still isn’t working after replacing the battery?
- Check Connections: Ensure the new battery is securely connected. Wires can sometimes come loose.
- Verify Battery Type: Double-check that you purchased the correct voltage. An incorrect voltage can prevent operation or damage the unit.
- Battery Not Charging: Make sure the charging base is plugged in and working. Try charging a different device on the same outlet. The charging contacts on the opener might also need cleaning.
- Opener Still Not Working: If you’ve confirmed the battery is correct and properly installed, and it still doesn’t work, the issue might be with the motor, the charging circuitry, or another component within the opener. At this point, you might need to contact Oster customer support or consider if a new opener is more cost-effective than repair.
Maintaining Your Oster Wine Opener for Longevity
A little care goes a long way in extending the life of your wine opener and its battery.
Charging Habits
For NiCd and NiMH batteries, it’s generally best not to leave them on the charger continuously for weeks on end. While modern chargers are smarter, occasionally letting the battery discharge a bit before fully recharging can help prevent “memory effect” (less common in NiMH but still possible) and prolong the battery’s overall lifespan. For lithium-ion batteries (less common in Oster openers), following manufacturer guidelines for charging is key, as they are more sensitive.
Cleaning and Storage
- Keep it Clean: Wipe down the exterior with a damp cloth. Ensure the corkscrew mechanism is free of debris.
- Proper Storage: Store your wine opener in a cool, dry place. If storing for an extended period (months), it’s often recommended to leave the battery partially charged (around 40-60%), not fully depleted or fully charged, to preserve its health.
Frequently Asked Questions (FAQ)
Q1: How do I know if my Oster wine opener battery needs replacing?
A1: Signs include the opener losing power midway through removing a cork, slowing down considerably, or no longer turning at all, even after being fully charged.
Q2: Can I use a different brand of battery for my Oster wine opener?
A2: Yes, as long as the replacement battery has the exact same voltage, capacity (mAh), physical dimensions, and connector type as the original. Generic or third-party batteries are often available and can work well if they meet these specifications.
Q3: My Oster wine opener came with a charger, do I need a new one?
A3: Usually, no. If the original charger is working and the new battery is compatible with the original charging system (voltage, connector), you can likely use the same charger. Issues with the charger itself would be separate from battery replacement.
Q4: How long should a replacement battery for an Oster wine opener last?
A4: This can vary greatly depending on usage and battery quality. A good quality replacement battery, properly cared for, can last anywhere from 1 to 3 years, or provide hundreds of charge cycles.
Q5: Can I upgrade to a higher mAh battery?
A5: If the voltage and physical size match, a higher mAh rating usually means more capacity and longer run time per charge. However, ensure the higher mAh battery still fits and the connector is identical. It’s generally safe to go higher in mAh, but never change the voltage.
Q6: My opener still doesn’t work after replacing the battery. What next?
A6: Double-check all connections. Ensure the battery is the correct type and fully charged. If it still fails, the problem might be with the opener’s motor or internal circuitry, and you may need to contact Oster customer support for repair options.
Conclusion
Your Oster wine opener is a fantastic tool for any wine lover, and a dead battery certainly doesn’t mean the end of its useful life. By understanding the types of batteries used, carefully identifying the correct replacement, and following the straightforward steps for swapping it out, you can easily give your opener a new lease on life. Remember to prioritize safety, dispose of old batteries responsibly, and enjoy your wine with the confidence that comes from a perfectly functioning gadget. Cheers to many more bottles uncorked!