Quick Summary: A solar battery tender keeps your car battery charged using free sunlight, preventing dead batteries and extending its life. It’s a simple, eco-friendly way to ensure your car is always ready to go, especially if it sits for long periods.
Ever faced that dreaded click-click-click when you try to start your car? A dead car battery can be super frustrating, especially when you’re in a hurry. Whether your car sits for weeks at a time, or you’ve got older electronics draining power, keeping that battery topped up is key. But what if there was a way to use the sun’s power to keep your car battery healthy, without costing you extra on your electricity bill? Well, there is! We’re diving into the world of solar battery tenders, a smart and simple solution that’s getting more popular every day. Stick around, and we’ll show you exactly how this genius little gadget works and how it can save you time, money, and a whole lot of hassle.
What is a Solar Battery Tender?
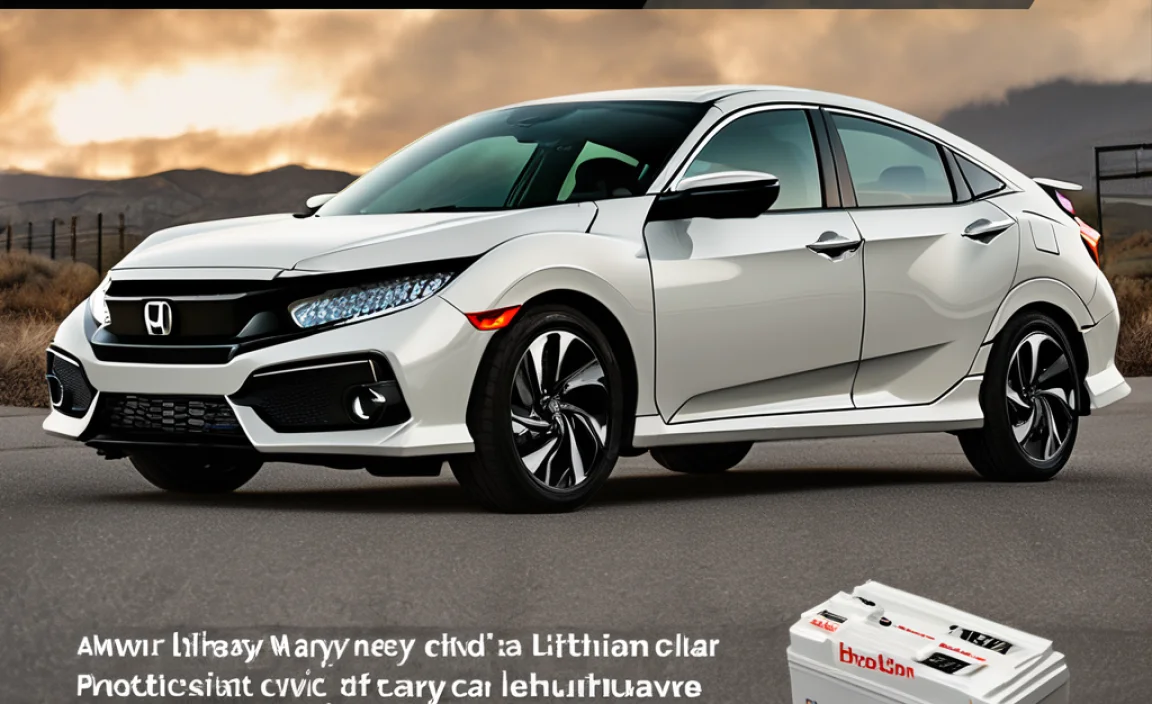
Think of a solar battery tender as a tiny, portable solar panel designed specifically to keep your car battery healthy and charged. Unlike a big solar panel system for your house, these are small, usually just bigger than a large book, and connect directly to your car’s battery. Their main job isn’t to fully recharge a dead battery quickly, but rather to provide a slow, steady trickle of power. This trickle is just enough to counteract the battery’s natural self-discharge and any small power drains from your car’s computer or alarm system when it’s parked.
The “genius” part? It uses sunlight! This means you don’t need to plug it into a wall socket, saving energy and money. It’s perfect for cars that don’t get driven daily, like classic cars, RVs, boats, or even as a backup for your daily driver if you travel a lot. It’s a set-and-forget solution to battery maintenance.
Why You Need a Solar Battery Tender
Car batteries have a tough life. They power your car’s starting system, lights, radio, and all those little electronics. Even when your car is off, some systems draw a small amount of power, known as parasitic drain. Over time, this can slowly deplete the battery, especially if the car isn’t used regularly. This is where a solar battery tender shines.
- Prevents Dead Batteries: The most obvious benefit. By keeping the battery topped up, it prevents the voltage from dropping too low, which is what leads to a no-start situation.
- Extends Battery Life: Deeply discharging a car battery stresses it and shortens its lifespan. A tender keeps the battery in its optimal charge range, making it last longer. Think of it like keeping your phone battery healthy by not letting it die completely all the time.
- Eco-Friendly & Cost-Effective: It runs on free solar energy. Once you buy the tender, there are no ongoing electricity costs. Plus, a longer-lasting battery means you won’t have to buy a new one as often.
- Convenience: No need to find an outlet or remember to plug and unplug. Just place the panel and let the sun do the work. It’s ideal for vehicles stored in driveways, garages without power, or at remote locations.
- Works on Various Vehicles: While we’re focusing on cars, these tenders are great for motorcycles, boats, RVs, ATVs, and any other vehicle with a 12-volt battery that might sit idle.
How Solar Battery Tenders Work
It’s pretty straightforward, and you don’t need to be a mechanic to understand it. Here’s the breakdown:
- Solar Panel: The heart of the system is the photovoltaic panel. When sunlight hits the panel, it generates a small amount of Direct Current (DC) electricity.
- Charge Controller (sometimes built-in): Many solar battery tenders have a small charge controller. This is important because it regulates the flow of electricity from the panel to the battery. It prevents overcharging, which can damage the battery, and also prevents the battery from discharging back through the panel at night.
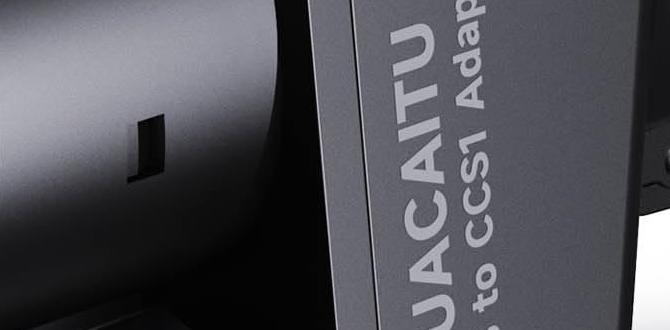
- Connection: The tender connects to your car’s battery, usually via the battery terminals using either clamps or an OBD-II port connector (a diagnostic port found in most modern cars).
- Trickle Charging: The electricity generated is a low-amp trickle charge. This means it’s a slow and steady supply of power, not a fast charge like you get from a wall charger. This gentle charge is ideal for maintaining a healthy battery over long periods.
The technology is quite clever. When the battery is fully charged, the system essentially stops sending power or sends just enough to maintain the charge. If the battery level drops slightly due to parasitic drain, the solar panel detects this and provides a little more energy to bring it back up. It’s a self-regulating system that works in the background.
Types of Solar Battery Tenders
While the core function is the same, solar battery tenders come in a few variations:
Panel Size and Wattage
The size of the solar panel generally correlates with its wattage output. More wattage means it can generate more power, which is beneficial on less sunny days or for larger batteries. For a typical car battery, a 1.5-watt to 10-watt panel is usually sufficient.
Connection Method
- Battery Terminal Clamps: These are the most common. They connect directly to the positive and negative posts of your car battery. Ensure a secure connection.
- OBD-II Port Connectors: Some tenders plug into your car’s On-Board Diagnostics (OBD-II) port, usually located under the dashboard. This port provides a constant 12V power supply and can be a convenient way to connect without opening the hood, though it may not be suitable for all vehicles or may be susceptible to the car’s power management system shutting down the port when the car is off for extended periods.
- Cigarette Lighter Plug: Less common for tenders, as cigarette lighter sockets are often switched off when the ignition is off, meaning no power reaches the tender.
Features
- Built-in Charge Controller: It’s highly recommended to choose a solar tender with a built-in charge controller. This ensures the battery is charged safely and efficiently.
- Blocking Diode: This is a basic form of protection that prevents the battery from discharging power back into the solar panel when there’s no sunlight. Most quality tenders include this.
- Indicator Lights: Some models have LEDs that show if the panel is receiving sunlight and if it’s charging the battery.
- Weather Resistance: If you’re planning to leave the panel on your dashboard or outside, ensure it’s built to withstand various weather conditions.
Choosing the Right Solar Battery Tender for Your Needs
With so many options, picking the right one can seem tricky. Here’s what to consider:
Your Vehicle and Usage
- Frequency of Use: If your car sits for weeks or months, a more robust panel (maybe 5W or higher) might be better to ensure a consistent charge. For daily drivers that just need a little top-up, a smaller 1-3W panel is likely sufficient.
- Climate: If you live in a cloudy or northern region, a higher wattage panel will perform better than a lower wattage one on overcast days.
- Parking Location: Do you park in a garage? Is there sunlight? If parking indoors, you’ll need a panel that can be placed on a windowsill or perhaps a longer cable to reach an outdoor spot with sun.
Battery Size (Amperage-Hour Rating)
While most car batteries are around 40-100Ah, a solar tender is designed for maintenance, not fast charging. So, even a smaller panel can maintain a larger battery over time. The key is consistent, low-level charging.
Budget
Solar battery tenders can range from $20 to over $100. Simple, low-wattage models are very affordable. Higher-wattage panels with more features will cost more, but might be worth it for consistent performance in challenging conditions.
Reputable Brands
Look for well-known brands in automotive accessories or solar technology. Reading reviews can help you identify reliable products and avoid poorly made ones.
How to Install and Use a Solar Battery Tender
Installing a solar battery tender is one of the easiest DIY tasks you can tackle. Here’s a step-by-step guide. Always refer to your specific product’s manual for exact instructions.
Tools You Might Need (Usually None!)
- Your Solar Battery Tender kit (panel, cable, connector)
- Gloves (optional, to keep hands clean)
- Safety glasses (always a good idea when working around batteries)
- A soft cloth
Installation Steps
Step 1: Choose the Best Location for the Solar Panel
- Sunlight is key: Find a spot that receives direct sunlight for most of the day. This is crucial for the panel to generate enough power.
- Dashboard Placement: Many people place the panel on the dashboard, facing the windshield. This allows for easy placement inside the car. Use the included suction cups or an anti-slip mat to keep it in place.
- Exterior Placement: If your tender is designed for outdoor use, you might be able to position it on the car’s roof or hood (securely, and ensuring it won’t obstruct vision or be a theft risk). Some come with mounting brackets.
- Avoid Obstructions: Make sure nothing blocks the sun from reaching the panel, like tinted windows (especially privacy glass), wipers, or tree branches.
Step 2: Connect the Tender to Your Car’s Battery
This is where you’ll choose your connection method:
- Using Battery Terminal Clamps:
- Safety First: Always wear safety glasses. Car batteries contain corrosive acid and produce flammable hydrogen gas.
- Locate Battery: Open the hood and find your car’s battery. It’s usually a rectangular box towards the front or side of the engine bay.
- Identify Terminals: The positive (+) terminal is often marked with a red cover or a plus sign. The negative (-) terminal is usually marked with a black cover or a minus sign.
- Connect the Positive Clamp: Attach the red clamp from the solar tender’s cable to the positive (+) terminal of the battery. Ensure it grips firmly.
- Connect the Negative Clamp: Attach the black clamp to the negative (-) terminal of the battery.
- Important Note: Some advise connecting the negative clamp to a bare metal part of the car’s chassis or engine block instead of the negative battery terminal. This is a safety measure to prevent sparks near the battery if a tool were to accidentally touch both terminals. Check your specific tender’s manual.
- Using an OBD-II Connector:
- Locate Port: Find your car’s OBD-II port. It’s typically found under the dashboard on the driver’s side, near the steering column.
- Plug In: Simply plug the OBD-II connector from the solar tender into the port.
- Check Compatibility: Some vehicles may cut power to the OBD-II port when the ignition is off, making this method unsuitable for constant trickle charging. Check your car’s manual or test if the port remains powered.
Step 3: Route the Cable Neatly
Run the cable from the panel to the connection point. Ensure it’s not pinched by the hood or door, and that it’s secured so it doesn’t dangle or get in the way. Many tenders come with extra cable management clips.
Step 4: Check Indicator Lights (If Applicable)
If your solar tender has indicator lights, check them. A light indicating solar input means the panel is receiving sunlight. A light indicating charging means power is flowing to the battery. If there’s no charging light, double-check your connections and ensure the panel is in direct sunlight.
Step 5: Forget About It!
Once installed correctly, your solar battery tender will do its job automatically. You don’t need to monitor it daily unless you want to check the indicator lights occasionally.
Maintaining Your Solar Battery Tender
These devices are designed to be low-maintenance, but a little care ensures they perform at their best:
- Keep the Panel Clean: Dust, dirt, bird droppings, or tree sap can significantly reduce the amount of sunlight reaching the solar cells, thus decreasing power output. Wipe the panel periodically with a soft, damp cloth. Avoid abrasive cleaners.
- Check Connections Regularly: Especially if you have clamps, periodically check that they are still making good contact with the battery terminals. Corrosion can build up and impede the connection.
- Inspect the Cables: Make sure the cables aren’t frayed, pinched, or damaged, particularly where they pass through the hood or door seals.
- Winter Care: In areas with heavy snow, snow can completely cover the panel. If this happens, you might need to clear it off periodically for it to work. In some cases, it might be more efficient to disconnect and store the unit indoors during prolonged heavy snow.
Solar Battery Tenders vs. Traditional Battery Chargers
It’s important to understand the difference between a solar battery tender and a traditional battery charger.
| Feature | Solar Battery Tender | Traditional Battery Charger |
|---|---|---|
| Primary Function | Maintain charge, prevent self-discharge, optimize battery health over long periods. | Recharge a depleted or dead battery, often quickly; some have maintenance modes. |
| Power Source | Solar energy (sunlight) | AC wall outlet (household electricity) |
| Output | Low-amp trickle charge (e.g., 50-200 mA) | Variable, can be high-amp for quick charging or low-amp for maintenance. |
| Installation/Use | Plug-and-play, set-and-forget, no external power needed except sun. | Requires connection to AC power outlet, needs monitoring during charging. |
| Ideal For | Vehicles in storage, seasonal vehicles, long-term parked cars, preventing battery drain. | Reviving a dead battery, preparing a car for immediate use, topping up a frequently used battery. |
| Cost | Generally lower initial cost. No ongoing electricity costs. | Wide range of prices. Ongoing electricity costs. |
| Safety | Designed for continuous connection without risk of overcharging (if quality unit). | Requires careful supervision to avoid overcharging, especially older models. |
Essentially, a solar battery tender is for maintenance, while a traditional charger is for active charging. You wouldn’t typically use a solar tender to bring a completely dead battery back to life. For that, you’d need a more powerful charger. However, for preventing a healthy battery from dying, the solar tender is unmatched in convenience and cost-effectiveness.
Safety Tips for Working with Car Batteries
Car batteries are powerful and contain corrosive acid, so safety should always be your top priority when working near them. While solar tenders are generally safe, it’s wise to follow these general precautions:
- Wear Eye Protection: Always wear safety glasses or goggles to protect your eyes from acid splashes or battery fumes.
- Avoid Sparks: Batteries can release flammable hydrogen gas. Keep open flames, sparks, and smoking materials away from the battery. Don’t let tools accidentally bridge the positive and negative terminals.
- Proper Ventilation: Ensure good ventilation when working with batteries, especially when charging. Park in a well-ventilated area if using a traditional charger, or ensure your car’s engine bay isn’t completely enclosed if the battery is gassing.
- Handle with Care: Car batteries are heavy. Lift them carefully if you ever need to remove one.
- Corrosion: Battery terminals can corrode. If you see blue or white powdery residue, it’s corrosion. You can clean it carefully with a stiff brush and a mixture of baking soda and water. Rinse and dry thoroughly. Wear gloves and eye protection when doing this.
- Disconnect Properly: If you ever need to disconnect the battery (e.g., for deep cleaning or replacement), always disconnect the negative (-) terminal first, then the positive (+). When reconnecting, connect the positive (+) terminal first, then the negative (-). This minimizes the risk of accidental short circuits.
For solar tenders, the risk is lower since they provide a very low charge, but it’s always good practice to be mindful of these safety aspects