Have you ever wondered how to power your tools or toys with more energy? Wiring batteries for 24 volts can open up new possibilities. With just a few simple steps, you can boost your battery setup. This makes gadgets run faster or last longer.
Imagine you have a remote-controlled car. It runs slowly on regular batteries. Now, picture it zooming around with double the voltage! Exciting, right? Understanding how to connect batteries properly helps you achieve that thrill.

In this article, we’ll explore the basics of wiring batteries for 24 volts. You’ll learn tips and tricks to make it safe and effective. Let’s dive into the world of batteries and discover how they can enhance your projects!
Wiring Batteries For 24 Volt Systems: A Comprehensive Guide
Wiring batteries for 24 volts can be simple. You connect two 12-volt batteries in series. This setup doubles the voltage, giving you 24 volts. It’s important to match the batteries’ capacities to avoid problems. Did you know using the same brand and age ensures better performance? Remember to connect positive to positive and negative to negative. Always check connections for safety. With a little care, you can power up your devices efficiently!
Understanding 24 Volt Systems
Explanation of what 24 Volt systems are and their applications.. Benefits of using a 24 Volt system compared to other voltage systems..
In a 24-volt system, two 12-volt batteries connect to double the power. This setup is popular in solar systems, RVs, and electric boats. Why choose 24 volts over lower voltages? Well, it means less wire, less weight, and better efficiency. Plus, it helps devices run smoothly with less heat. Imagine a pizza, more toppings mean a tastier slice—same goes for voltage! Here’s a quick comparison:
| Voltage System | Benefits |
|---|---|
| 12 Volt | Good for small tasks |
| 24 Volt | More power, less hassle! |
| 48 Volt | Great for heavy-duty use |
With a 24-volt system, you keep things lighter and zippier. So, what’s not to love about it?

Step-by-Step Guide to Wiring Batteries in Series
Detailed instructions for wiring batteries in series to achieve 24 Volts.. Safety precautions to take during the wiring process..
Wiring batteries in series is like building a tower of power! To get 24 volts, connect the positive terminal of one battery to the negative terminal of the next. Keep it simple: follow the positive to negative rule! But wait, safety first! Always wear gloves and goggles to protect yourself from any pesky sparks. Check the connections carefully before turning anything on. Now, let’s dive into the steps:
| Step | Action |
|---|---|
| 1 | Gather your materials. |
| 2 | Connect the batteries positive to negative. |
| 3 | Secure all connections. |
| 4 | Test your setup. |
Follow these steps, and soon you’ll have enough voltage to power your dreams! Well, maybe not your dreams, but definitely some cool gadgets!
Step-by-Step Guide to Wiring Batteries in Parallel
Detailed instructions for wiring batteries in parallel for increased capacity.. Importance of balancing batteries in a parallel configuration..
Wiring batteries in parallel is an effective way to boost power. Follow these steps:
- Connect the positive terminal of the first battery to the positive of the second battery.
- Then, connect the negative terminal of the first battery to the negative of the second battery.
- Ensure each battery has the same voltage and capacity for balance.
- Check connections for safety and reliability.
Balancing batteries is vital. If one battery is stronger, it can affect the whole setup. This can cause overheating or damage. Keep them similar to ensure a longer life.
Why should batteries be balanced in parallel?
Balancing batteries prevents issues. It ensures each battery shares the load equally. This keeps the system running smoothly and extends battery life.
Common Mistakes to Avoid When Wiring Batteries
List of frequent errors in battery wiring and how to prevent them.. Tips for troubleshooting wiring issues..
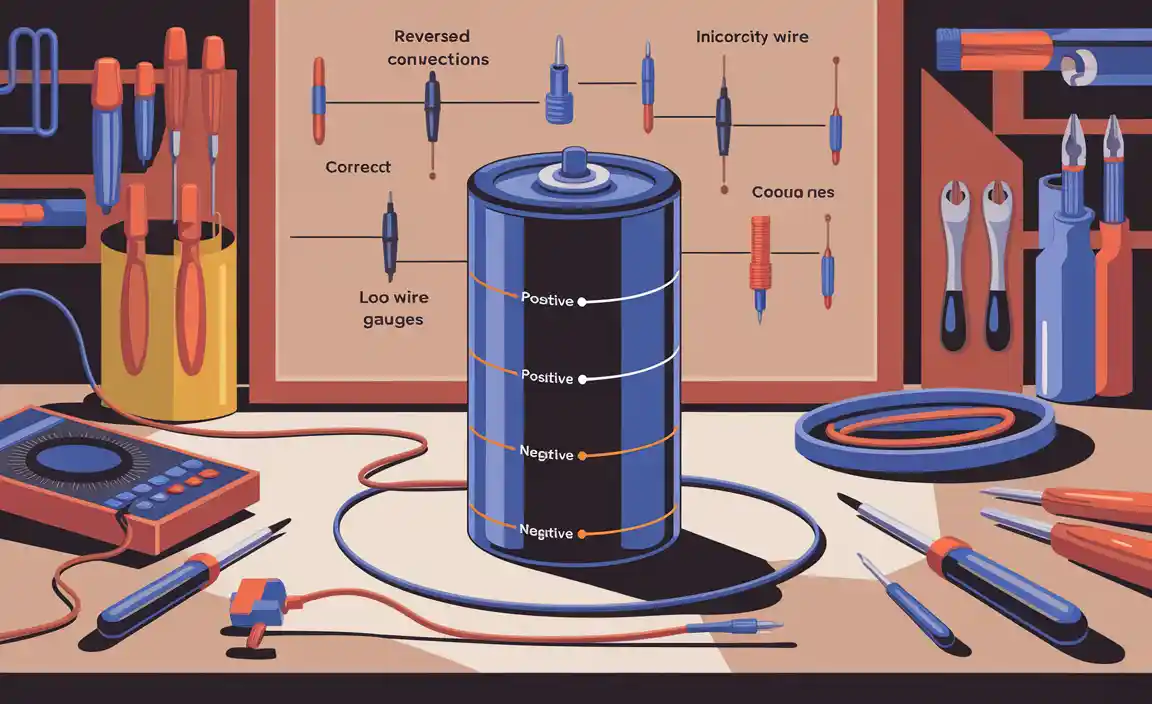
Wiring batteries can be tricky, but avoiding common mistakes makes it easier! First, always connect positive to positive and negative to negative. Mixing them up is like trying to wear shoes on the wrong feet—painful and confusing! Another mistake? Not checking battery voltage. Use a multimeter to avoid mismatches. If wires heat up, you might have a short circuit. Pay attention! Here are a few tips for troubleshooting:
| Common Mistakes | How to Prevent Them |
|---|---|
| Reversed Connections | Double-check each connection! |
| Loose Connections | Tighten all screws and connectors. |
| Using Incorrect Wire Gauge | Always follow the recommended wire sizes. |
Remember, careful wiring keeps the juice flowing and your devices buzzing happily. Happy wiring!
Testing Your 24 Volt Battery System
Methods for testing voltage and performance of the wired batteries.. Tools required for effective testing..
Testing the voltage and performance of your battery system is critical. Fortunately, it’s not rocket science! Use a multimeter to check the voltage at each battery terminal. It should read around 12 volts for each battery in your 24-volt setup. If the numbers look like they’re doing the cha-cha, something might be off.
To keep your testing organized, here are some handy tools you’ll need:
| Tool | Purpose |
|---|---|
| Multimeter | Check voltage and current |
| Battery Hydrometer | Test battery acid strength |
| Wrench Set | Tighten connections |
With these tools in hand, you can ensure your batteries are as fit as a fiddle! Remember, regular testing can help catch problems early. After all, a happy battery makes for a happier system!
Maintaining Your 24 Volt Battery Setup
Routine maintenance practices to maximize battery life.. Signs that indicate your battery system needs attention..
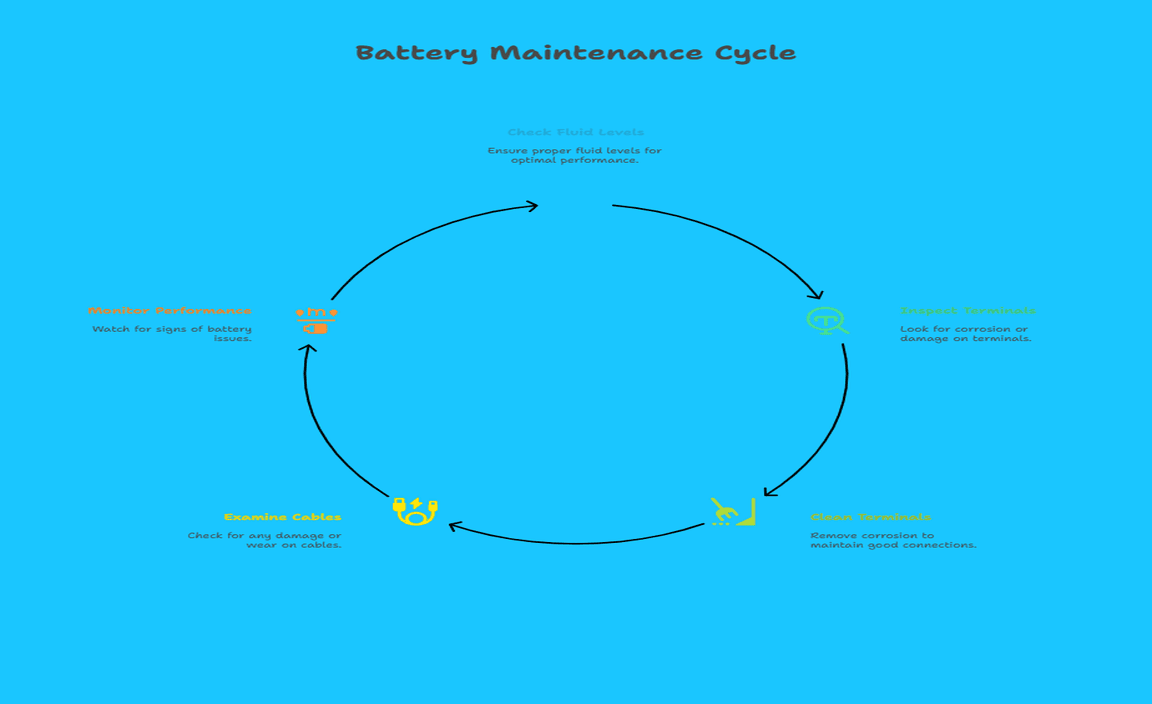
To keep your battery system working well, regular check-ups are important. Doing simple tasks helps you get the most from your batteries. Here’s how:
- Check fluid levels in batteries.
- Look for corrosion on terminals.
- Clean terminals to ensure good connection.
- Make sure cables aren’t damaged.
Watch out for signs that show your batteries need help. If batteries don’t hold charge well or show a bulge, that’s bad. Strange sounds or bad smells can mean issues too. Keep an eye on these things to avoid bigger problems later!
How often should I check my batteries?
It’s best to check your batteries every month. Regular checks help catch problems early. So, it’s smart to stay on top of it!
Conclusion
In summary, wiring batteries for 24 volts is straightforward. You connect two 12-volt batteries in series. This boosts voltage while keeping the same capacity. Remember to check battery types and follow safety tips. If you’re eager to learn more, look up battery wiring diagrams or watch tutorial videos. With practice, you can confidently set up your battery system!
FAQs
Sure! Here Are Five Questions Related To Wiring Batteries For A 24-Volt System:
Sure! To make a 24-volt system, you need two 12-volt batteries. You connect them in series. This means you link the positive end of one battery to the negative end of the other. Then, you take the free ends to get 24 volts. Always be careful when working with batteries!
Sure! Please go ahead and ask your question, and I’ll do my best to help you.
What Is The Proper Way To Wire Two 12-Volt Batteries In Series To Create A 24-Volt System?
To wire two 12-volt batteries in series for 24 volts, first, place the batteries next to each other. Use a wire to connect the positive terminal of the first battery to the negative terminal of the second battery. Then, the positive terminal of the second battery is your new positive, and the negative terminal of the first battery is your negative. Now, you have a 24-volt system ready to use!
What Safety Precautions Should Be Taken When Wiring Batteries To Ensure Proper Voltage And Prevent Hazards?
When we wire batteries, we must be very careful. Always wear safety goggles and gloves to protect yourself. Make sure the batteries are the same type and voltage. Connect the positive (+) terminals together, and the negative (-) terminals together. If you see any damage on the wires or batteries, do not use them.
How Do You Calculate The Total Amp-Hour Capacity Of A 24-Volt System When Using Multiple Batteries?
To find the total amp-hour capacity, first, know the capacity of each battery in amp-hours (Ah). If you connect batteries in parallel, you add their capacities together. For example, if you have two 100 Ah batteries, you get 200 Ah. If you connect them in series, the capacity stays the same, but the voltage increases. So, make sure to connect them correctly for what you need!
What Types Of Connectors And Wire Gauges Are Recommended For Wiring Batteries In A 24-Volt Configuration?
For a 24-volt battery setup, you should use connectors that fit snugly and can handle high power. Good options are ring connectors or terminal blocks. For wire thickness, use 10 or 12-gauge wire. This thickness can safely carry the electricity. Always make sure your connections are tight and secure!
What Are The Differences Between Series And Parallel Wiring Configurations When Connecting Batteries For A 24-Volt Setup?
When you connect batteries in a series for 24 volts, you add their voltages together. For example, two 12-volt batteries make 24 volts. In parallel, you keep the same voltage, but you increase the power. That means if you have two 12-volt batteries in parallel, they stay at 12 volts but can last longer. So, series gives you more volts, while parallel gives you more power.
Resource:
- Battery series vs parallel guide: https://www.batterystuff.com/kb/articles/battery-articles/battery-bank-tutorial.html
- Electrical safety basics: https://www.osha.gov/electrical
- Understanding multimeter use: https://learn.adafruit.com/multimeters
- Lead-acid battery maintenance tips: https://www.exide.com/en/exide-care/battery-maintenance