Have you ever wondered how to keep your car battery safe while driving? A battery isolator can help with that. It connects and disconnects batteries to make sure they charge properly. But how do you know how to set it up?
Understanding a wiring diagram for battery isolator is the key. It shows you how to connect wires correctly and keep everything running smoothly. Imagine a friend who forgot to turn off their car lights. Their battery dies, and they need help. That’s where a battery isolator comes in handy!
By using a wiring diagram, you can enjoy peace of mind during your adventures. You don’t want to be left stranded, right? So, let’s dive in and explore how to set up your battery isolator!
Wiring Diagram For Battery Isolator: A Complete Guide
Understanding a wiring diagram for a battery isolator is crucial for anyone wanting to control their vehicle’s power. These diagrams show how to connect the isolator to your battery. Properly isolating your battery protects it from draining. Did you know that a battery isolator can extend the life of your battery? This setup ensures the main battery remains charged while using a secondary battery for other needs. Safe wiring helps avoid electrical problems, keeping your adventures worry-free!
Understanding Battery Isolators
Definition and purpose of a battery isolator. Types of battery isolators available in the market.
A battery isolator is a device that separates two batteries. Its main job is to keep your starting battery charged while using auxiliary power. This is helpful for campers, boaters, and off-road drivers. There are different types of battery isolators:
- Voltage Sensitive Relay (VSR): Automatically connects and disconnects based on battery voltage.
- Diode Isolators: Use diodes to prevent backflow of current.
- Manual Switch: Allows you to connect batteries by hand.
With a battery isolator, you ensure your main battery stays strong for starting your vehicle, while using extra power safely. It’s a smart way to manage your energy needs.

What is the purpose of a battery isolator?
The purpose of a battery isolator is to keep your starting battery safe and charged. It helps you use power from other batteries without draining the main one.
Components of a Battery Isolator Wiring Diagram
Essential components included in the wiring diagram. Explanation of symbols used in diagrams.
A wiring diagram for a battery isolator includes many essential parts. These components help manage power from your battery. Here are key elements:
- Battery: Supplies power.
- Isolator Switch: Controls energy flow.
- Fuse: Protects from overloads.
- Cables: Connect all parts.
Diagrams use symbols to make it easy to understand. Common symbols include:
- Battery symbol: A simple rectangle.
- Switch symbol: An open or closed line.
- Fuse symbol: A small rectangle with lines.
Benefits of Using a Battery Isolator
Importance of battery management in vehicles. Advantages for camping and recreational vehicles.
Managing your vehicle’s battery is like herding cats—it can be tricky! But using a battery isolator makes life easier. It separates your engine battery from auxiliary batteries, preventing one from draining the other. That’s a real lifesaver for camping and recreational vehicles. Imagine waking up in the morning, ready for adventure, and your battery is still ready too! Talk about a win-win. Plus, it helps extend battery life and enhances safety on the road. Who doesn’t want a happy battery?
| Benefits | Description |
|---|---|
| Prevents Drain | Stops auxiliary batteries from draining the main battery. |
| Longer Lifespan | Helps extend the life of both batteries. |
| Easy Management | Makes battery management simple and hassle-free. |
Step-by-Step Wiring Process for Battery Isolator
Tools and materials needed for installation. Detailed wiring steps with illustrations.
To start your battery isolator project, you need some essential tools and materials. Gather a wire cutter, crimping tool, and electrical tape. Don’t forget the battery isolator, of course! You’ll also need a wiring diagram. It’s like a treasure map, leading you to battery happiness!
| Tools | Materials |
|---|---|
| Wire Cutter | Battery Isolator |
| Crimping Tool | Electrical Tape |
| Test Light | Wires |
Now, let’s break down the wiring steps. First, disconnect the batteries. Next, connect the isolator to the positive terminals. Double-check your connections—nobody wants a shocking surprise! Then, link the isolator to the ignition. Finally, secure everything with electrical tape. Ta-da! You’ve wired your battery isolator like a pro!
Common Wiring Diagrams for Different Applications
Wiring diagrams for RVs and boats. Wiring diagrams for multiple battery setups.
Wiring diagrams help people connect batteries safely. For RVs and boats, these diagrams show how to link a battery to the system. It helps keep lights and devices running smoothly. For multiple battery setups, the diagram guides users to connect batteries in parallel or series. This ensures enough power for all needs.
- RVs and Boats: Use a simple wiring diagram for one battery connected to the main system.
- Multiple Battery Setups: Follow diagrams that show links for series and parallel connections.

What is a wiring diagram for RV and boat battery setups?
A wiring diagram for RVs and boats shows how to connect batteries to the power system. It ensures everything works safely and properly.
How do I connect multiple batteries correctly?
- Series Connection: Connect positive to negative, increasing voltage.
- Parallel Connection: Connect positive to positive and negative to negative, keeping the same voltage but increasing capacity.
Troubleshooting Common Issues
Identifying wiring errors or faults. Solutions to frequent problems in battery isolator setups.
Finding wiring errors in a battery isolator setup can feel like a treasure hunt, except there’s no chest at the end—just a functional battery. Start by checking all connections; loose wires are like trying to keep a secret with a loud parrot. If the isolator isn’t working, a blown fuse might be the culprit. It’s like your battery’s way of saying, “I need a break!”
| Problem | Solution |
|---|---|
| Loose Connections | Tighten all wire connections |
| Blown Fuse | Replace the fuse |
| Corroded Wires | Clean or replace damaged wires |
Just remember, if you hear a strange buzzing noise, it’s probably not a bee—it’s an electrical issue! Tackling these problems will keep your batteries happy and buzzing along.
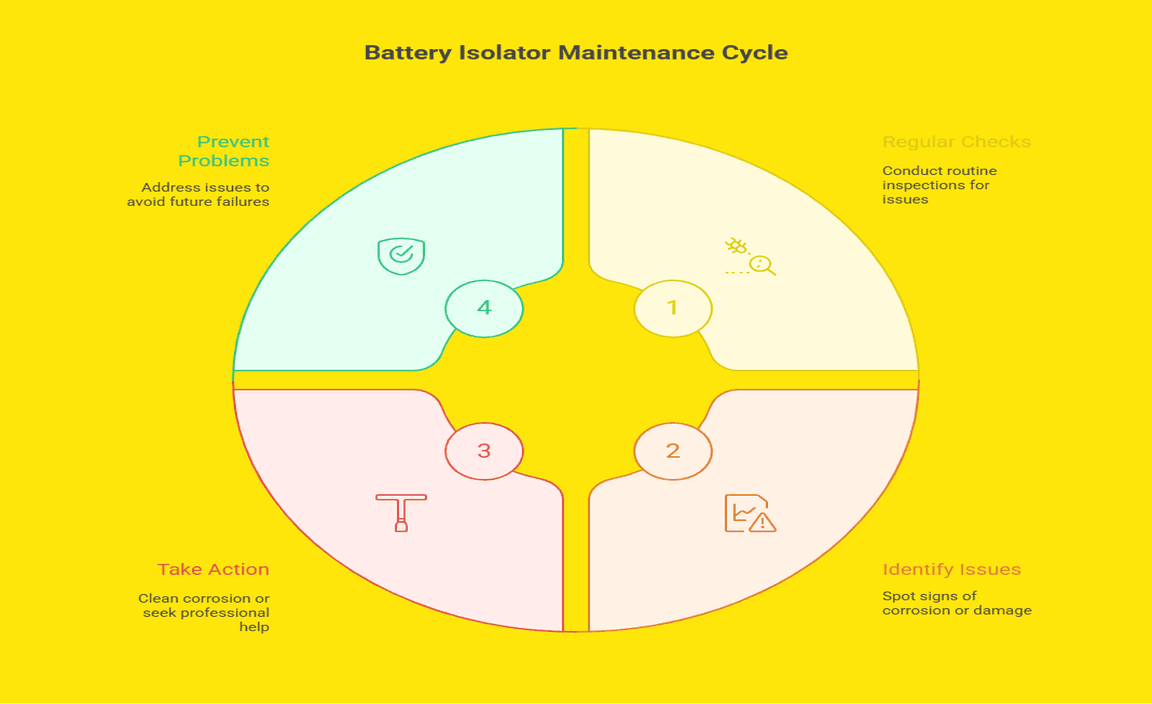
Maintenance Tips for Battery Isolators
Regular checks and maintenance practices. Signs that indicate a need for replacement or repair.
Keeping your battery isolator in good shape is key for it to work right. Check it regularly—like you check your fridge for snacks! Look for loose wires or corrosion. If you notice any weird smells or see sparks, it might be time for help. Here’s a quick sign guide:
| Sign | Action |
|---|---|
| Corrosion | Clean it up! |
| Buzzing noise | Time for a pro! |
| Frequent power loss | Consider replacement |
Being proactive can save your battery and maybe even your day!
Frequently Asked Questions (FAQs)
Common questions regarding battery isolator installation and usage. Expert answers and insights for beginners.
Installing a battery isolator can raise many questions, especially for beginners. Here are some common queries and their answers to help you out. First, you might wonder, “Why do I need a battery isolator?” The answer is simple: it helps manage power between batteries, keeping your main battery safe. Another popular question is, “Can I install it myself?” Yes, you can! Just follow the wiring diagram carefully, or things might get zappier than you planned. Don’t worry, you’ll be a pro in no time!
| Question | Answer |
|---|---|
| What does a battery isolator do? | It separates different batteries to prevent power drain. |
| Is it necessary for my setup? | Not always, but it’s great for protecting your main battery. |
| Can I install it upside down? | Nope! That’s a sure way to create a mini volcano! |
Conclusion
In conclusion, a wiring diagram for a battery isolator is essential for clear setup. It helps you connect everything correctly and safely. We learned that isolators protect batteries and improve performance. Make sure to follow diagrams closely for best results. Now, you can confidently start your project. For more tips, explore additional resources on battery isolators!
FAQs
Sure! Here Are Five Related Questions On The Topic Of Wiring Diagrams For Battery Isolators:
Sure! A battery isolator helps connect and disconnect batteries. It keeps your batteries safe and charged. A wiring diagram shows you how to connect everything. You can use it to find the right wires and connectors. Following the diagram makes sure everything works well together!
Sure! Please provide the question you would like me to answer, and I’ll keep it simple and clear for you.
What Are The Main Components Needed For Wiring A Battery Isolator, And How Do They Connect In The Diagram?
To wire a battery isolator, you need three main parts: the battery isolator itself, a battery, and wires. First, connect the positive wire from the main battery to the isolator. Next, link the isolator to the second battery with another positive wire. Finally, connect the negative wires to the batteries. This way, you can control the power between the batteries!
How Does A Battery Isolator Work, And What Is Its Primary Purpose In A Dual-Battery System?
A battery isolator lets you use two batteries without mixing their power. When one battery is full, it helps keep it separate from the other. This means you can use one battery for things like your lights, while the other stays charged for starting your vehicle. Its main purpose is to prevent one battery from draining another so you always have a backup.
Can You Explain The Difference Between A Manual And An Automatic Battery Isolator In Terms Of Their Wiring And Functionality?
A manual battery isolator needs you to flip a switch to connect or disconnect the battery. You control when it works. An automatic battery isolator does this by itself. It knows when to connect and disconnect without you doing anything. The wiring for both helps to manage the battery power, but their functions are different.
What Safety Precautions Should Be Taken When Wiring A Battery Isolator To Prevent Short Circuits And Electrical Failures?
When you wire a battery isolator, here’s what you should do for safety. First, make sure to disconnect the battery before you start. This stops any flow of electricity and prevents shocks. Always use wire that can handle the power to avoid overheating. Make sure the connections are tight so they don’t come loose. Lastly, cover any exposed wires with tape to prevent short circuits.
How Can I Troubleshoot Common Issues That May Arise In A Battery Isolator Wiring Diagram?
To troubleshoot issues in a battery isolator wiring diagram, first, check all connections. Make sure everything is tight and connected properly. Next, look for any damaged wires. If you see a broken wire, replace it. Lastly, test the batteries to see if they work well. If they don’t, you may need new ones.
Resource:
-
Basic Electrical Symbols Explained: https://www.electricaltechnology.org/2017/04/electrical-symbols.html
-
Safe Practices for Vehicle Battery Installation: https://www.napaonline.com/en/advice/vehicle-maintenance/car-battery-safety-tips
-
Understanding Parallel and Series Circuits: https://learn.sparkfun.com/tutorials/series-and-parallel-circuits/all
-
How Voltage Sensitive Relays Work: https://www.bluesea.com/resources/91