Bluetooth adapter for motorcycle: essential guide
Upgrade your ride with a Bluetooth adapter for your motorcycle! Easily connect your phone, GPS, and enjoy music or calls safely on the go. This guide breaks down everything you need to know, from choosing the right adapter to installing it, ensuring a seamless and enjoyable riding experience. Get ready to ride smarter and safer!
Hey there! Roy Walker here. Ever wished you could easily take a call or listen to your favorite tunes while out on your bike, without fumbling with wires or risking your concentration? Many riders feel the same way. It’s frustrating when you want to use your phone for navigation or just enjoy some music, but the process seems complicated and unsafe. The good news is, there’s a simple solution: a Bluetooth adapter for your motorcycle. These nifty devices can completely change your riding experience, making it safer and a whole lot more fun. We’ll walk through it step-by-step, so you can get connected and hit the road with confidence. Ready to make your motorcycle a bit more modern?
What is a Bluetooth Adapter for Motorcycle?
Think of a Bluetooth adapter for your motorcycle as a bridge. It takes the wireless signal from your phone, GPS device, or even another rider’s intercom system and sends it directly to your helmet’s headset or speakers. This means you get clear audio and hands-free communication without any tangled wires getting in your way. It’s all about convenience and safety. No more stopping to check directions or missing an important call. With the right adapter, your ride becomes a connected experience.
These adapters are designed to work with your existing motorcycle audio systems or, more commonly, connect to your helmet. The goal is to keep your hands on the handlebars and your focus on the road, while still giving you access to important information and entertainment.
Why You Need a Bluetooth Adapter for Your Motorcycle
Riding a motorcycle is an incredible experience, but it comes with unique challenges. Staying connected safely is a big one. Here’s why adding a Bluetooth adapter is a game-changer:
- Safety First: The most crucial benefit is safety. Instead of pulling over to check your phone for directions or to answer a call, you can do it hands-free. This keeps your attention where it needs to be – on the road and your surroundings.
- Hands-Free Communication: Want to chat with a passenger or another rider in your group? Many Bluetooth adapters allow for intercom functionality, letting you speak directly to them without shouting.
- Navigation Made Easy: Voice prompts from GPS apps delivered directly into your helmet are a lifesaver. No more glancing down at a separate GPS unit.
- Entertainment on Demand: Listen to your favorite music, podcasts, or audiobooks. Long rides become much more enjoyable when you have your soundtrack with you.
- Convenience: It simplifies your setup. One connection handles your music, calls, and navigation audio.
- Reduce Distractions: By integrating these functions, you minimize the need to interact with other devices, which can be a major distraction when riding.
The ability to integrate these features seamlessly means you can focus more on the joy of riding and less on the potential hassles of staying connected. It’s about enhancing your ride, not complicating it.
Types of Bluetooth Adapters for Motorcycles
When you start looking, you’ll notice a few different kinds of Bluetooth solutions for your motorcycle. They often overlap, but understanding the main categories can help you choose:
1. Standalone Bluetooth Headsets/Intercoms
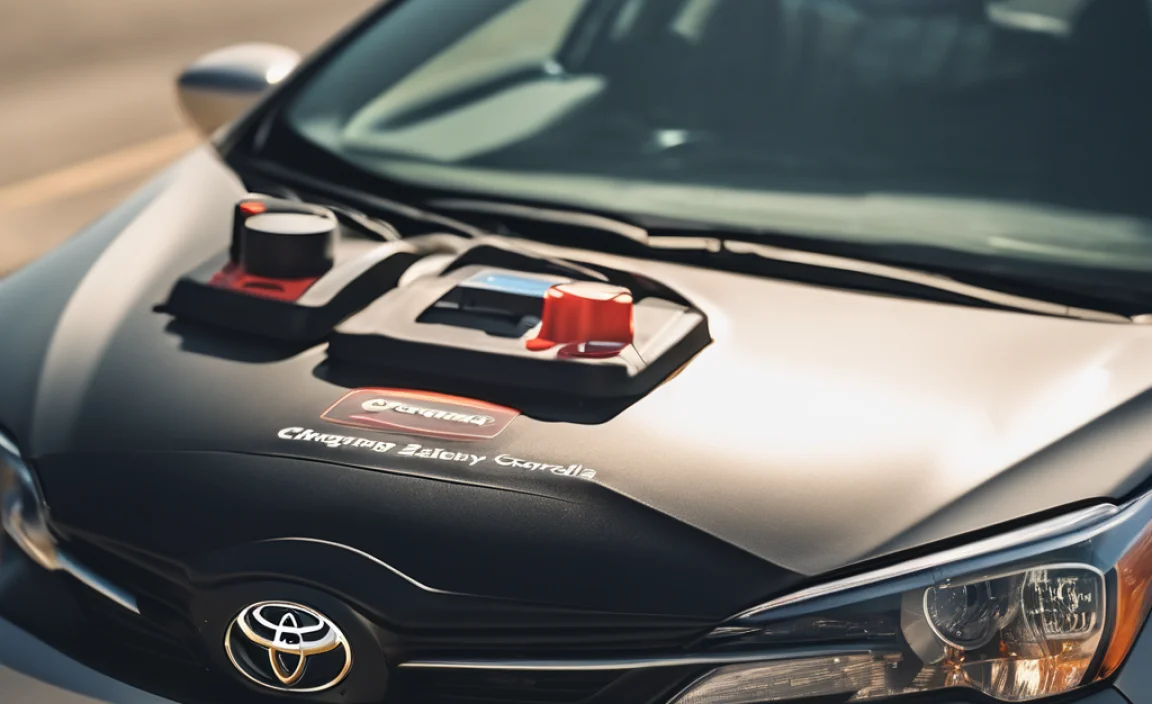
These are the most common. You typically buy a unit that attaches to your helmet. It contains speakers that go into your helmet’s ear pockets, a microphone, and the Bluetooth electronics. Many of these can also pair with other similar units for rider-to-rider communication.
- Pros: All-in-one solution, designed for helmets, easy to install on many helmets, often water-resistant, good audio quality.
- Cons: May require purchasing a new helmet if yours doesn’t have provisions for a headset, battery life varies by model.
2. Helmet-Specific Bluetooth Systems
Some helmet manufacturers build Bluetooth into their helmets from the ground up. These integrate seamlessly and often look very clean, with no external attachments. You buy the helmet with the Bluetooth system already installed.
- Pros: Sleekest integration, designed for optimal audio performance in that specific helmet, often high-end features.
- Cons: Most expensive option, locked into a specific helmet model.
3. Universal Bluetooth Adapters/Dongles
These are less common for direct helmet connection but might be used to add Bluetooth to older, non-Bluetooth enabled audio systems on the motorcycle itself, or as a bridge to connect a non-Bluetooth headset to a Bluetooth-enabled phone. You’re more likely to find these for connecting a phone to a car’s aux-in, but some niche motorcycle applications exist.
- Pros: Can potentially upgrade older systems.
- Cons: Installation can be more complex, not typically designed for helmet audio, limited availability for motorcycle-specific uses.
4. Motorcycle-Specific Audio Kits
Some higher-end touring bikes come with built-in infotainment systems that might offer Bluetooth connectivity. If your bike has an existing audio system, check if it has Bluetooth capability or if an add-on module is available. A Bluetooth adapter here usually means connecting your phone to the bike’s built-in system.
- Pros: Integrates with existing bike controls, often better speaker placement.
- Cons: Limited to specific motorcycle models, can be expensive to upgrade.
For most beginners looking to add Bluetooth functionality to their existing helmet, standalone Bluetooth headsets or intercom systems are the way to go. They offer the best balance of features, affordability, and ease of installation.
Key Features to Look For in a Motorcycle Bluetooth Adapter
Not all Bluetooth adapters are created equal. When you’re shopping, keep an eye out for these important features:
| Feature | Why It Matters | What to Look For |
|---|---|---|
| Bluetooth Version | Affects connection stability, range, and power efficiency. | Bluetooth 5.0 or higher is recommended for best performance. This offers better range and a more stable connection than older versions. |
| Battery Life | Crucial for longer rides. You don’t want it dying halfway through your trip. | Look for units that offer 8-12 hours of talk time or active use. Check standby time too. |
| Water Resistance/Rating | Motorcycles are exposed to the elements. | An IPX5 rating or higher is excellent. This means it can withstand water jets, so rain or splashes won’t be an issue. |
| Audio Quality | You want to hear your music and calls clearly over wind noise. | Look for features like noise cancellation for the microphone and high-quality speakers. Some use advanced audio processing. |
| Intercom Capability | If you ride with others or a passenger. | Check the maximum range for the intercom feature and the number of riders it can connect with simultaneously. |
| Ease of Use | You need to control it while wearing gloves and riding. | Look for large, tactile buttons that are easy to feel and press. Intuitive controls are a big plus. |
| Companion App | Some adapters have smartphone apps for customization. | An app can allow you to adjust settings, update firmware, and even customize EQ for your audio. Accessing this safely while riding is key though. |
| Universal Fit/Compatibility | Will it work with your current helmet? | Most come with mounting kits or ways to attach to most standard helmets. Double-check if you have an unusual helmet. |
| Multi-Point Pairing | Connect to your phone and a GPS device at the same time, for example. | This allows you to be connected to two devices simultaneously without having to disconnect and reconnect manually. |
Remember, the best features for you will depend on how you ride. If you’re a solo rider who just wants music and GPS, intercom range might not be a big concern. If you ride with a dedicated group, it’s essential.
A good starting point for reputable Bluetooth systems is checking out brands that specialize in motorcycle gear. Many offer systems with solid reviews and good support. For example, Sena and Cardo are well-known names in this space, offering a wide range of options from basic to advanced.
How to Install a Bluetooth Adapter on Your Motorcycle Helmet (Step-by-Step)
Installing a Bluetooth adapter, particularly a headset/intercom system, is usually straightforward and doesn’t require special tools. Most kits are designed for DIY installation. Let’s walk through the common process for a typical helmet-mounted unit.
What You’ll Need:
- Your Bluetooth adapter kit (usually includes the main unit, microphone, speakers, mounting hardware, and charging cable)
- A Phillips head screwdriver (often the only tool needed)
- Possibly a trim removal tool or a thin, flat object (like a credit card) to help pry open helmet lining sections
- Your motorcycle helmet
Step-by-Step Installation:
- Read the Manual: Seriously, this is the most important step! Every kit is slightly different. Your kit’s manual will have specific instructions and diagrams for your model.
- Prepare Your Helmet: Remove your helmet from its bag. Most modern helmets have removable padding (liner and cheek pads). You’ll usually need to remove at least the cheek pads to access the channels where wires run. Look for snaps or Velcro. Gently pull them away. Some helmets might have a small plastic trim piece around the bottom edge that you might need to carefully pry off.
- Mount the Speakers: Your Bluetooth unit will have speakers that fit into dedicated pockets inside your helmet, usually near your ears. Place the speakers in these pockets. They often attach with Velcro. Ensure they are positioned comfortably and directly in line with your ears. You want to hear the audio clearly without it being uncomfortable.

- Install the Microphone: Most systems come with two types of microphones: a boom mic (a flexible arm) or an inline mic (a small button-like mic).
- Boom Mic: Usually attaches to the side of the helmet near the clamp for the main unit. It needs to extend down to the corner of your mouth. Some helmets have a small hole or channel to route it.
- Inline Mic: Often sits on the inside of the chin bar. You might need to tuck it under the lining or use a small piece of adhesive.
Make sure the microphone is positioned correctly to pick up your voice clearly.
- Route the Wires: This is where you’ll use the channels in your helmet lining. Carefully tuck the wires from the speakers and microphone under the helmet’s interior fabric and padding, routing them towards where the main control unit will connect. Keep them neat and out of the way. Use a credit card or trim tool to gently push the wires into the gaps if needed, ensuring they are hidden and won’t be pinched.
- Mount the Main Control Unit: The main unit houses the battery and Bluetooth components. Most helmets have a designated spot for this on the side or back, often where the helmet shell meets the lower edge.
- Clamp Mount: Many systems come with a clamp that attaches to the bottom lip of the helmet. You’ll slide the main unit onto this clamp.
- Adhesive Mount: Some kits use a strong adhesive pad. Ensure the helmet surface is clean and dry before applying.
Follow the manual’s instructions for the specific mounting method.
- Connect Everything: Once the main unit is securely mounted, connect the speaker and microphone wires to the appropriate ports on the main unit itself. Most connectors are keyed to only fit one way.
- Test and Reassemble: Before putting everything back together, turn on your Bluetooth adapter and pair it with your phone. Make a test call and play some music. Check if the speakers are clear and the mic is picking up your voice. Once you’re sure everything works, gently reassemble your helmet padding. Make sure all wires are tucked away neatly and won’t snag or disconnect.
- Charge the Unit: Fully charge the Bluetooth adapter before your first ride using the provided charging cable and a USB power source.
Take your time. Rushing can lead to wires being pinched or the unit not being mounted securely. If you encounter resistance when trying to remove padding or route wires, double-check your helmet’s design and the adapter’s manual.
Some helmet manufacturers, like NHTSA (National Highway Traffic Safety Administration) guide on motorcycle helmets, provide details on helmet construction that can be helpful. Understanding how your helmet is put together can make installation a breeze.
Pairing Your Bluetooth Adapter with Your Devices
Once installed, the next step is to get your Bluetooth adapter talking to your phone, GPS, or other devices. This process is called “pairing” and is pretty standard across most Bluetooth devices.
General Pairing Steps:
- Turn on Your Bluetooth Adapter: Press and hold the power button on your main unit until you see a light flashing (often blue and red alternating, or just a fast-blinking blue light) and/or hear an announcement indicating it’s in pairing mode. Check your manual for the specific button and light sequence.
- Enable Bluetooth on Your Phone/Device: Go into your smartphone’s settings, find the Bluetooth menu, and turn it on. Your phone will start searching for nearby devices.
- Select Your Adapter: On your phone’s Bluetooth screen, you should see a list of available devices. Look for the name of your Bluetooth adapter (e.g., “Sena SMH5,” “Cardo PACKTALK”). Tap on it to select it.
- Confirm Pairing: Your phone might ask you to confirm the pairing by tapping “Pair” or “OK.” Some adapters may require a PIN code (often 0000 or 1234, but check your manual).
- Listen for Confirmation: Once successfully paired, your Bluetooth adapter should announce “Connected” or make a confirmation sound, and the flashing light might change to a steady or slow-blinking blue. Your phone should also indicate that the device is connected.
Pairing with Multiple Devices:
Most modern adapters support multi-point pairing, meaning you can connect to two devices at once. This is incredibly useful for connecting to both your phone and a GPS device. The process is similar:
- Pair your primary device (usually your phone) first.
- Once connected, put your Bluetooth adapter back into pairing mode (you might need to press a different button or a combination of buttons, consult your manual).
- Select your second device (e.g., GPS) from its Bluetooth menu and pair it.
Your adapter should now be connected to both devices. You can usually switch between audio sources or prioritize them within your adapter’s settings or through its interface.
Pairing with Other Riders (Intercom):
If your adapter supports intercom, the pairing process for other riders is usually different from device pairing. It often involves pressing a button on both units simultaneously or following a specific sequence outlined in your manual. For mesh intercom systems (like those from Cardo), it’s even simpler, often just requiring all riders to be within range and activate the mesh mode.
Pro Tip for Pairing: It’s often easier to pair devices when they are close together and fully charged. If you’re having trouble, try turning Bluetooth off and on again on your phone, and restarting your Bluetooth adapter.
Using Your Bluetooth Adapter Safely on the Road
The primary goal of a Bluetooth adapter is to enhance safety. To really get the benefit, you need to use it smartly.
- Keep Volume at a Safe Level: You need to be able to hear your surroundings, including emergency sirens, other vehicles, and wind noise. Never crank the volume so high that it drowns out essential sounds. A good rule of thumb is that you should still be able to hear what’s happening around you clearly.
- Minimize Adjustments While Riding: Try to set up your music, calls, and navigation before you start riding. If you absolutely must adjust something, pull over to a safe spot first. Many advanced systems allow voice commands, which are ideal for making adjustments on the fly.
- Prioritize Navigation and Safety Calls: If you