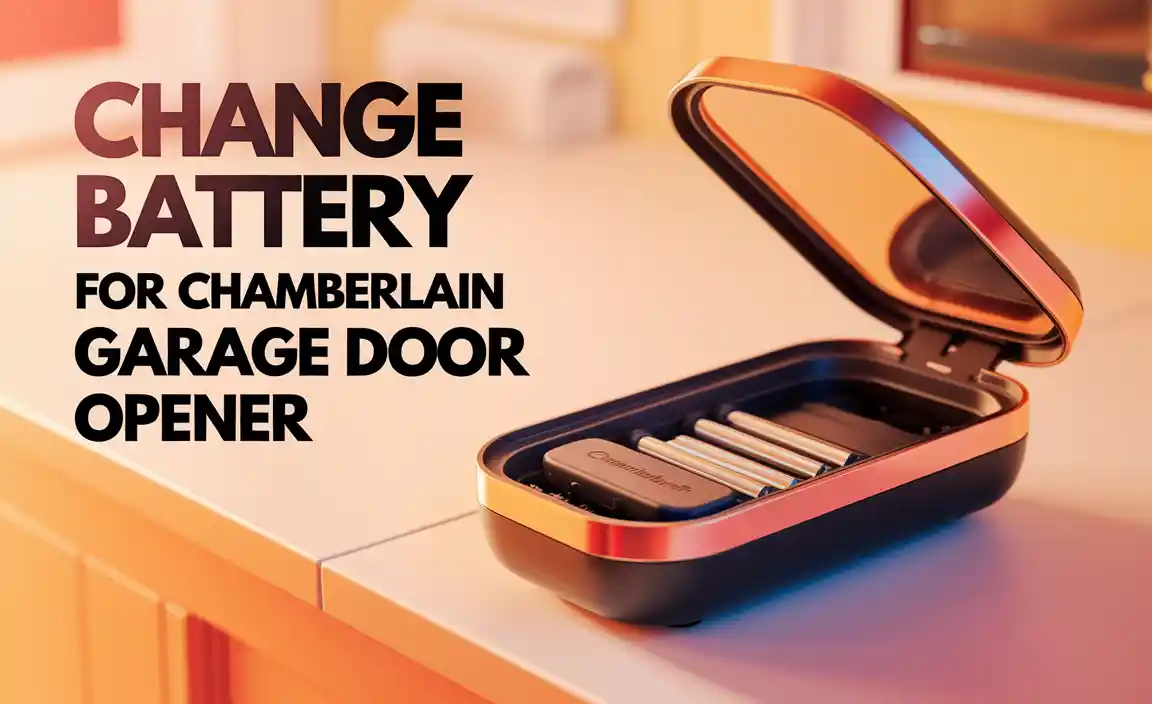
Have you ever had trouble with your garage door opener? Maybe it won’t budge, or it makes strange noises. A dead battery could be the problem! Knowing how to change the battery for a Chamberlain garage door opener can help you solve this issue quickly.
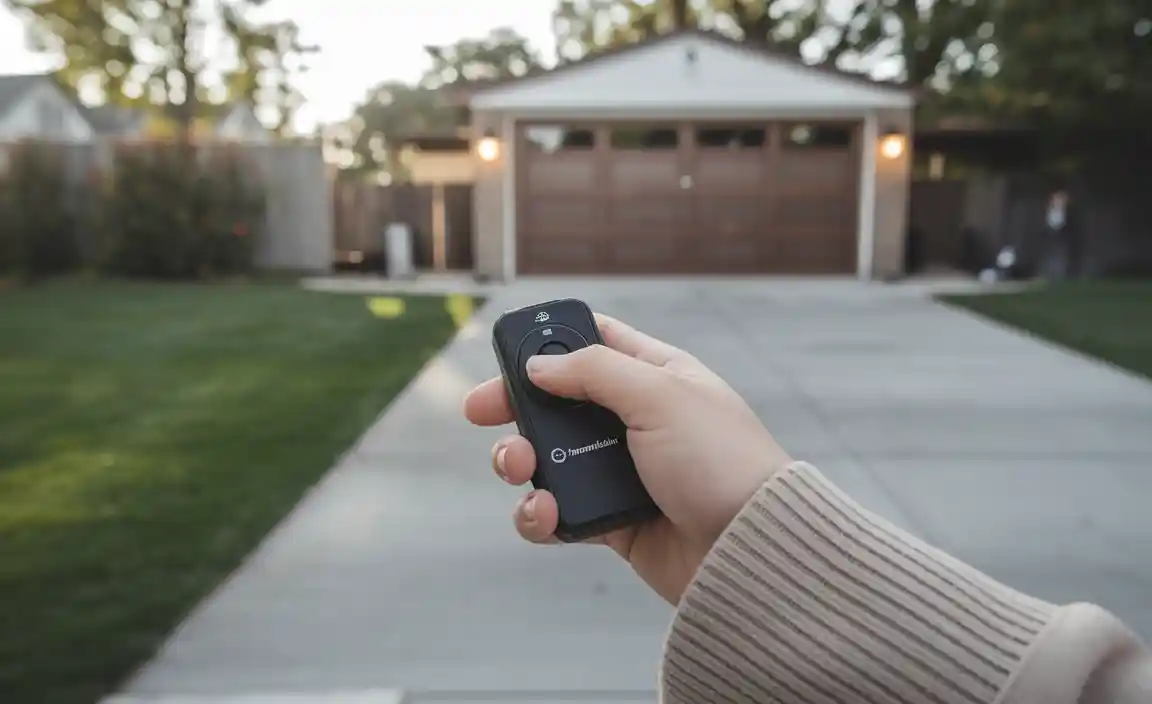
Imagine coming home after a long day, only to see your garage door stuck. Frustrating, right? But don’t worry, changing the battery is easier than you think. Did you know that many people don’t realize how simple this task is? A fresh battery can bring your opener back to life.
This article will guide you through each step of changing the battery for your Chamberlain garage door opener. You’ll learn how to do it safely and easily. So, let’s get started on this handy DIY skill!
How To Change Battery For Chamberlain Garage Door Opener
Changing the battery in your Chamberlain garage door opener is simpler than you think! Start by finding the battery compartment, usually located on the back of the remote. Open it gently. Next, remove the old battery and insert a new one, ensuring the correct polarity. Close the compartment. Now your remote should work perfectly! Did you know that a fresh battery can extend the life of your garage door opener? Keeping it updated prevents unexpected surprises.
Tools You Will Need
List of necessary tools for battery replacement. Safety equipment recommendations.
Before you jump into changing your Chamberlain garage door opener battery, gather your gear. You’ll need a few essential tools. Think of it like hunting for treasure—but the treasure is a new battery! Here’s a quick list:
| Tool | Purpose |
|---|---|
| Screwdriver | To open up the battery compartment |
| New Battery | Your prize for all that hard work! |
| Safety Goggles | Protect your eyes—safety first! |
Make sure to wear safety gloves if you’re a little clumsy. You don’t want to mix up your left hand with your right while juggling screws! With these tools, you’re set for a battery replacement adventure.
Identifying the Battery Type
How to check the battery model used in your opener. Importance of using the correct battery.
To find the right battery for your opener, check the model number on your device. This number is usually found on the back or inside the cover. Using the correct battery matters because it ensures your opener works well. A wrong battery can cause damage and won’t fit right. Here are some quick steps:
- Look for the model number on the opener.
- Search online for the battery type using the model.
- Always choose the specified battery to avoid issues.
What type of battery does a Chamberlain garage door opener use?
Chamberlain garage door openers typically use a 3V lithium battery or a 12V battery, depending on the model. Always check your specific model for the exact requirements.
Step-by-Step Battery Replacement Process
Detailed instructions on opening the battery compartment. Guidelines for safely removing and installing the battery.
Start by finding the battery compartment on your Chamberlain garage door opener. It’s usually on the back or side. Open it by sliding or lifting the cover off. Be careful not to break it! Next, gently remove the old battery. You can do this by squeezing the tabs or lifting it out by the edges. Insert the new battery, making sure it matches the right direction. Finally, close the compartment securely. That’s it! You’re done!

How do I know which battery to use?
Check your opener model to find the right battery type. Using the wrong battery can cause problems.
Quick Tips:
- Always unplug the opener before changing batteries.
- Dispose of old batteries properly.
Troubleshooting Common Issues
Signs that indicate battery replacement is needed. Troubleshooting if garage door opener does not function after battery change.
Sometimes, even the trusty garage door opener can show signs of low battery. Watch for slow responses, strange clicking sounds, or a light that won’t turn on. These clues mean it’s time for a battery change! But what if it still doesn’t work after you’ve replaced the battery? Panic not! First, check the battery’s connection. Make sure it is snug as a bug. If that doesn’t help, try resetting the opener. Remember, garage doors are complicated machines, not just doors with a little magic!
| Issue | Possible Solution |
|---|---|
| Opener makes strange noises | Check battery connection |
| Opener doesn’t respond | Reset the opener |
| LED light won’t turn on | Replace or check battery |
Maintenance Tips for Your Garage Door Opener
Regular checks for battery health. Additional maintenance tasks to prolong opener lifespan.
It’s important to check your garage door opener regularly. This ensures that it always works well. Start by checking the battery health. A weak battery can cause problems. Also, do these extra tasks to keep your opener running longer:
- Clean the tracks and rollers.
- Lubricate moving parts.
- Inspect the safety sensors.
- Check for loose screws and bolts.
These simple steps can make your garage door opener last longer. Remember, a little care goes a long way!
How often should I check my garage door opener?
You should check your garage door opener every few months. This helps catch any issues early. Regular checks keep it working smoothly and safely.
Frequently Asked Questions
Common queries related to battery changes. Clarifications on warranty and battery lifespan.
Many people wonder about changing the battery in their Chamberlain garage door opener. Here are some common questions and answers:
How often should I change the battery?
Experts recommend checking the battery every 1-2 years. This helps to keep the opener running smoothly.
Will changing the battery void my warranty?
Usually, no. Changing the battery does not affect your warranty, but check your user manual to be sure.
How long does the battery last?
The battery lifespan is typically 2-3 years. Replacing it on time helps avoid issues.
What type of battery should I use?
Always use recommended batteries, often 12V. Check your manual for details.
Final Thoughts on Battery Management
Importance of proactive battery care. Tips for extending the life of your garage door opener battery.
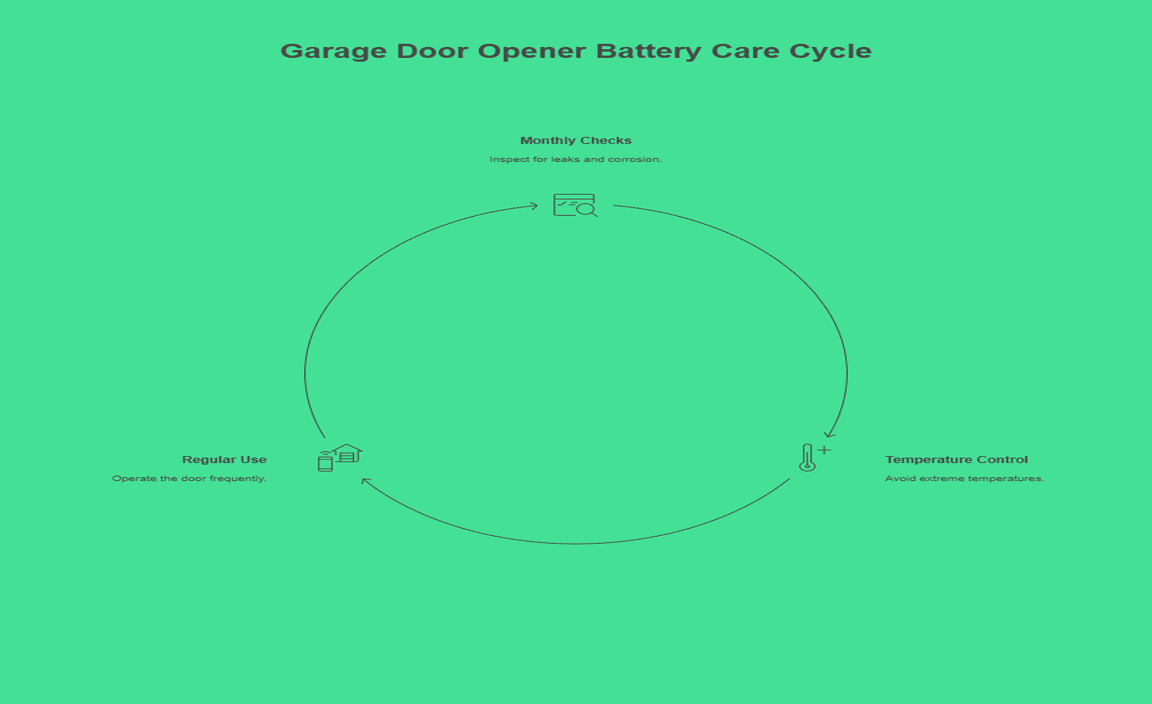
Taking care of your battery is key to keeping your garage door opener happy. Think of it like giving your car a little TLC. Regular checks can save you from surprise surprises. Here are a few tips to extend its life:
| Tip | Description |
|---|---|
| Check Monthly | Look for leaks or corrosion. |
| Keep It Cool | Don’t expose it to extreme heat or cold. |
| Regular Use | Open and close your garage door often. |
A little effort goes a long way! Remember, a well-cared battery is a happy battery, so let’s keep those garage doors swinging smoothly. (And think of all the snacks you’ll have time for instead of wrestling with dead batteries!)
Conclusion
In conclusion, changing the battery in your Chamberlain garage door opener is a simple task. First, gather the right tools. Next, locate the battery compartment and replace the old battery with a new one. Finally, test your opener to ensure it works. We encourage you to try this process yourself or check the user manual for more details. You’ve got this!
FAQs
What Type Of Battery Do I Need To Replace In My Chamberlain Garage Door Opener?
You need a 315 MHz battery for your Chamberlain garage door opener. This is usually a 12-volt battery. Check your opener’s manual for the exact type. If you can’t find it, look for a small, flat battery in the remote control. You can buy a new one at most stores or online.
How Do I Determine If The Battery In My Chamberlain Garage Door Opener Needs To Be Replaced?
To check if your Chamberlain garage door opener battery needs changing, listen carefully. If you hear a clicking sound but the door doesn’t move, the battery might be weak. You can also see a flashing light on the opener, which can mean low battery power. Lastly, if the remote doesn’t work well, it’s time for a new battery.
What Are The Steps To Safely Change The Battery In A Chamberlain Garage Door Opener?
First, make sure the garage door opener is unplugged. Next, find the battery door on the back of the opener. Open the door and take out the old battery. Then, put in the new battery, making sure the “+” and “−” symbols match. Close the battery door, plug the opener back in, and you’re done!
Are There Any Specific Tools Required To Replace The Battery In My Chamberlain Garage Door Opener?
To change the battery in your Chamberlain garage door opener, you usually just need a flat-head screwdriver. You might also need a new battery. It’s simple! Use the screwdriver to open the battery cover. Then, replace the old battery with the new one. That’s it!
How Can I Properly Dispose Of The Old Battery From My Chamberlain Garage Door Opener?
You should not throw the old battery in the trash. Instead, take it to a battery recycling center. Many stores that sell batteries will also take old ones. This helps keep the environment clean and safe. Make sure to follow the center’s rules for dropping off the battery.
Resource:
- Battery Recycling Tips: https://www.epa.gov/recycle/used-household-batteries
- DIY Garage Door Maintenance Guide: https://www.familyhandyman.com/project/how-to-maintain-a-garage-door/
- Understanding Lithium vs Alkaline Batteries: https://www.energizer.com/about-batteries/battery-comparison
- Garage Door Opener Safety Checklist: https://www.safewise.com/blog/garage-door-safety-checklist/