Quick Summary: Get essential fast charging for your cheap lead-acid car battery by using a smart charger designed for its technology. Avoid overcharging and ensure longevity with proper voltage settings and regular checks. This guide helps you understand how to charge safely and effectively, keeping your battery ready to go.
Your Guide to Fast Charging a Cheap Lead Acid Car Battery
Is your car battery always running low? It’s a common frustration when you’re in a hurry, and a dead battery can really put a damper on your day. But don’t worry, you don’t need to break the bank to keep your car starting reliably. This guide will show you how to charge your lead-acid car battery quickly and safely, even if it’s a budget-friendly option. We’ll break down the simple steps, what you need, and how to avoid common mistakes so you can get back on the road with confidence.
Understanding Your Lead Acid Car Battery
Lead-acid car batteries have been the standard for decades. They’re powerful, reliable, and generally affordable. But like any battery, they need the right care, especially when it comes to charging. Understanding how they work is the first step to keeping them in top shape.
How a Lead Acid Battery Works
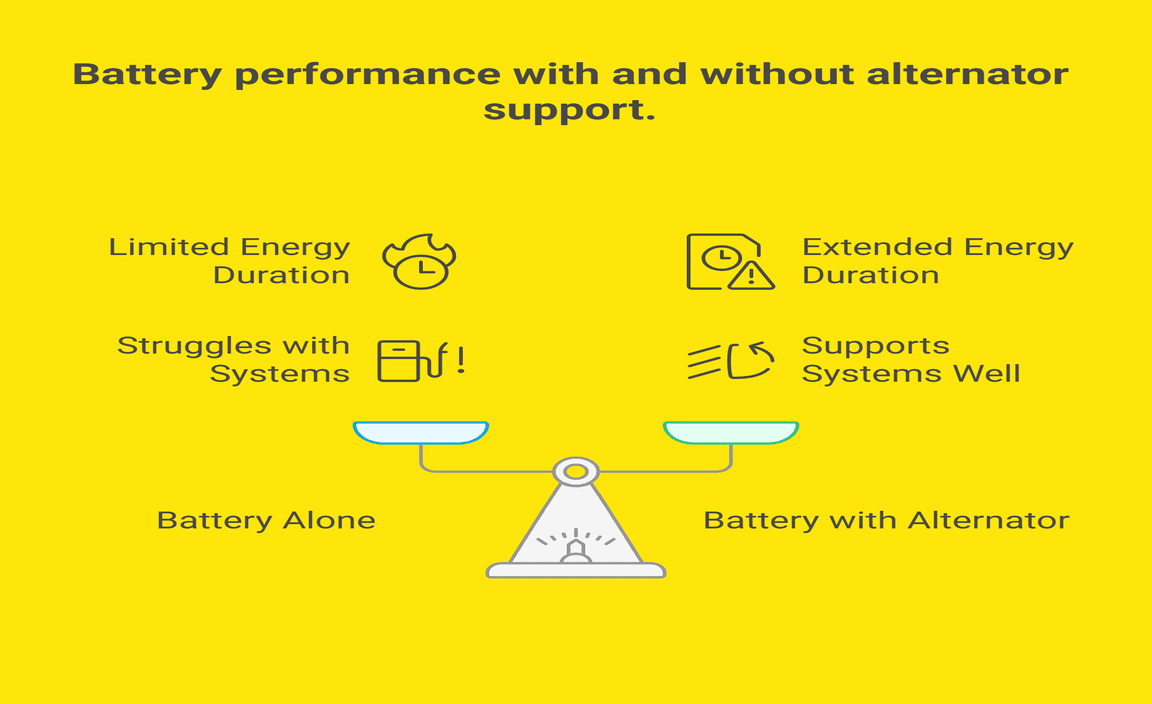
Inside a lead-acid battery, there are lead plates and a sulfuric acid solution. When you start your car, a chemical reaction happens that produces electricity. When you drive, your car’s alternator replenishes this charge. Over time, this process can deplete the battery, and that’s where charging comes in.
Why “Cheap” Batteries Need Special Attention
While a “cheap” lead-acid battery might save you money upfront, it can sometimes be built with less robust materials or have a lower overall lifespan. This means they might be more sensitive to improper charging, which can shorten their life even further. The good news is that essential fast charging for these batteries is still very achievable with the right knowledge.
The Truth About “Fast Charging” for Lead Acid
When people talk about fast charging, they often think of phones that go from 0 to 50% in 30 minutes. Car batteries, especially lead-acid ones, are a bit different. Fast charging” here means getting enough power back into the battery efficiently without damaging it. It’s less about speed and more about efficient charging.
What is Essential Fast Charging?
For a lead-acid battery, essential fast charging means using a charger that can deliver a good amount of power safely and quickly, bringing the battery back to operational levels without causing harm. This usually involves using specific charging profiles that are designed for lead-acid technology. It’s about recovering charge effectively.
Risks of Trying to Charge Too Fast
Pushing too much power too quickly into a lead-acid battery can lead to problems:
- Overheating: The battery can get dangerously hot, which can damage internal components and potentially cause a fire or explosion.
- Gassing: The charging process produces hydrogen gas. Excessive heat or overcharging can cause the battery to vent too much gas, which is flammable.
- Reduced Lifespan: Repeatedly overcharging or charging too aggressively can permanently damage the plates, significantly shortening how long the battery lasts.
- Damage to Charger: Using the wrong settings can even damage your charger.
Choosing the Right Charger for Your Battery
This is the most critical step for safe and effective charging. Not all chargers are created equal, and using an inappropriate one is the fastest way to cause damage.
Smart Chargers vs. Manual Chargers
Smart Chargers: These are highly recommended. They have microprocessors that monitor the battery’s voltage and temperature and adjust the charging rate automatically. They typically have modes for different battery types (like lead-acid, AGM, Gel). They’re designed to prevent overcharging and often have a maintenance mode.
Manual Chargers: These are simpler and require you to set the voltage and current. While they can be cheaper, they demand more attention from the user. You need to know exactly what settings to use, and it’s much easier to make a mistake.
Charger Settings for Lead Acid Batteries
Most smart chargers will have a “Lead Acid” setting. If yours doesn’t, or if you’re using a manual charger, you’ll need to look for specific voltage and amperage settings. A typical 12-volt lead-acid car battery usually requires:
- Charging Voltage: Around 13.5 to 14.7 volts. This varies slightly based on battery type (like AGM vs. standard flooded) and temperature.
- Amperage (Charging Rate): A good rule of thumb for a “fast” but safe charge is to charge at 10-25% of the battery’s Cold Cranking Amps (CCA) rating. For example, a 600 CCA battery could be charged at 60-150 amps. However, for most consumer chargers, you’ll find options around 2-10 amps. A higher amperage (like 10-15) can charge faster but carries more risk if it’s not a smart charger or if you’re not careful. For safety and convenience, start with a lower amperage (4-6 amps) on a smart charger.
Where to Find Reliable Chargers
Look for reputable brands. Automotive stores (like AutoZone, O’Reilly, Advance Auto Parts) and online retailers (Amazon, specialized battery suppliers) are good places to start. Always check reviews, especially those mentioning use with lead-acid car batteries.
For example, brands like NOCO, CTEK, and Schumacher offer reliable battery chargers suitable for lead-acid batteries, often with advanced multi-stage charging capabilities. You can often find detailed specifications and user manuals on their official websites, which can be invaluable resources:
CTEK Battery Chargers
NOCO Genius Chargers
Essential Tools and Safety Gear
Before you start, gather everything you need. Safety is paramount when working with car batteries.
What You’ll Need:
- Smart Battery Charger: Designed for 12V lead-acid batteries, with settings for different battery types if applicable.
- Safety Glasses: To protect your eyes from potential sparks or acid splashes.
- Gloves: To protect your hands from acid and keep them clean.
- Wire Brush or Battery Terminal Cleaner: To ensure good contact at the battery terminals.
- Wrench or Ratchet: To disconnect and reconnect the battery terminals (usually 10mm or 13mm).
- A Well-Ventilated Area: Never charge a battery in an enclosed space like a garage with the door shut.
- Optional: Battery Terminal Protection Spray: To prevent corrosion after cleaning.
Safety First!
Lead-acid batteries contain corrosive sulfuric acid and can produce flammable hydrogen gas. Always:
- Work in a well-ventilated area.
- Wear safety glasses and gloves.
- Never smoke or have open flames near the battery.
- Avoid dropping tools on the battery; this can cause sparks.
- If you disconnect the battery, do it in the correct order: negative terminal first, then positive. Reconnect in reverse: positive first, then negative.
Step-by-Step: How to Fast Charge Your Lead Acid Car Battery
Follow these steps carefully for a safe and effective charge.
Step 1: Prepare the Battery and Vehicle
- Park in a Safe Spot: Ensure your vehicle is parked on a level surface in a well-ventilated area (outdoors is best, or with garage door open). Turn off the engine and remove the keys from the ignition.
- Locate the Battery: It’s usually under the hood, but some cars have it in the trunk or under a seat.
- Inspect the Battery: Check for any visible cracks, leaks, or corrosion on the casing or terminals. If there’s significant damage, consider replacing the battery instead of charging.
- Clean the Terminals: Use a wire brush or terminal cleaner to scrub any corrosion off the battery posts and cable clamps. A clean connection is vital for efficient charging.
Step 2: Connect the Charger
- Read Your Charger Manual: This is crucial! Every charger is a little different.
- Disconnect the Battery (Recommended): For maximum safety and to protect your car’s electronics, it’s best to disconnect the battery.
- First, unhook the black (negative, “-“) cable.
- Then, unhook the red (positive, “+”) cable.
- Carefully remove the battery hold-down clamp and lift the battery out if needed for easier access or if you’re taking it inside to charge in a safer environment (like a basement workshop, but still well-ventilated). If charging in the car, leave it in place.
- Connect the Charger Clips:
- Attach the red (positive, “+”) clamp from the charger to the positive terminal on the battery.
- Attach the black (negative, “-“) clamp from the charger to the negative terminal on the battery.
Important Note: Some older manuals might say to connect the negative clip to a metal ground point on the car chassis away from the battery. Smart chargers designed for modern vehicles often recommend connecting directly to the battery terminals. Always consult your charger’s manual.
- Plug In the Charger: Connect the charger to a reliable power source (like a grounded wall outlet).
- Select the Correct Mode:
- On a smart charger, select the “Lead Acid” or appropriate mode for your battery type (e.g., “Flooded,” “AGM,” “Gel”).
- If there’s an option for “Cold” or “Winter” charging, this might use a slightly higher charging voltage, which can be beneficial in colder temperatures.
- Choose Amperage (If Adjustable): If your charger allows you to set the amperage, a good range for a faster, safe charge for a medium-sized battery is 6-10 amps. If you have a larger battery or a more robust charger, you might go higher, but always err on the side of caution. For a “cheap” battery, a moderate rate (4-6 amps) is often kinder.
- Start the Charge: Turn on the charger. Most smart chargers will begin automatically after you select the mode.
- Bulk Stage: The charger delivers maximum current to bring the battery up to about 80% charged. This is the fastest part of the charge.
- Absorption Stage: The voltage stays high, and the current gradually decreases as the battery gets closer to fully charged. This ensures the battery is charged without overheating.
- Float Stage: Once the battery is 100% charged, the charger reduces the voltage to a low level (around 13.2-13.8V) to maintain the charge and counteract self-discharge. It safely keeps the battery topped up without overcharging.
- Maintenance/Trickle Mode: Many smart chargers will enter a mode that periodically tops off the battery if it detects a slight drop in charge. This is excellent for batteries that aren’t used frequently.
- Check Charging Complete: Most chargers have an indicator light or display that shows when the battery is fully charged or when it’s in float mode.
- Turn Off the Charger: Before disconnecting the clamps, turn off the charger and unplug it from the power source.
- Disconnect the Clips:
- Remove the black (negative, “-“) clamp.
- Remove the red (positive, “+”) clamp.
- Reconnect the Cables (if disconnected):
- First, connect the red (positive, “+”) cable to the positive terminal on the battery. Tighten it securely.
- Then, connect the black (negative, “-“) cable to the negative terminal. Tighten it securely.
- Apply Terminal Protector (Optional): Spray a small amount of battery terminal protection spray onto the posts to help prevent corrosion.
- Secure the Battery: Reinstall the hold-down clamp to keep the battery stable.
- Battery’s State of Charge: A nearly dead battery will take longer than one that’s just a little low.
- Battery’s Capacity (Ah): Larger capacity batteries take longer.
- Charger’s Amperage: Higher amperage chargers are faster.
- Charger’s Charging Stages: The bulk phase is fastest; absorption takes longer.
- Ensure your charger has this mode.
- Connect the charger as usual, but select the “Desulfate,” “Recondition,” or “Repair” mode.
- The charger will run this mode for a specific period (often several hours) before returning to a normal charging cycle.
- It’s important to note that severe sulfation or damage from heat can be irreversible. Desulfation is not a magic fix for all battery problems.
- Avoid Deep Discharges: Try not to let your battery drain completely. If you leave lights on, jump-start your car promptly and then drive it to let the alternator recharge the battery, or charge it with a charger.
- Keep Terminals Clean: Corroded terminals are a major cause of starting problems and charging issues. Clean them regularly.
- Check for Leaks or Damage: Inspect your battery periodically for any signs of physical damage.
- Temperature Extremes: Batteries don’t like extreme heat or cold. If possible, park in a garage during very hot or very cold weather. Extreme temperatures accelerate battery degradation.
- Charge Regularly: If your car isn’t driven daily, consider connecting a smart charger in float mode once a month or so to keep it topped up.
Step 3: Set Up and Start Charging
Step 4: Monitor the Charging Process
This is where the “smart” in smart charger really shines. These chargers go through multiple stages:
Most smart chargers are designed to be left connected for extended periods (days or even weeks) in float or maintenance mode. They are intelligent enough to prevent damage.
Step 5: Disconnect the Charger
Step 6: Reconnect the Battery
Your battery should now be ready to go! Start your car to ensure everything is working correctly.
How Long Does It Take to Charge?
The time it takes depends on several factors:
For a typical lead-acid car battery that’s moderately discharged, using a 10-amp smart charger might take anywhere from 2 to 12 hours to reach a full charge. A slower, 2-amp trickle charger could take 24-48 hours or more. For “essential fast charging,” aiming for a smart charger that uses 6-10 amps is a good balance of speed and safety for most common car batteries.
Reconditioning and Desulfation
Sometimes, a lead-acid battery loses capacity because sulfate crystals build up on the lead plates. This is called sulfation. Older batteries or batteries that have been left discharged for a long time are prone to this.
What is Sulfation?
Sulfur from the sulfuric acid can crystallize and harden on the plates. This forms an insulating layer, reducing the battery’s ability to accept and deliver a charge. It’s a primary cause of battery failure if left untreated.
Can “Cheap” Batteries Be Reconditioned?
Yes, many modern smart chargers have a “desulfation” or “reconditioning” mode. This mode uses special pulse patterns to break down these sulfate crystals. It can sometimes revive a battery that seems dead or has lost significant capacity.
How to Use Desulfation Mode
According to the U.S. Department of Energy, proper battery maintenance, including regular charging and avoiding deep discharges, is key to maximizing the lifespan of lead-acid batteries in hybrid and conventional vehicles.
Tips for Maximizing Your Battery’s Life (Even a Cheap One!)
Charging is important, but how you use and maintain your battery also matters greatly.
Troubleshooting Common Issues
Even with the best intentions, you might run into a snag. Here are a few common problems and solutions:
| Problem | Possible Cause |
|---|