A battery checker for your car is a proven essential tool for any driver. It quickly and easily tells you the health of your car battery, preventing unexpected breakdowns and costly roadside assistance. Knowing your battery’s condition helps you preemptively replace it before it leaves you stranded.
Is your car sometimes slow to start? Do you worry about getting stranded a long distance from home? Many car owners face these anxieties, and often, the culprit is a car battery that’s past its prime. A dying battery can cause all sorts of frustrating issues, from a car that won’t turn over to electrical quirks. But don’t worry! It’s not as complicated as it sounds. We’ll guide you through how a simple tool, a battery checker, can become your car’s best friend. By understanding your battery’s health, you can keep your car running smoothly and avoid those stressful moments. Ready to take the wheel and learn how to keep your car battery in tip-top shape?
Why Every Car Owner Needs a Battery Checker for Car
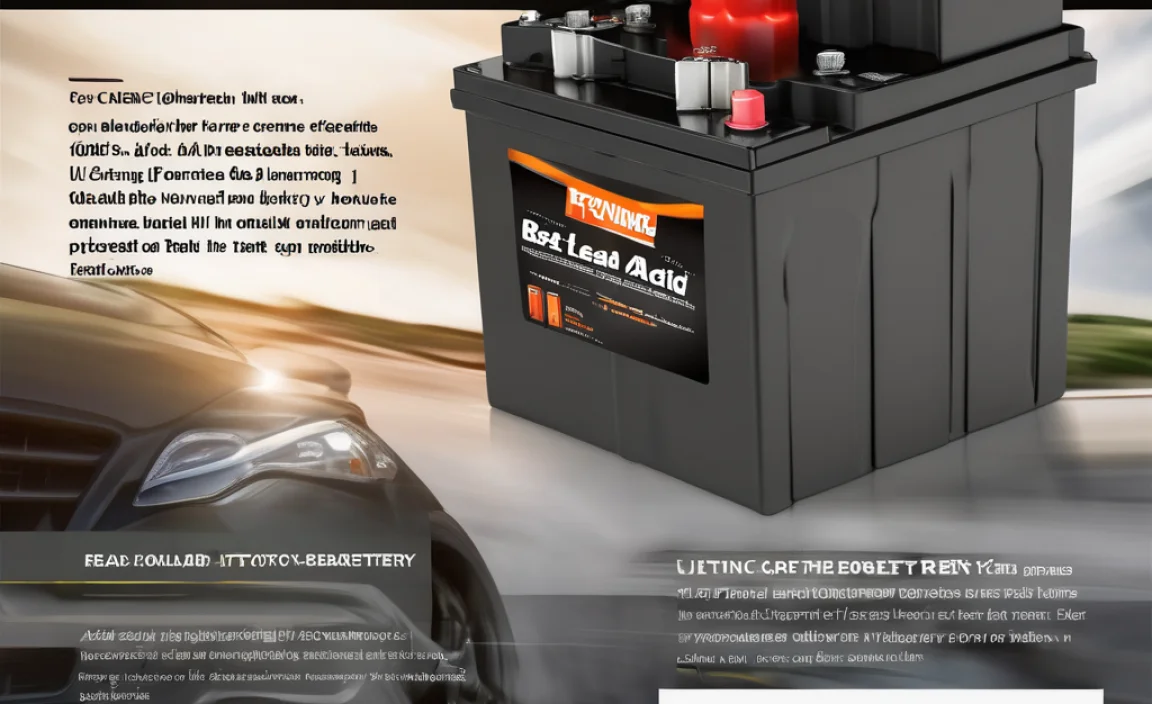
Think of your car’s battery like its heart. It provides the power needed to start the engine and run all the electrical systems, from your headlights to your radio. Over time, car batteries naturally degrade. This process is influenced by many factors like weather, driving habits, and the battery’s age. A worn-out battery can fail suddenly, usually when you least expect it – imagine being stuck in a parking lot on a cold evening! A battery checker for your car is a small, inexpensive device that helps you avoid this mess. It’s like having a doctor for your car’s battery, giving you advance notice of any impending health problems.
Using a battery checker is a proactive step that saves you time, money, and headaches. Instead of waiting for your car to refuse to start, you can test your battery regularly and know when it’s time for a replacement. This means you can schedule a battery change at your convenience, perhaps during an oil change, rather than dealing with an emergency situation. It’s a simple tool that offers immense peace of mind and helps maintain your car’s reliability.
Understanding Your Car Battery’s Role
Your car battery plays a crucial role. When you turn the key or push the start button, the battery sends a surge of electrical power to the starter motor. This motor then cranks the engine, and once the engine is running, the alternator takes over to power the car’s systems and recharge the battery. Without a healthy battery, this whole process grinds to a halt.
Car batteries are typically 12-volt lead-acid batteries. They work by a chemical reaction that produces electricity. Over time, this chemical reaction weakens, and the battery loses its ability to hold a charge or deliver the necessary power. Factors that speed up this decline include:
- Extreme Temperatures: Both very hot and very cold weather can stress a battery. Heat can cause the water inside the battery to evaporate, while cold can slow down the chemical reactions needed to produce power.
- Short Trips: If you mostly take short drives, the alternator might not have enough time to fully recharge the battery.
- Age: Most car batteries last between 3 to 5 years. After this, their performance naturally starts to drop.
- Electrical Accessories: Leaving lights on, or constantly using power-hungry accessories without the engine running can drain the battery.
By understanding these factors, you can better appreciate why checking your battery’s health is a smart move for any car owner.
Types of Battery Checkers for Car
When you’re looking for a battery checker for your car, you’ll find a few main types. Each has its own way of working and its own set of benefits. For beginners, understanding these differences will help you choose the best tool for your needs.
1. Basic Load Testers
These are the more traditional testers. They work by putting a specific electrical load on the battery – essentially making it do some work – and then measuring how well it handles that load and maintains its voltage. If the voltage drops too low under load, it indicates a weak battery.
- How they work: Connect the clamps to the battery terminals, then press a button to apply a load for a short period. A needle or LED lights will show the result.
- Pros: Often very affordable, simple to operate, provide a direct measure of battery performance under stress.
- Cons: Can be a bit less precise than digital testers, some require a fully charged battery to give accurate results.
2. Digital Battery Testers (Voltmeter/Multimeter)
A digital voltmeter is a very common and useful tool. While not exclusively a “battery checker” in the same way as a load tester, it can give you a good indication of your battery’s state of charge. A true digital battery tester adds more advanced diagnostics.
- How they work: You connect the probes to the battery terminals. The display shows the battery’s voltage. More advanced digital testers can also measure the battery’s Cold Cranking Amps (CCA) and its overall health.
- Pros: Easy to read results, can also be used for other electrical checks on your car, digital testers offer more detailed diagnostics.
- Cons: A basic voltmeter only shows voltage, not health under load. Digital testers can be more expensive than simple load testers.
3. Alternator Testers/All-in-One Testers
These are sophisticated devices that check not just the battery’s health and charge, but also test the car’s charging system, including the alternator. This is great if you’re unsure if the problem is the battery or the alternator.
- How they work: Connect the tester to the battery, then follow the on-screen prompts. It will guide you through testing the battery, then starting the engine to test the alternator’s output.
- Pros: Provides a comprehensive diagnosis of both battery and charging system. Many are simple to use with clear instructions.
- Cons: Generally more expensive than basic testers.
For a beginner, a straightforward digital battery tester or a good quality load tester is usually the best starting point. They are effective, affordable, and easy to understand. Many automotive parts stores sell these and can even help you pick the right one.
How to Use a Battery Checker for Car: Step-by-Step Guide
Using a battery checker for your car is straightforward, and with a few simple steps, you can confidently check your battery’s health. Safety is key, so always follow these guidelines to ensure you don’t hurt yourself or damage your vehicle.
Safety First! Before You Begin
Car batteries contain corrosive acid and can release explosive gases. Always take precautions:
- Wear Safety Glasses: Protect your eyes from any potential splashes or sparks.
- Wear Gloves: Protect your hands from acid.
- Work in a Well-Ventilated Area: Avoid checking the battery in an enclosed garage.
- Ensure the Engine is OFF: Never perform checks with the engine running unless specifically instructed by the tester’s manual (for alternator checks).
- Remove Metal Jewelry: Rings, watches, and necklaces can cause short circuits if they touch battery terminals.
- Keep Sparks and Flames Away: Batteries can produce flammable hydrogen gas.
Step-by-Step Battery Test:
Let’s assume you have a common digital battery alternator tester. The process is similar for most types.
Step 1: Locate Your Car Battery
The battery is usually located under the hood, often on one side. Consult your car’s owner’s manual if you’re unsure.

Step 2: Clean the Battery Terminals
Over time, terminals can develop a white or bluish powdery corrosion. This can interfere with the tester’s connection and give inaccurate readings. If you see corrosion:
- Use a wire brush or a dedicated terminal cleaner.
- You can make a baking soda and water paste to neutralize acid corrosion. Lightly spread it on the terminals, let it foam, then rinse with clean water (be careful not to get water into any battery vents).
- Dry the terminals thoroughly with a clean cloth.
Step 3: Connect the Battery Tester
Most testers have color-coded clamps: red for positive (+) and black for negative (-).
- Connect the RED clamp to the POSITIVE (+) terminal of the battery. This is usually marked clearly on the battery.
- Connect the BLACK clamp to the NEGATIVE (-) terminal of the battery.
Ensure the clamps have a good, firm grip on the terminals.
Step 4: Conduct the Battery Test
Here’s where the tester itself guides you. Most digital testers have a simple interface:
- Power On: If the tester has an on/off button, press it.
- Select Test Type: You’ll typically have options like “Battery Test,” “Cranking Test,” or “Charging System Test.” For a basic check, select “Battery Test.”
- Enter Battery Information (if prompted): Some testers might ask for the battery’s CCA rating (found on the battery label) or battery type (like “standard,” “AGM,” or “gel”).
- Start the Test: Press the “Start” or “OK” button as directed by the tester.
The tester will then apply a load (if it’s a load tester) or analyze the battery’s electrical properties and display the results. This usually takes less than a minute.
Step 5: Read and Interpret the Results
Testers provide a readout that indicates the battery’s condition. Common results include:
- “Good” or “Good, Recharge”: The battery is healthy, but might need a bit of charging if it’s low.
- “Replace” or “Bad”: The battery is failing and needs to be replaced soon.
- “Weak” or “Needs Testing”: The battery is showing signs of weakness and should be monitored or tested again after charging.
Check your tester’s manual for specific interpretations of its readings. If the tester also checks the charging system, it will give a separate readout for the alternator.
Step 6: Disconnect the Tester
Once you have your results, carefully disconnect the tester clamps from the battery terminals in the reverse order:
- Remove the BLACK clamp from the negative (-) terminal.
- Remove the RED clamp from the positive (+) terminal.
Store your tester safely.
It really is that simple! A battery checker for your car takes the guesswork out of battery maintenance.
Interpreting Battery Test Results and What They Mean
After using your battery checker for your car, you’ll get a result. Understanding what these results mean is crucial for making informed decisions about your car’s battery health. Here’s a guide to common readings and what to do next.
Common Test Outcomes and Actions
Testers vary, but most will give you a clear indication of your battery’s condition. Here’s a breakdown of typical results:
| Tester Result | Meaning | Recommended Action |
|---|---|---|
| Good | The battery has sufficient charge and capacity. It is in excellent working condition. | No immediate action needed. Continue to monitor battery health periodically. |
| Good, Recharge | The battery has good capacity but its charge level is low. This can happen after being drained or if the car’s charging system isn’t keeping it topped up. | Fully charge the battery using a battery charger. Then, re-test. If it still shows “Good, Recharge,” investigate your car’s charging system (alternator). |
| Weak / Needs Charge | The battery does not have enough voltage to perform optimally. It might start the car now but could fail soon. | Charge the battery fully. After charging, re-test. If the result persists, the battery is likely failing and should be replaced. |
| Replace / Bad | The battery has failed internal tests (e.g., low capacity, shorted cell, high internal resistance). It cannot hold a charge and will likely not start your car soon. | Replace the battery as soon as possible. Do not delay, as it will leave you stranded. |
| Poor Connection / Invalid Test | The tester could not get a stable reading, likely due to dirty terminals, loose clamps, or a deeply discharged battery. | Clean terminals and ensure clamps are secure. Try the test again. If still invalid, the battery may be severely compromised. |
| Alternator Output Low | When testing the charging system, this indicates the alternator is not producing enough power to charge the battery while the engine is running. | Have your alternator and charging system professionally inspected and repaired. A failing alternator will eventually kill even a new battery. |
| Alternator Output High / Voltage Regulator Fault | The alternator is producing too much voltage, which can damage the battery and other electrical components. | Have your alternator and charging system professionally inspected and repaired. |
Factors Affecting Battery Health
Remember that even if a battery tests as “Good,” its lifespan can still be shortened by various factors. Regular checks are important.
Age is a major factor. A battery that is 4-5 years old, even if it tests “Good,” is living on borrowed time. Many auto parts stores offer battery testing services, often for free, which can provide additional insights. This is especially useful if your tester shows borderline results.
Temperature plays a significant role. Driving in extreme heat or cold can stress your battery. If you live in an area with harsh climates, consider testing your battery more frequently, especially before the onset of winter.
Your driving habits matter. Frequent short trips where the alternator doesn’t have much time to recharge the battery can lead to a chronically undercharged battery, reducing its lifespan. If this is your typical driving pattern, consider using a dedicated battery charger periodically.
Understanding these results empowers you to take control. A battery checker for your car isn’t just a gadget; it’s a diagnostic tool that helps you stay ahead of potential problems.
When to Use Your Battery Checker for Car
Knowing when to check your car battery is just as important as knowing how to use the checker. Proactive testing can prevent a lot of trouble. Here are the best times to use your battery checker for your car:
Regular Maintenance Checks
Make it a habit to test your battery at least twice a year. Spring and fall are ideal times for these checks. This helps you identify potential issues before extreme weather seasons stress your battery further. For example, testing in the fall can catch a weak battery before the cold winter months, when batteries are most likely to fail.
Before Long Road Trips
Before embarking on any significant journey, give your car a once-over. This includes checking your tire pressure, oil level, and, importantly, your battery health. A dead battery is a common reason for roadside assistance calls, and testing it beforehand can save you a lot of hassle and expense on your trip.
If You Notice Warning Signs
Pay attention to how your car starts. If you experience any of these symptoms, it’s time to test your battery:
- Slow Engine Crank: The engine cranks slower than usual when you try to start it.
- Dim Headlights: Your headlights appear dimmer than normal, especially at idle.
- Electrical Issues: Power windows operate slowly, the radio acts weirdly, or dashboard warning lights flicker.
- Battery Warning Light: The battery symbol lights up on your dashboard.
- Sulfuric Smell: A rotten egg smell near the battery can indicate it’s overheating or leaking.
- Bloated Battery Case: A swollen battery case is a sign of damage and potential failure.
If you notice any of these signs, don’t wait. Grab your battery checker for your car and get a reading.
After Battery Replacement
Even after installing a new battery, it’s a good idea to test it after a few days or weeks. This confirms that the new battery is functioning correctly and that your car’s charging system is properly maintaining its charge.
When Buying a Used Car
If you’re purchasing a used vehicle, checking the battery is a crucial part of your inspection. A weak or failing battery could be an unexpected immediate expense for the new owner. A quick test can reveal if the battery