Quick Summary: Properly setting up a 24v trolling motor battery system involves understanding series vs. parallel connections, choosing the right batteries, and ensuring secure wiring for reliable power. This guide breaks down the process for beginners to ensure safe and efficient operation on the water.
Getting your trolling motor ready to hit the water should be exciting, not stressful. One of the most important parts of this is the battery setup. A 24-volt system needs a bit of specific attention, but it’s not as complicated as it sounds. Many boaters find this part a little confusing the first time around, worrying about getting it wrong and not having enough power when it counts.
But don’t worry! I’m here to walk you through it, step-by-step. We’ll cover everything you need to know, from picking the right batteries to making all the connections safe and sound. By the end of this guide, you’ll feel confident and ready to get your trolling motor powered up for your next fishing trip.
Let’s dive into making your 24v trolling motor setup a breeze.
Understanding 24v Trolling Motor Battery Systems

A 24-volt trolling motor system is a popular choice for many anglers. It offers more power and longer run times compared to 12-volt systems, which is great for bigger boats or when you need to fish all day. But how do you get that 24 volts from your batteries?
The secret lies in how you connect your batteries. For a 24v system, you’ll typically need at least two 12-volt batteries working together. The magic happens through something called wiring in “series.”
What is Wiring in Series?
Imagine you have two standard 12-volt car batteries. To create a 24-volt power source, you connect the positive (+) terminal of the first battery to the negative (-) terminal of the second battery. Then, you connect your trolling motor to the remaining negative (-) terminal of the first battery and the positive (+) terminal of the second battery.
This process, called series wiring, essentially “adds up” the voltage of the batteries. So, 12 volts + 12 volts = 24 volts. It’s like linking two garden hoses end-to-end to get more reach; you’re linking the power sources to get a higher voltage output.
This is different from wiring in “parallel,” where you connect all the positive terminals together and all the negative terminals together. Parallel wiring keeps the voltage the same (12v in this case) but increases the amp-hour capacity, giving you more run time. You might see parallel setups for 12v systems or to increase run time on a 24v system if you use four batteries.
Why 24v? Benefits and Considerations
Why choose a 24v system over a 12v? The main advantages are:
- More Power: A 24v motor can often push a boat more effectively, especially in strong currents or wind.
- Longer Run Times: For the same amp-hour rating, a 24v system can often run longer than a 12v system at the same power setting because the motor is more efficient.
- Quieter Operation: Higher voltage systems can sometimes mean the motor runs more smoothly and quietly.
However, there are considerations:
- Battery Count: You’ll need at least two batteries, which means more weight and space.
- Complexity: The wiring is slightly more involved than a simple 12v setup.
- Cost: More batteries generally mean a higher initial investment.
We’ll get into the wiring later, but it’s good to know that getting that extra boost is a straightforward process once you understand it.
Choosing the Right Batteries for Your 24v Trolling Motor

Not all batteries are made equal, especially when it comes to powering a trolling motor. For a 24v system, you’ll need two batteries that are identical. Using different types or ages of batteries can cause problems, shorten their lifespan, and lead to poor performance.
What kind of batteries should you look for?
Deep Cycle Marine Batteries
The most common and recommended type for trolling motors are deep cycle marine batteries. Unlike car batteries, which are designed for short, powerful bursts of energy to start an engine, deep cycle batteries are built to provide a steady amount of power over a long period.
Here’s why they are ideal:
- Designed for Deep Discharge: They can be discharged significantly and recharged repeatedly without damage. Trolling motors drain batteries slowly but steadily, making this feature crucial.
- Reliability: They are built tough to withstand vibrations and the marine environment.
- Longer Lifespan: When properly maintained, deep cycle batteries last much longer than other types for this application.
You’ll typically find two main types of deep cycle marine batteries:
- Flooded Lead-Acid (FLA): These are the traditional, most affordable option. They require regular maintenance, like checking and topping off the water levels, and need to be installed in a well-ventilated area because they can release hydrogen gas during charging.
- Sealed Lead-Acid (SLA): These include Absorbent Glass Mat (AGM) and Gel batteries. They are maintenance-free, spill-proof, and can be mounted in almost any position. AGM batteries are generally more robust and charge faster than Gel batteries and are a very popular choice for trolling motors.
Key Battery Specifications to Consider
When picking out your two identical 12-volt deep cycle batteries, pay attention to these specs:
Amp-Hour (Ah) Rating
This tells you how much energy the battery can store. A higher Ah rating means longer run time. For a 24v trolling motor, you’ll want batteries with a decent Ah rating, usually 75Ah or higher, depending on how long you plan to run your motor and the size of your boat. Always try to get two batteries with the exact same Ah rating.
Cold Cranking Amps (CCA) & Marine Cranking Amps (MCA)
While CCA and MCA are important for starting batteries, they are less critical for trolling motor batteries, but higher numbers don’t hurt. The crucial number here is the Reserve Capacity (RC) or Amp-Hours.
Reserve Capacity (RC)
This rating indicates how many minutes a fully charged battery can deliver 25 amps while maintaining a voltage above 10.5 volts. A higher RC means the battery can sustain a load for longer.
What NOT to Use
Avoid using regular car starting batteries. They are not designed for the sustained, deep discharges that a trolling motor requires. Using them will significantly shorten their lifespan and can lead to failure when you need them most.
Pro Tip: Always purchase two batteries from the same manufacturer, with the same model number, and ideally from the same purchase date. This ensures they have the same age, chemistry, and performance characteristics, which is vital for series connections.
Essential Tools and Materials for Battery Setup
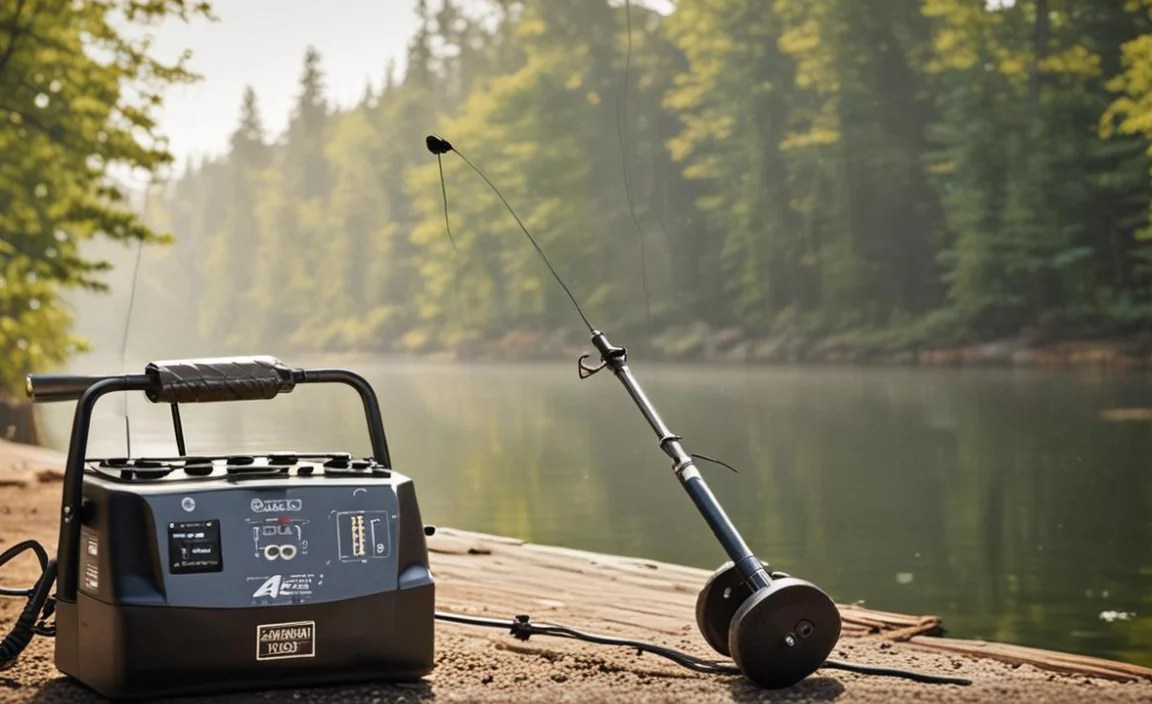
Before you start connecting anything, gather the right tools. Having everything ready will make the process smoother and safer. Safety first – always work in a well-lit, ventilated area, and wear safety glasses.
Tools You’ll Need:
- Wire Strippers/Crimpers: For preparing and attaching terminals to wires.
- Socket Set or Wrenches: To tighten battery terminals and any mounting hardware.
- Battery Terminal Cleaner: A wire brush specifically for cleaning battery terminals and cable ends.
- Screwdriver Set: Various sizes might be needed depending on your battery box or mounting system.
- Multimeter: Essential for checking voltage and ensuring correct connections.
- Safety Glasses: To protect your eyes from acid or debris.
- Gloves: To protect your hands from battery acid.
Materials for Connection:
- Battery Cables: You’ll need two main battery cables. These should be thick gauge wires (like 4-gauge or 2-gauge) designed for marine use to handle the current. One cable will connect the two batteries (this is your “jumper” cable). The other cables will run from the battery bank to your trolling motor. Ensure they are long enough to reach comfortably without being taut.
- Battery Terminal Connectors: Ring terminals are best for connecting cables to battery posts securely. Make sure they are the correct size for your battery posts and cables.
- Battery Box(es): To safely house and secure your batteries, preventing them from sliding around or tipping over. They also help contain any spills.
- Battery Tie-Downs or Straps: To secure the batteries within the battery box or on the boat’s deck. Safe anchoring is crucial for boat safety.
- Inline Fuse or Circuit Breaker (Recommended): For safety, it’s highly recommended to install an inline fuse or circuit breaker between the battery bank and the trolling motor. Check your trolling motor manual for the recommended amperage rating. You can find good marine-grade circuit breakers from companies like Blue Sea Systems, which are reliable.
Tip: Always use marine-grade, tinned copper wire for battery connections. This type of wire is resistant to corrosion, which is common in a marine environment.
Step-by-Step: Wiring Your 24v Trolling Motor Battery System

This is where we bring it all together. Follow these steps carefully to set up your 24v system safely and correctly. Remember, we’re aiming for a series connection to get our 24 volts.
Step 1: Prepare Your Batteries and Workspace
1. Placement: Decide where your batteries will be located. They should be in a secure, well-ventilated battery box or compartment. If using flooded lead-acid batteries, ensure the area is specifically designed for venting. Position the batteries close to each other to minimize cable length.
2. Cleanliness: Ensure the battery terminals and the ends of your cables are clean. Use your battery terminal cleaner to remove any corrosion or dirt. Clean terminals ensure a good, low-resistance connection, which is vital for efficient power transfer.
3. Battery Orientation: If using flooded batteries, make sure the vents are accessible if they need topping up, but also ensure they are positioned so no water can easily get into the terminals.
Step 2: Connect the Batteries in Series
This is the critical step for achieving 24 volts.
1. Identify Terminals: Locate the positive (+) and negative (-) terminals on each of your two 12-volt batteries. Let’s call them Battery 1 and Battery 2.
2. Connect Battery 1 Negative to Battery 2 Positive: Take one of your marine-grade battery cables (your jumper cable). Connect one end to the NEGATIVE (-) terminal of Battery 1. Connect the other end of this cable to the POSITIVE (+) terminal of Battery 2.
These are your two batteries, now connected in series. They are now acting as a single 24-volt power source.
Important: Do NOT connect the two positive terminals together or the two negative terminals together for this 24v setup. This would create a short circuit or a parallel connection, neither of which is what you want for 24 volts.**
Step 3: Connect the Trolling Motor Cables
Now, you’ll connect your trolling motor to the “ends” of this series connection.
1. Identify Remaining Terminals: On your two-battery setup, you will have the POSITIVE (+) terminal of Battery 1 and the NEGATIVE (-) terminal of Battery 2 remaining open. These are the terminals your trolling motor will connect to.
2. Connect Motor Positive: Take a battery cable and connect one end to the POSITIVE (+) terminal of Battery 1. This cable will then run to the positive wire on your trolling motor.
3. Connect Motor Negative: Take another battery cable and connect one end to the NEGATIVE (-) terminal of Battery 2. This cable will then run to the negative wire on your trolling motor.
Step 4: Install a Fuse or Circuit Breaker (Highly Recommended)
Safety is paramount. An inline fuse or circuit breaker protects your trolling motor and boat wiring from damage during an electrical fault.
1. Placement: The fuse or circuit breaker should be installed on the POSITIVE (+) cable that runs from Battery 1 to your trolling motor. Place it as close to Battery 1 as possible, but ensure you can still access it for replacement or reset.
2. Amperage: Consult your trolling motor’s manual for the recommended fuse or circuit breaker rating. If unsure, a common size for 24v systems is 50-60 amps, but always verify. You can find marine-grade circuit breakers and fuse holders from trusted brands like Blue Sea Systems or Littelfuse.
3. Connection: Use appropriate connectors (like ring terminals) to attach the wire from Battery 1 to one side of the fuse holder/breaker and the wire going to the trolling motor to the other side.
Step 5: Secure Batteries and Cables
1. Battery Boxes: Place each battery into its designated battery box. Ensure the boxes are firmly secured to the boat’s structure so they cannot move during operation.
2. Tie-Downs: Use straps or tie-downs to further secure the batteries within their boxes, preventing any shifting.
3. Cable Management: Secure all cables using zip ties or cable clamps. Ensure no cables are dangling where they could get caught in moving parts (like a propeller if the motor is mounted nearby) or rub against sharp edges, which can cause them to fray and fail.
Step 6: Test Your System
1. Initial Voltage Check: Before connecting the trolling motor, use your multimeter to check the voltage across the disconnected positive and negative terminals (where the motor would connect). You should read very close to 24 volts (e.g., 24.8-25.5 volts when fully charged, slightly lower when not). This confirms your series connection is correct.
2. Connect Trolling Motor: Connect the positive and negative wires from your trolling motor to the appropriate terminals on your battery setup (positive to Battery 1 positive, negative to Battery 2 negative).
3. Power On: Turn on your trolling motor at its lowest speed setting. Listen for any unusual noises and check for smooth operation. Gradually increase the speed to test all settings.
4. Final Voltage Check (Optional but Recommended): If possible, and if your multimeter has a clamp function, you can check the current draw. Alternatively, just ensure it’s running well. Pay attention to any signs of strain or unusual heat from the connections.
Safety Note: If you encounter sparks when connecting the final wire to the trolling motor, this is often normal due to the capacitors in the motor. Avoid making and breaking this connection repeatedly. If you see excessive sparking or smell burning, disconnect immediately and recheck your wiring.
Battery Maintenance and Longevity Tips
Getting your batteries hooked up is a great achievement! Now, let’s talk about how to keep them in top shape so they last as long as possible and keep you on the water.
Regular Charging
The golden rule for deep cycle batteries is to charge them soon after each use. Don’t let them sit in a discharged state for extended periods. This significantly reduces their lifespan.
- Use a quality marine-grade battery charger specifically designed for deep cycle batteries.
- Ensure the charger’s voltage (e.g., 12V) and amperage are appropriate for your batteries.
- For a 24v system, you have a couple of charging options:
- Two Separate 12v Chargers: Charge each battery individually with its own 12v charger.
- One 24v Charger: Use a 24v charger that can be connected to the system when it’s wired in series. Ensure it’s compatible with your battery type (AGM, Gel, Flooded).
- On-board Marine Charger: Many boats are now fitted with on-board chargers that automatically manage charging for multiple batteries.
- Follow the charging instructions for your specific charger and battery type.
Avoid Deep Discharge
While deep cycle batteries can handle deep discharges better than starting batteries, it’s still best to avoid draining them completely. Try to recharge them when they reach about 50% of their charge. A good rule of thumb is to plug them in after every significant outing.
Check Water Levels (Flooded Batteries Only)
If you’re using flooded lead-acid batteries, you must check the electrolyte levels regularly, especially in hot weather. The water level should always be above the lead plates inside each cell. Use distilled water only to top them