Most of us rely on the charger port to charge our phones and get the maximal benefits from it. But what if the charger port is broken and your phone stops charging? Before getting all worked up, how about trying some methods and fix your phone’s charging port?
It is possible to fix a broken charger port through a step-by-step approach. First, you have to identify the problem, and then you can take the necessary steps. In this guide, you will find different methods to fix a broken charger port.
How to Fix a Broken Charger Port
Before going to a repair store, you can try some methods yourself to solve the problem. We will cover the most effective methods to fix a broken charger port.
1. Remove Dust Particle in Your Charger Port
Dirt and debris can easily enter the charging port of our phone if we don’t use a protective pouch for the charging port. This can cause the charger not to connect properly with the phone.
Turn off your phone and disconnect it from your charger. Look into the charging port and see if you can find any visible dirt and debris. If you find any, use a soft toothbrush or a cue tip to clean the charging port.
You can also use a small needle, toothpick, or paper clips. Slowly insert a toothpick into the port. Gently swipe it through the USB port walls. Pull the toothpick in and out to remove any dirt. Continue until all dirt is removed. Once the dirt is removed, your charger should be able to make a solid connection and your phone should charge normally.
2. Replace the Charging Port
Connecting and disconnecting your charger repeatedly can cause your charging port to wear out. This can result in faulty or poor connection to the charger.
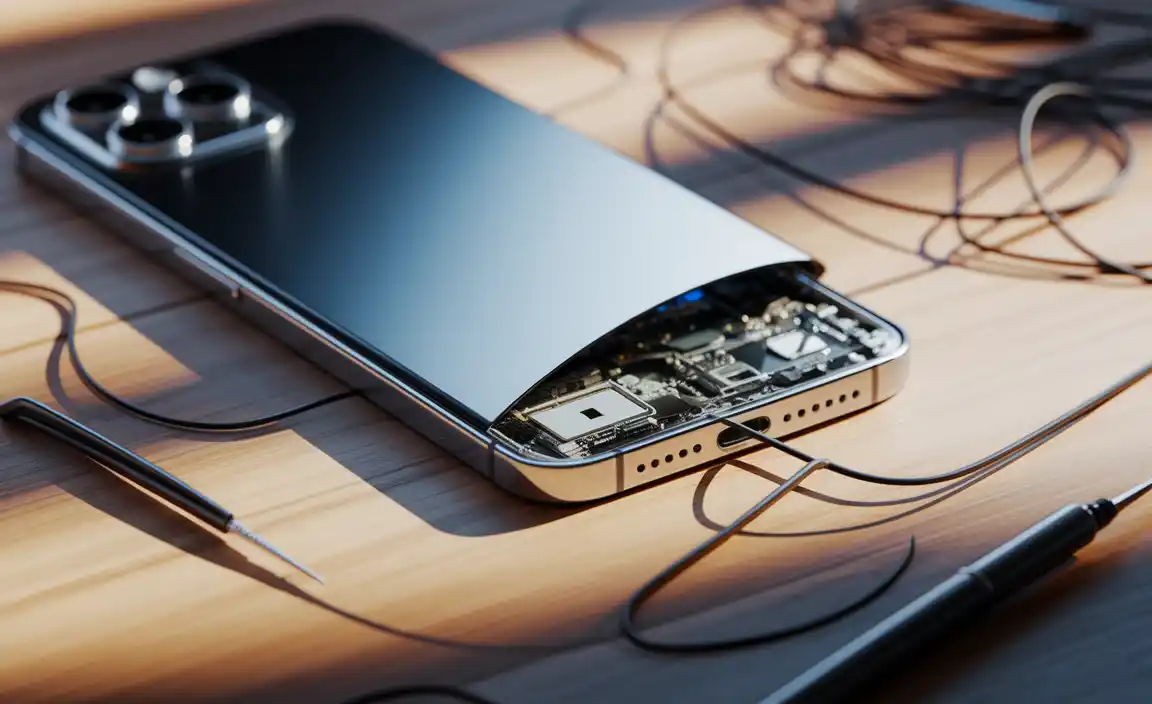
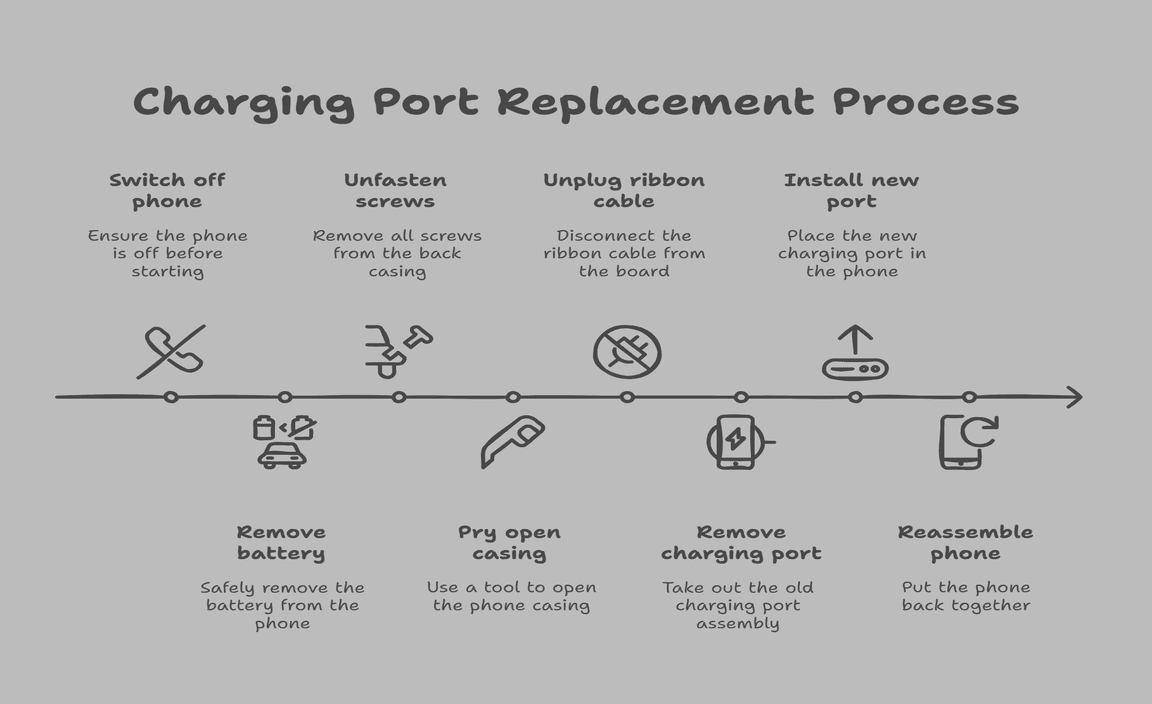
If you are tech-savvy and have patience, you can replace the charging port on your own. You can purchase the replacement charging port directly from any phone part supplier. You have to dismantle your phone to replace the charging port.
Warning: This is a difficult repair, especially if you are inexperienced. You have to understand that this procedure can cause additional damage and can void any insurance policy and warranties.
Step 1
Switch off your phone, place it face down. Remove the battery.
Step 2
You have to unfasten all the screws from the back casing of your phone. Use a credit card or something similar to pry the back housing from the phone.
Step 3
You will see a ribbon cable extending from the bottom to the main circuit board. Unplug the cable. Pry the plastic cover of the charging port using the credit card.
Step 4
Loosen the screws of the charging port. Pull the port assembly out of the compartment.
Step 5
Reverse this method to install a new port.
3. Try a Different Power Source
If your phone is still not charging after cleaning and replacing the charging port, try out this solution. The problem might be with the power outlet your charger is connected to. Connect the charger to another socket. If you were charging using an extension box, try out charging directly from the wall.
If you were charging your phone with a USB port on your computer, try another port or charge directly from a wall adapter. Now, if your phone is charging, you have found the cause. Just fix the computer USB port, buy an extension box, or fix the damaged wall adapter.
4. Check the Charging Cable
The most common cause of the phone not charging is the charging cables. Many of us carry chargers with us regularly. And so the cables go through a lot of twisting and untwisting, wrapping and unwrapping. This can damage the charging cables.
See if you can find any visible damage to the cable. Check both the connector and cord. If you see the damage, change the charging cable. But if you don’t see the damage, you can use your computer as a charger. Connect your phone to your cable and plug in the cable to the USB port of your computer. If your phone fails to charge, then you have identified the problem.
5. Check the Power Adapter
If your charging cable is not at fault, then you have to check the charger adapter. Check the connecting port of the cable and adapter. If the port looks rusty or if the charging cable shakes when connected to the adapter and doesn’t connect properly, then you should change your adapter.
Moreover, try to avoid using any cable or adapter. Different phones have different voltage requirements and your charger should meet the needs. However, sometimes the wall outlet might not work. You should check that issue too.
6. Turn off Your Phone
Your phone might actually receive power from the charger. But due to some malfunction, your phone software might not acknowledge that your phone is charging. And thus, you don’t see a change in the battery status. Powering off your phone can solve this problem.
Also, you can hard reset your phone by pressing the power and volume buttons together. Now try charging your phone. If it’s charging, then you have solved the issue.
Frequently Asked Questions
Is Cleaning a Charger Port with Toothpicks and Paper Clips Safe?
Using toothpicks, needles, or paper clips for cleaning the charging port is not safe. A toothpick can easily break into the charging port or damage the port. Paper clips are metallic and thus conduct electricity. You should attempt this fix at your own risk.
When Should I Charge My Phone?
There is a rule for charging your phone. Your phone should be kept charged between 60 to 80%. If you don’t charge your phone when the battery is below 15%, it disrupts your phone’s battery life. Also, it exceeds the charge cycle rated by the manufacturer. Try to keep your phone battery healthy.
Conclusion
Fixing a broken charger port is not always easy. Hopefully, the methods mentioned above have fixed your problem. You just have to try everything or simply hand it over to a skilled technician.
Also, you need to know the proper ways of handling a phone’s charger port and reduce the risks of damages. With proper handling and maintenance, you can increase the lifespan of your phone’s charger, charging cable, and adapter and you won’t have to replace them for a long time.
Resources:
- Phone Battery Charging Best Practices: https://www.androidauthority.com/how-to-charge-phone-battery-1073030/
- How to Clean Small Electronics Ports Safely: https://www.wikihow.com/Clean-a-Charging-Port
- Replacing USB Ports in Phones – A Technical Guide: https://www.ifixit.com/Guide/ (link to relevant phone repair guide)
-
Understanding USB Charging Standards: https://www.usb.org/documents

