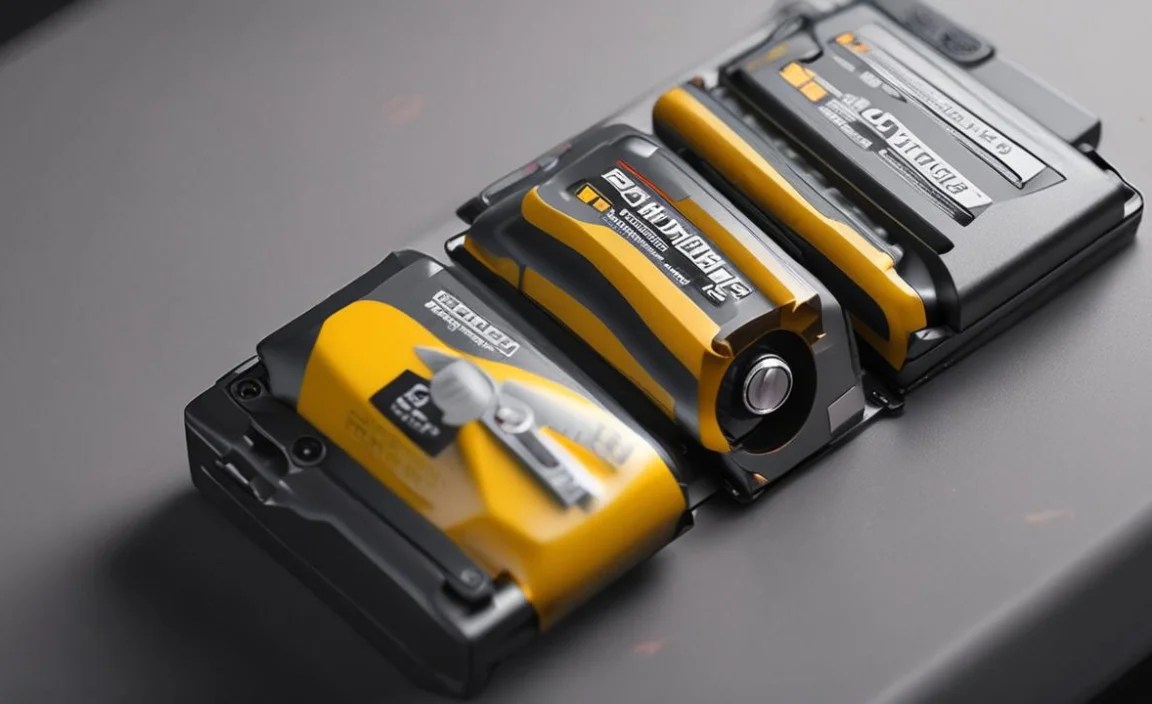
CMOS battery of your laptop maintains hard disk, time and date, and other drivers and configuration settings in a CMOS memory. You will see these tiny CMOS batteries connected directly to the laptop’s motherboard. However, if you have to replace your CMOS battery, just get a screwdriver and a new battery. It’s fast and easy.

When you are using a laptop for several years, you might face some malfunctioning problem with it. And that is common. Usually, this type of issue happens when your CMOS battery is dead. Although this type of hardware is pretty small and easily replaceable, it creates problems while booting up and needs to be replaced soon.
However, if people encounter such problems, the first thing they do is that they go to a tech shop and seek assistance. But that little assistance costs a lot. But if you know about the hardware and how it works, it will be easier for you to replace it yourself. So let’s talk about CMOS batteries and how you can remove and replace them.
How Does Cmos Battery Work?

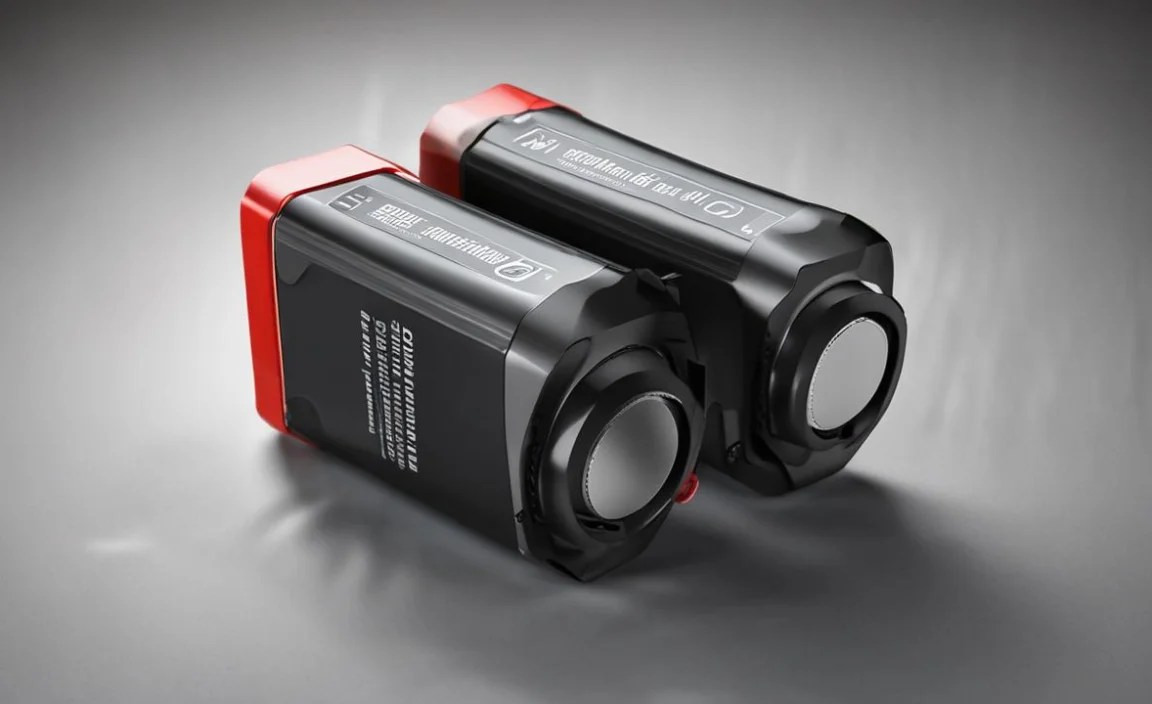
The battery is one of the most important pieces of hardware your laptop has. And there are two of them. The bigger one that powers all of the major hardware like CPU and hard disk and so on. Also, that battery is one of the heaviest parts of your laptop. And the other one is a small CMOS battery that powers up only the BIOS.
What is BIOS?

To understand how CMOS battery works, you have to know what is BIOS. BIOS is a different operating system that is installed in your computer when it was manufactured. The word BIOS means ‘Basic Input Output System’.
And as the name suggests, it operates the basic and essential commands and functions of your computer. So, when you boot up your computer, the BIOS instructs and operates how to start the operating systems up and manages the other additional devices like mouse and keyboard.
In particular, when your computer is shut down, it would not know that you have pressed the power-up key if there was not any BIOS. Your BIOS works even when your computer is not fully awake. And that is possible because of the CMOS battery that is connected to the motherboard.
As BIOS needs to be powered up even when your laptop is not connected to any power source, CMOS battery plays a vital role here. When your laptop is not connected to a power source or unplugged, BIOS depends on your CMOS battery for power.
The CMOS battery lasts up to 10 years from its manufacturing date. As the battery only gets charged when your laptop is plugged in. The more your laptop is connected to the power, the more CMOS lasts.
How to Know That Cmos Battery Needs Replacement
Here are some signs mentioned down below. that you have to replace your CMOS battery.
- Facing issues with booting up your laptop
- Connection to the internet fails again and again
- The date and time are not updating and resetting every time
- External devices like mouse and keyboard are not working perfectly
- Hardware drivers not available
- BIOS resets or revert to its default setting
How to Remove and Replace the Cmos Battery
To do this simple process, all you need is a screwdriver depending on your specific laptop’s model, a new CMOS battery, compressed air, and an ESD mat. The CMOS batteries cost around 1 to 10bucks and you can find all these components in any local retailer. Let’s get started.
Step 1: Choose Your Workspace
Finding a good workspace for any laptop replacement or upgrading project is a must. As you have to work with a lot of screws, keys, and other small components, it’s better to work on a clean and hard surface.
Besides, it is better that you have a conductive foam pad underneath the laptop. Because the laptop components might get damaged by ESD.
Step 2: Unplug Everything

First, shut your laptop down correctly, and then unplug it from power. Disconnect any external devices from the laptop like a mouse, keyboard, external drives, and adapters.
Step 3: Unscrew the Laptop Casing
Now, this is a part that needs lots of concentration. And remember to have a little box or bowl to keep the screws that you will be removing. However, there are lots of components that have screws of different sizes.
Besides, your particular laptop might have different casing for each component like for ram, hard drives, SSDs, and all. In that case, you have to do some exploring and see each of their locations.
Step 4: Removing the Main Battery
During the process, you might press the power button or the laptop might get started accidentally. So what you can do is remove the battery. Usually, it is pretty big and bulky.
Step 5: Remove the CMOS Battery

At this point after removing the main battery, the motherboard should be visible. So be careful as the motherboard is the most important component of your device and it can get damaged easily.
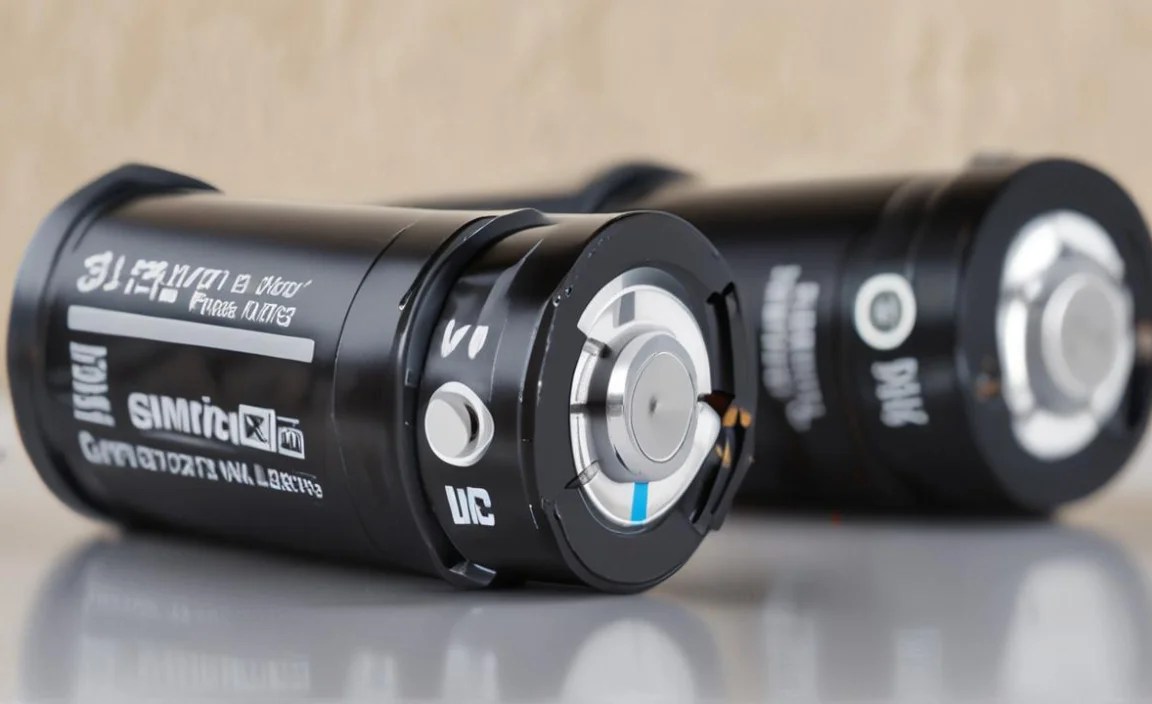
However, the CMOS battery should be located here in a holding socket. The CMOS battery is round, shiny and mostly looks like a coin. Before sliding the battery out, remember the battery orientation, so that you can replace it the way it was by default. Now slide the battery out just like any other battery.
Step 6: Insert the New CMOS Battery
Now it is time to replace the new CMOS battery to its place.
Step 7: Reassemble the Laptop

Now redo the screw and everything to reassemble the laptop. Now reinstall the battery correctly and attach the casing with the screws.
Step 8: Testing

Now that you have removed the CMOS battery and replaced it, the time and date should be incorrect. Also, some drivers might be unavailable there as well. So do not panic. All you have to do is reset the time and date and install all the missing drivers or update them.
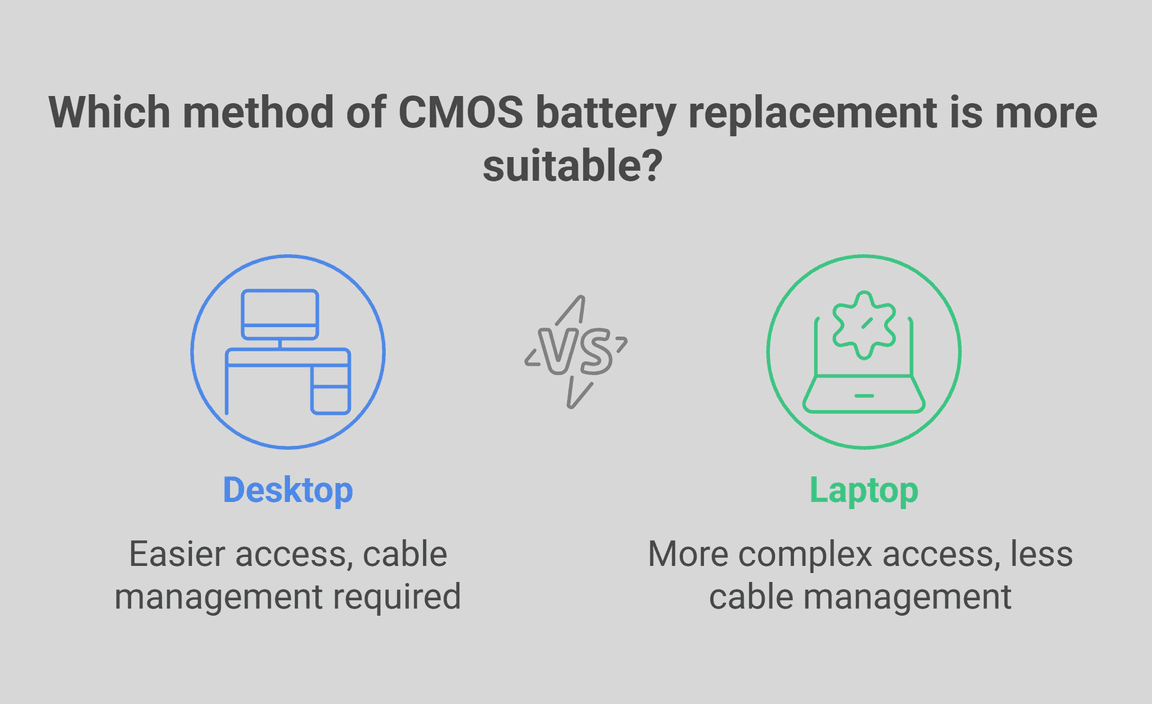
Replacing CMOS battery in a desktop
Replacing a CMOS battery on a desktop is much easier as the motherboard is easier to access. But you have to be careful about the cable and remember their location and plugging point. Besides, it will be better if you note them down.
Step 1: Unplug the power cable

Firstly unplug the power cable and then press the power button.
Step 2: Remove the side panel of the casing

Unscrew the side of the casing and slide it out. At this moment, the motherboard should be visible.
Step 3: Locate the battery
There you should see a shiny round component. Locate and remove the CMOS battery from the holding socket.
Step 4: Replace and reassemble the casing
Now replace the old battery with a new one. After that, you can reassemble the casing and boot up the desktop.
Frequently Asked Question
Sometimes replacing the CMOS battery does not resolve your booting up issues. In that case, before replacing your CMOS battery with a new one, check your BIOS firmware settings and see if everything is in order or not. But if these solutions are not working, then you should go to the experts and ask for their help.
Resource:

- Laptop Hardware Basics: https://www.computerhope.com/jargon/h/hardwar.htm
- How BIOS Works Explained: https://computer.howstuffworks.com/bios.htm
- Safe Workspace Setup for Electronics: https://www.digilent.com/blog/esd-safety-and-proper-workspace-setup/
-
Choosing the Right CMOS Battery Type: https://www.batteryequivalents.com/cr2032-vs-cr2025-vs-cr2016.html